Create an Account
Follow the steps below to Sign up:
1) This is the log-in screen when you visit app.kaizIQ.io and click on "Sign In" on the top right corner.
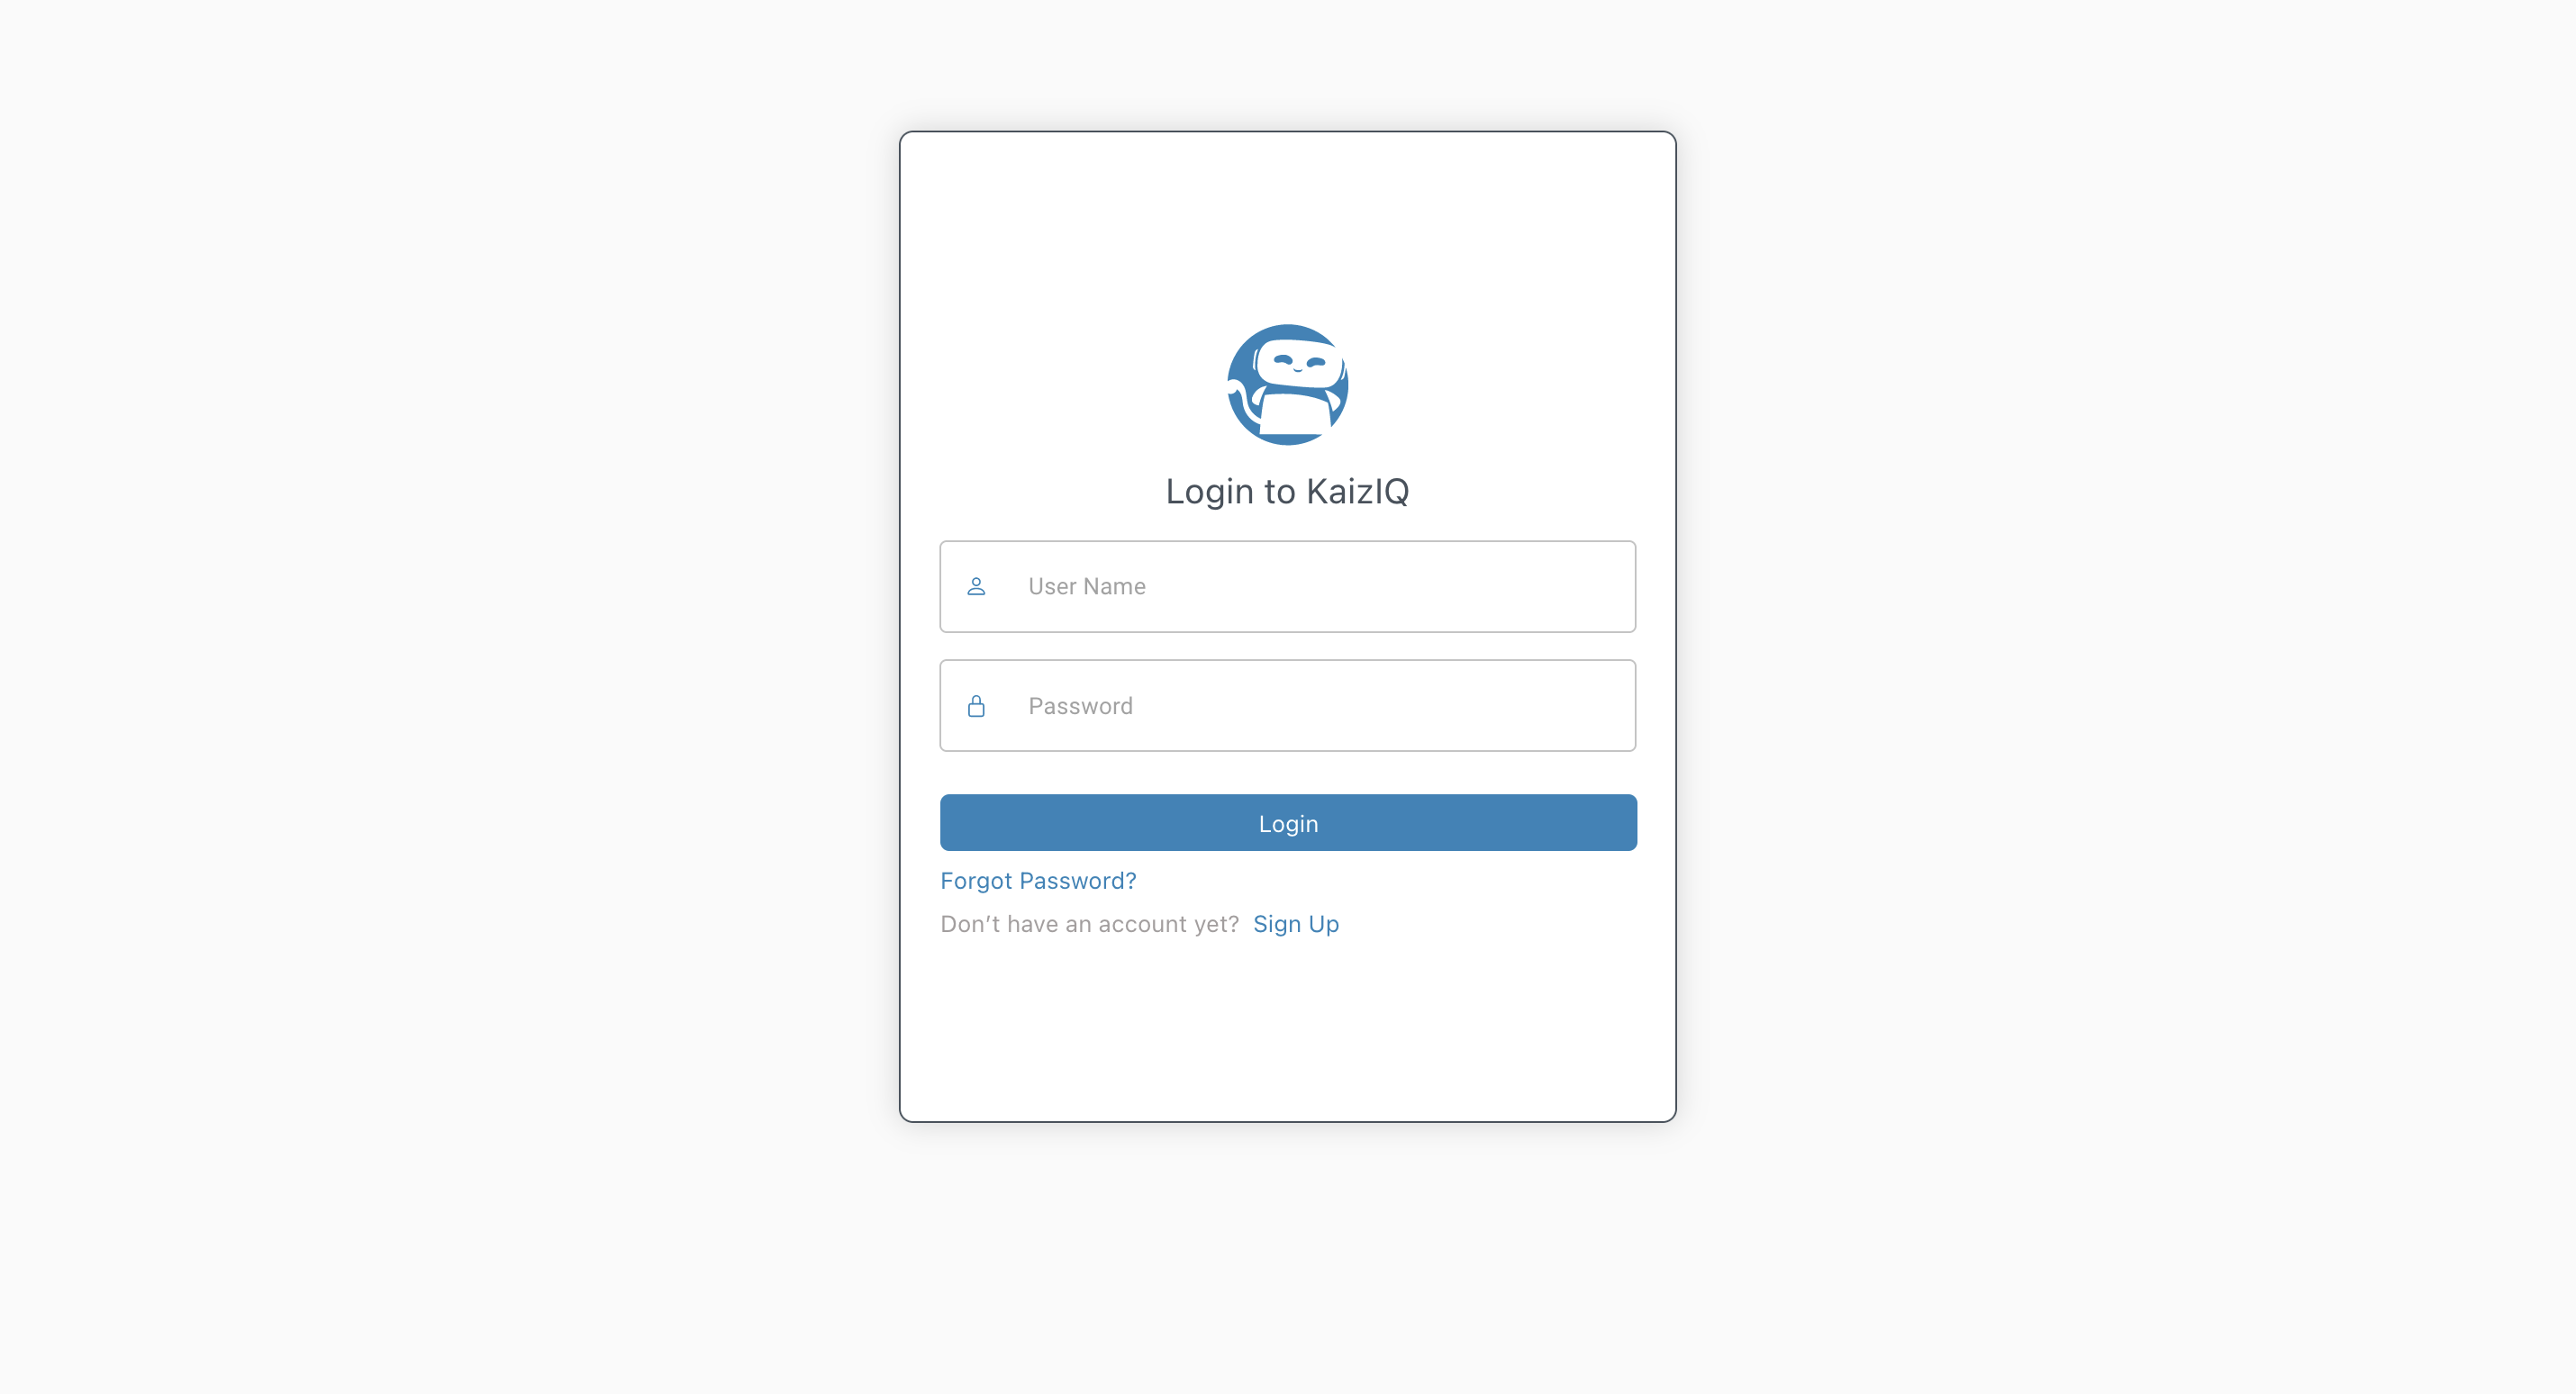
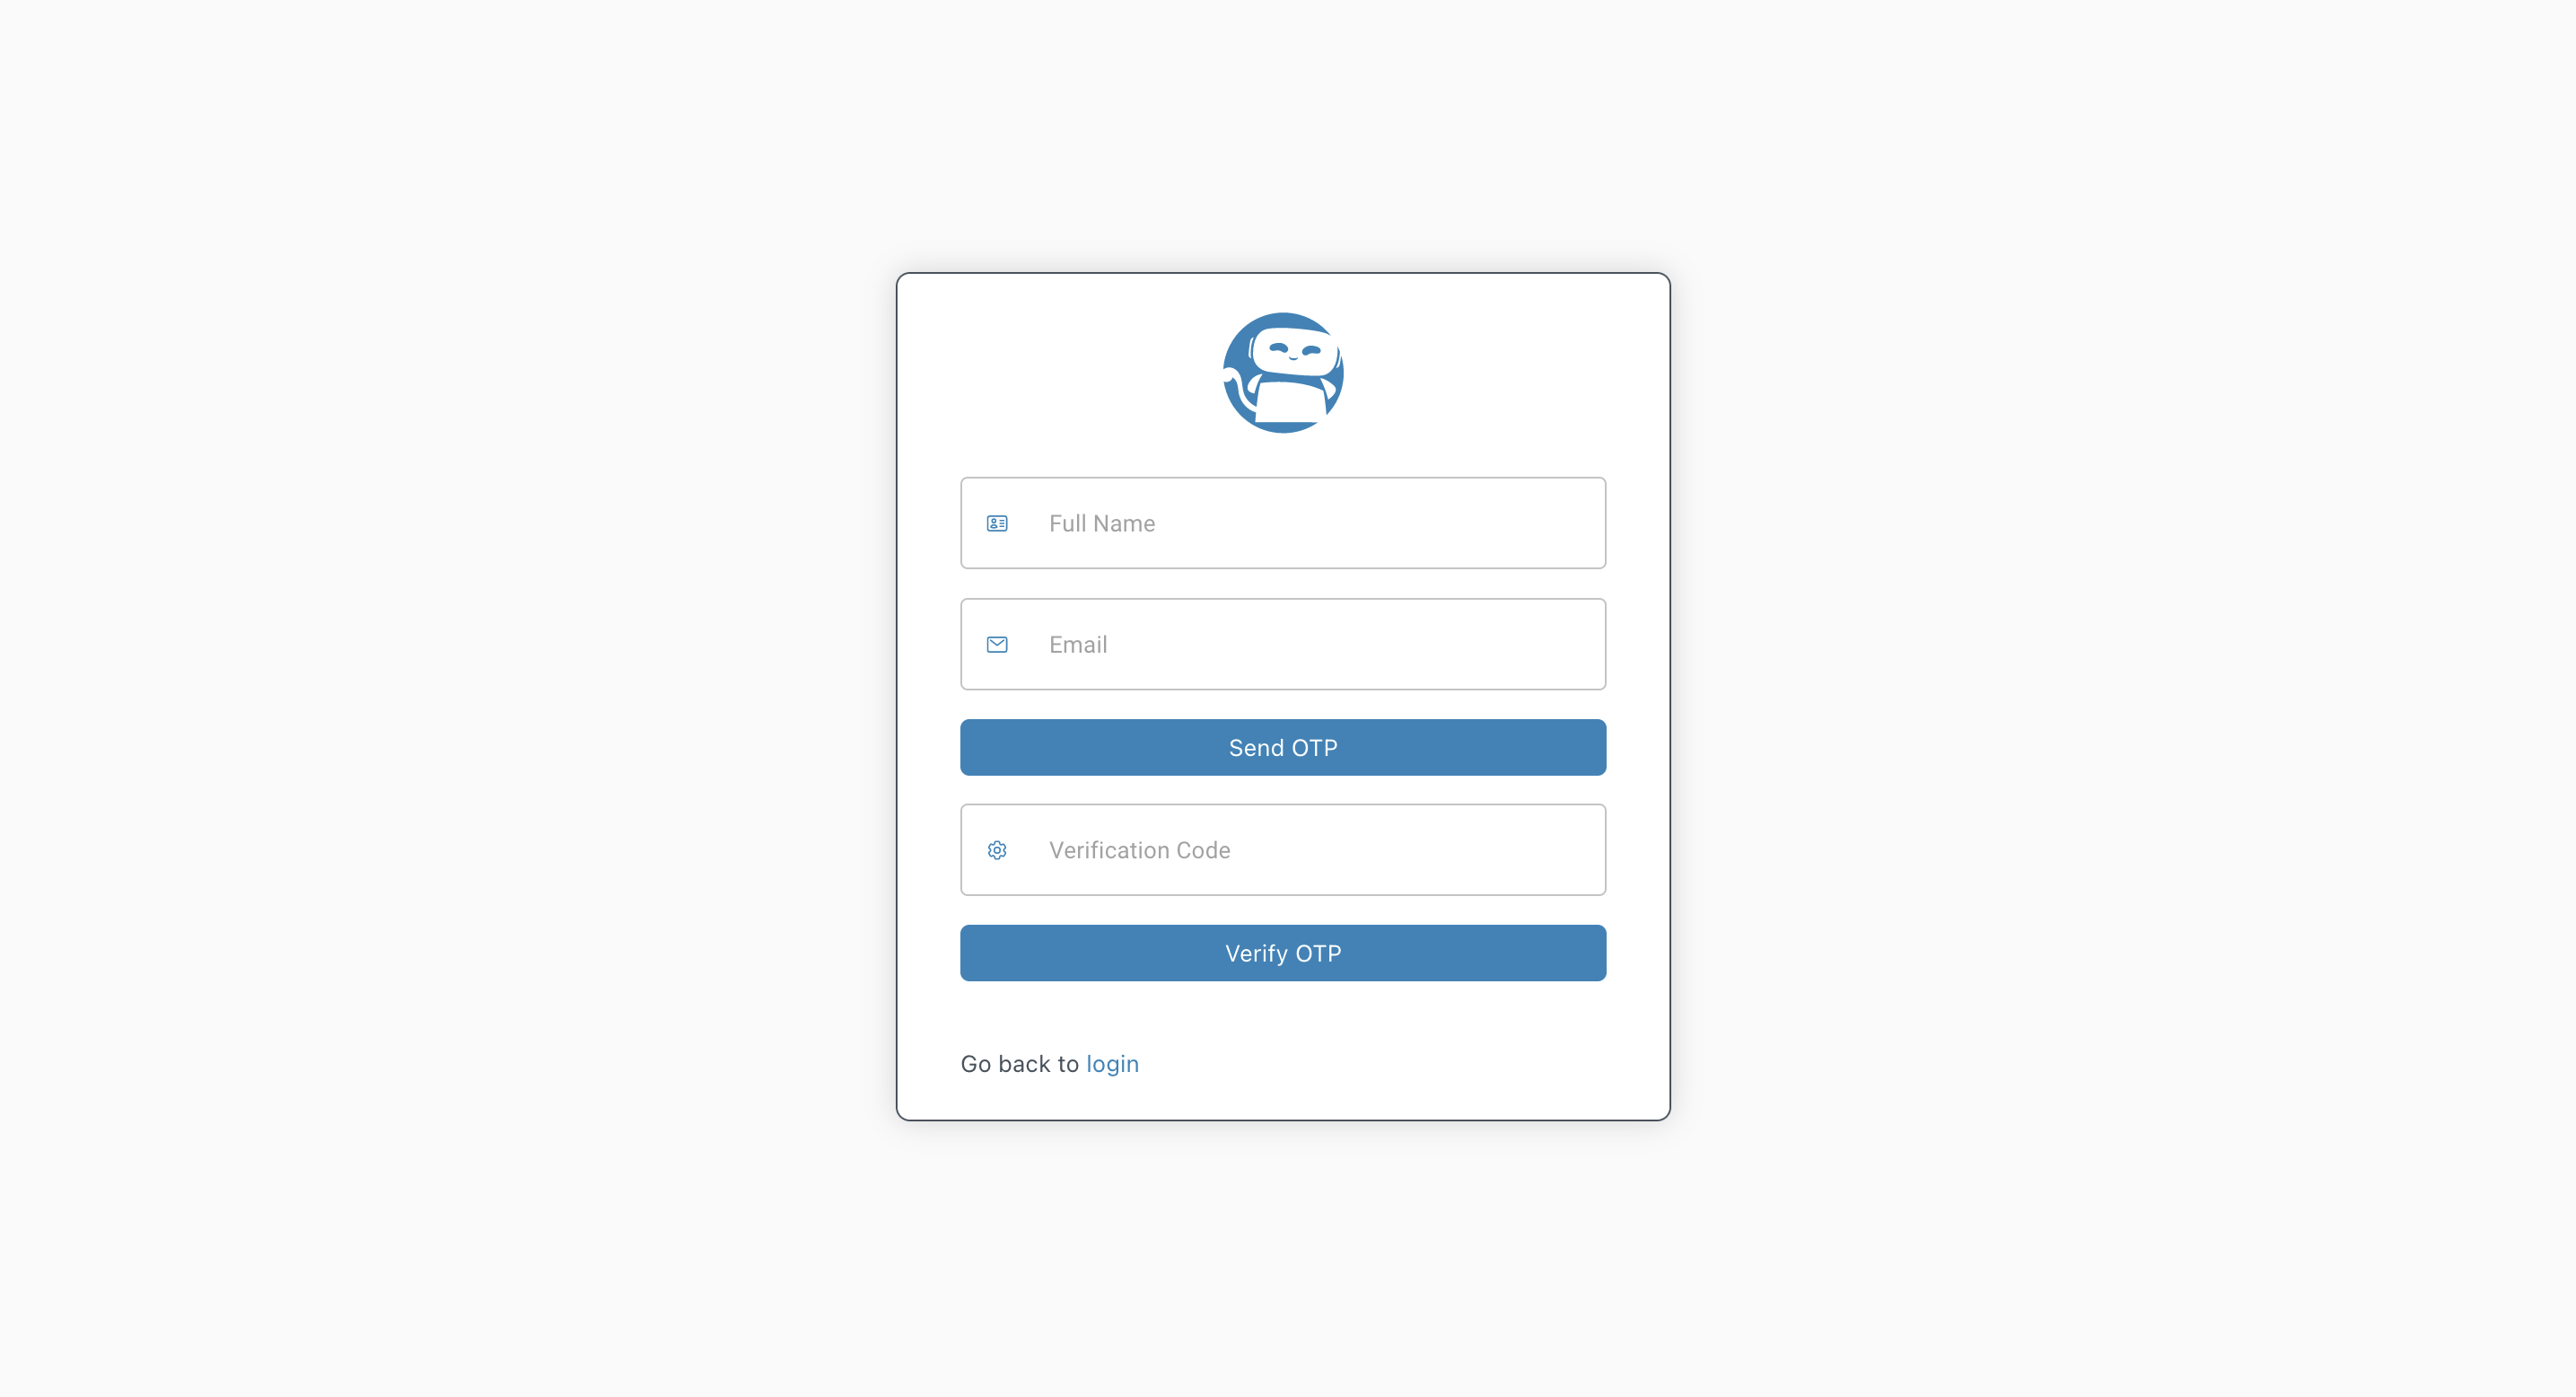
2) If you don't have an account, click on "Sign Up" , and you will reach this screen where you can enter your name and email ID.
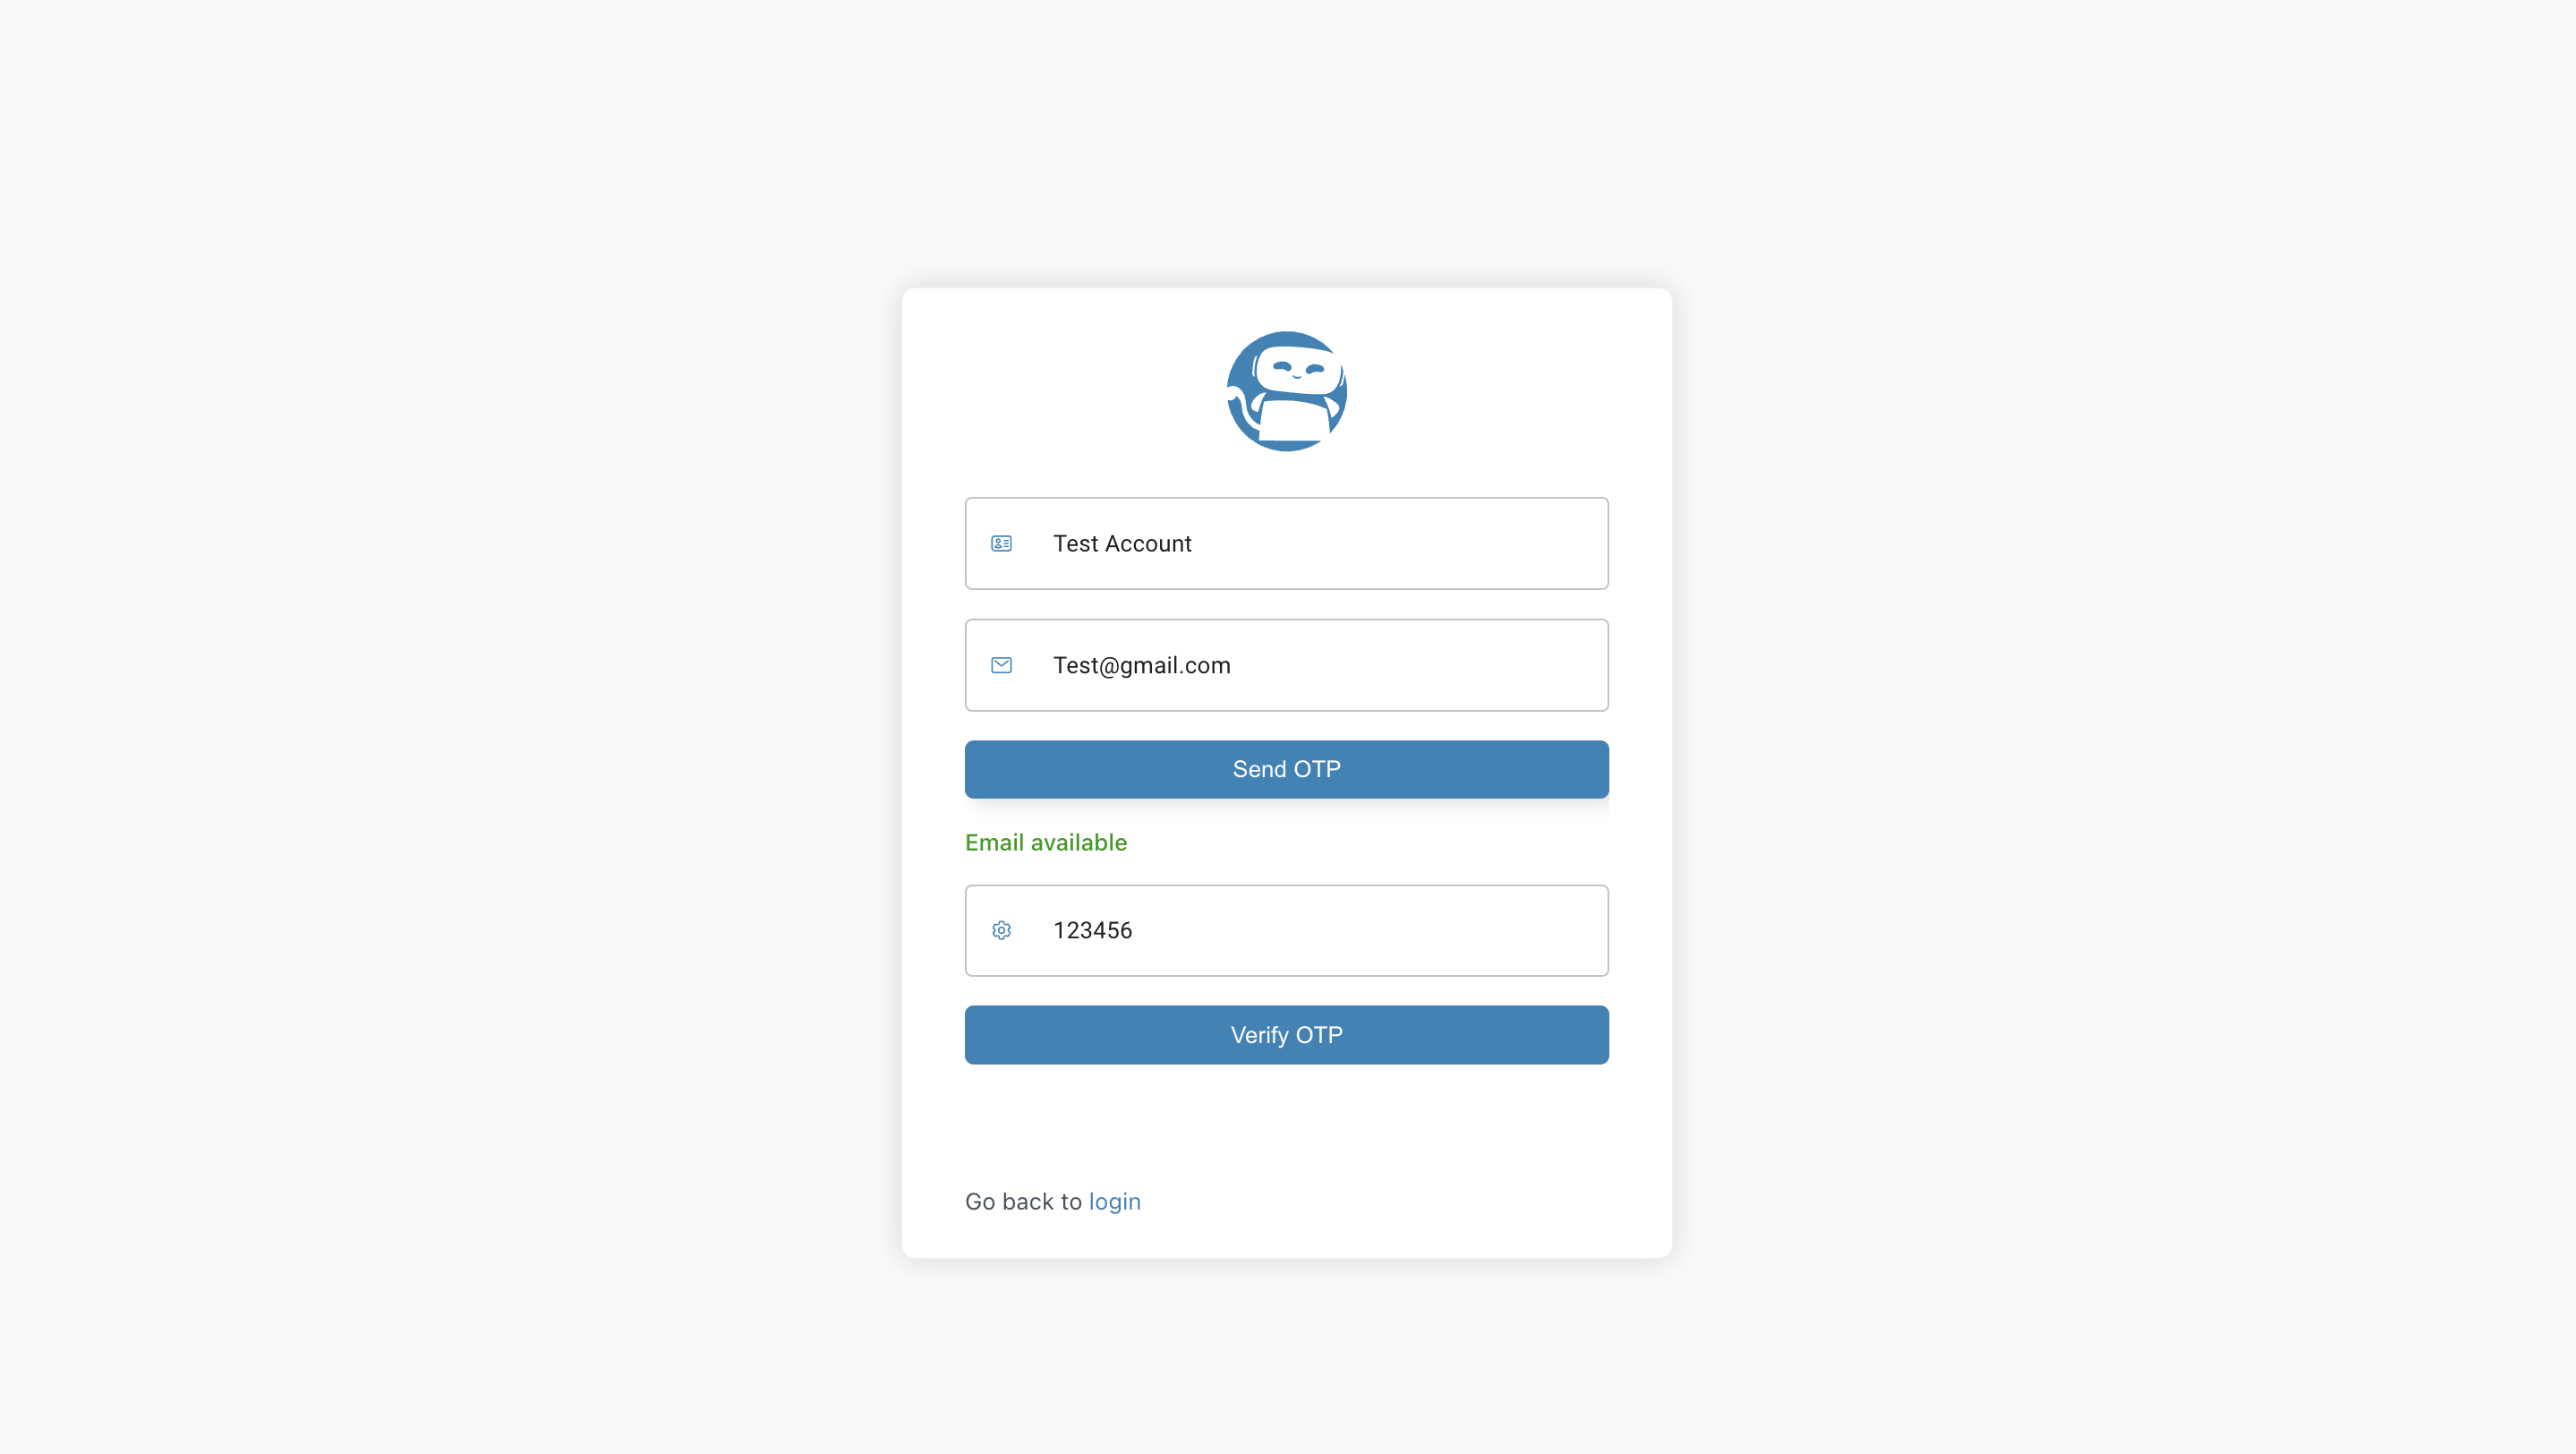
3) After you enter your name and email ID, a 6-digit OTP will be sent to that email ID.
Enter the OTP as the Verification Code and Click on Verify OTP.
For example - Here the name is "Test Account" , email-id is -Test@gmail.com and OTP is "123456"
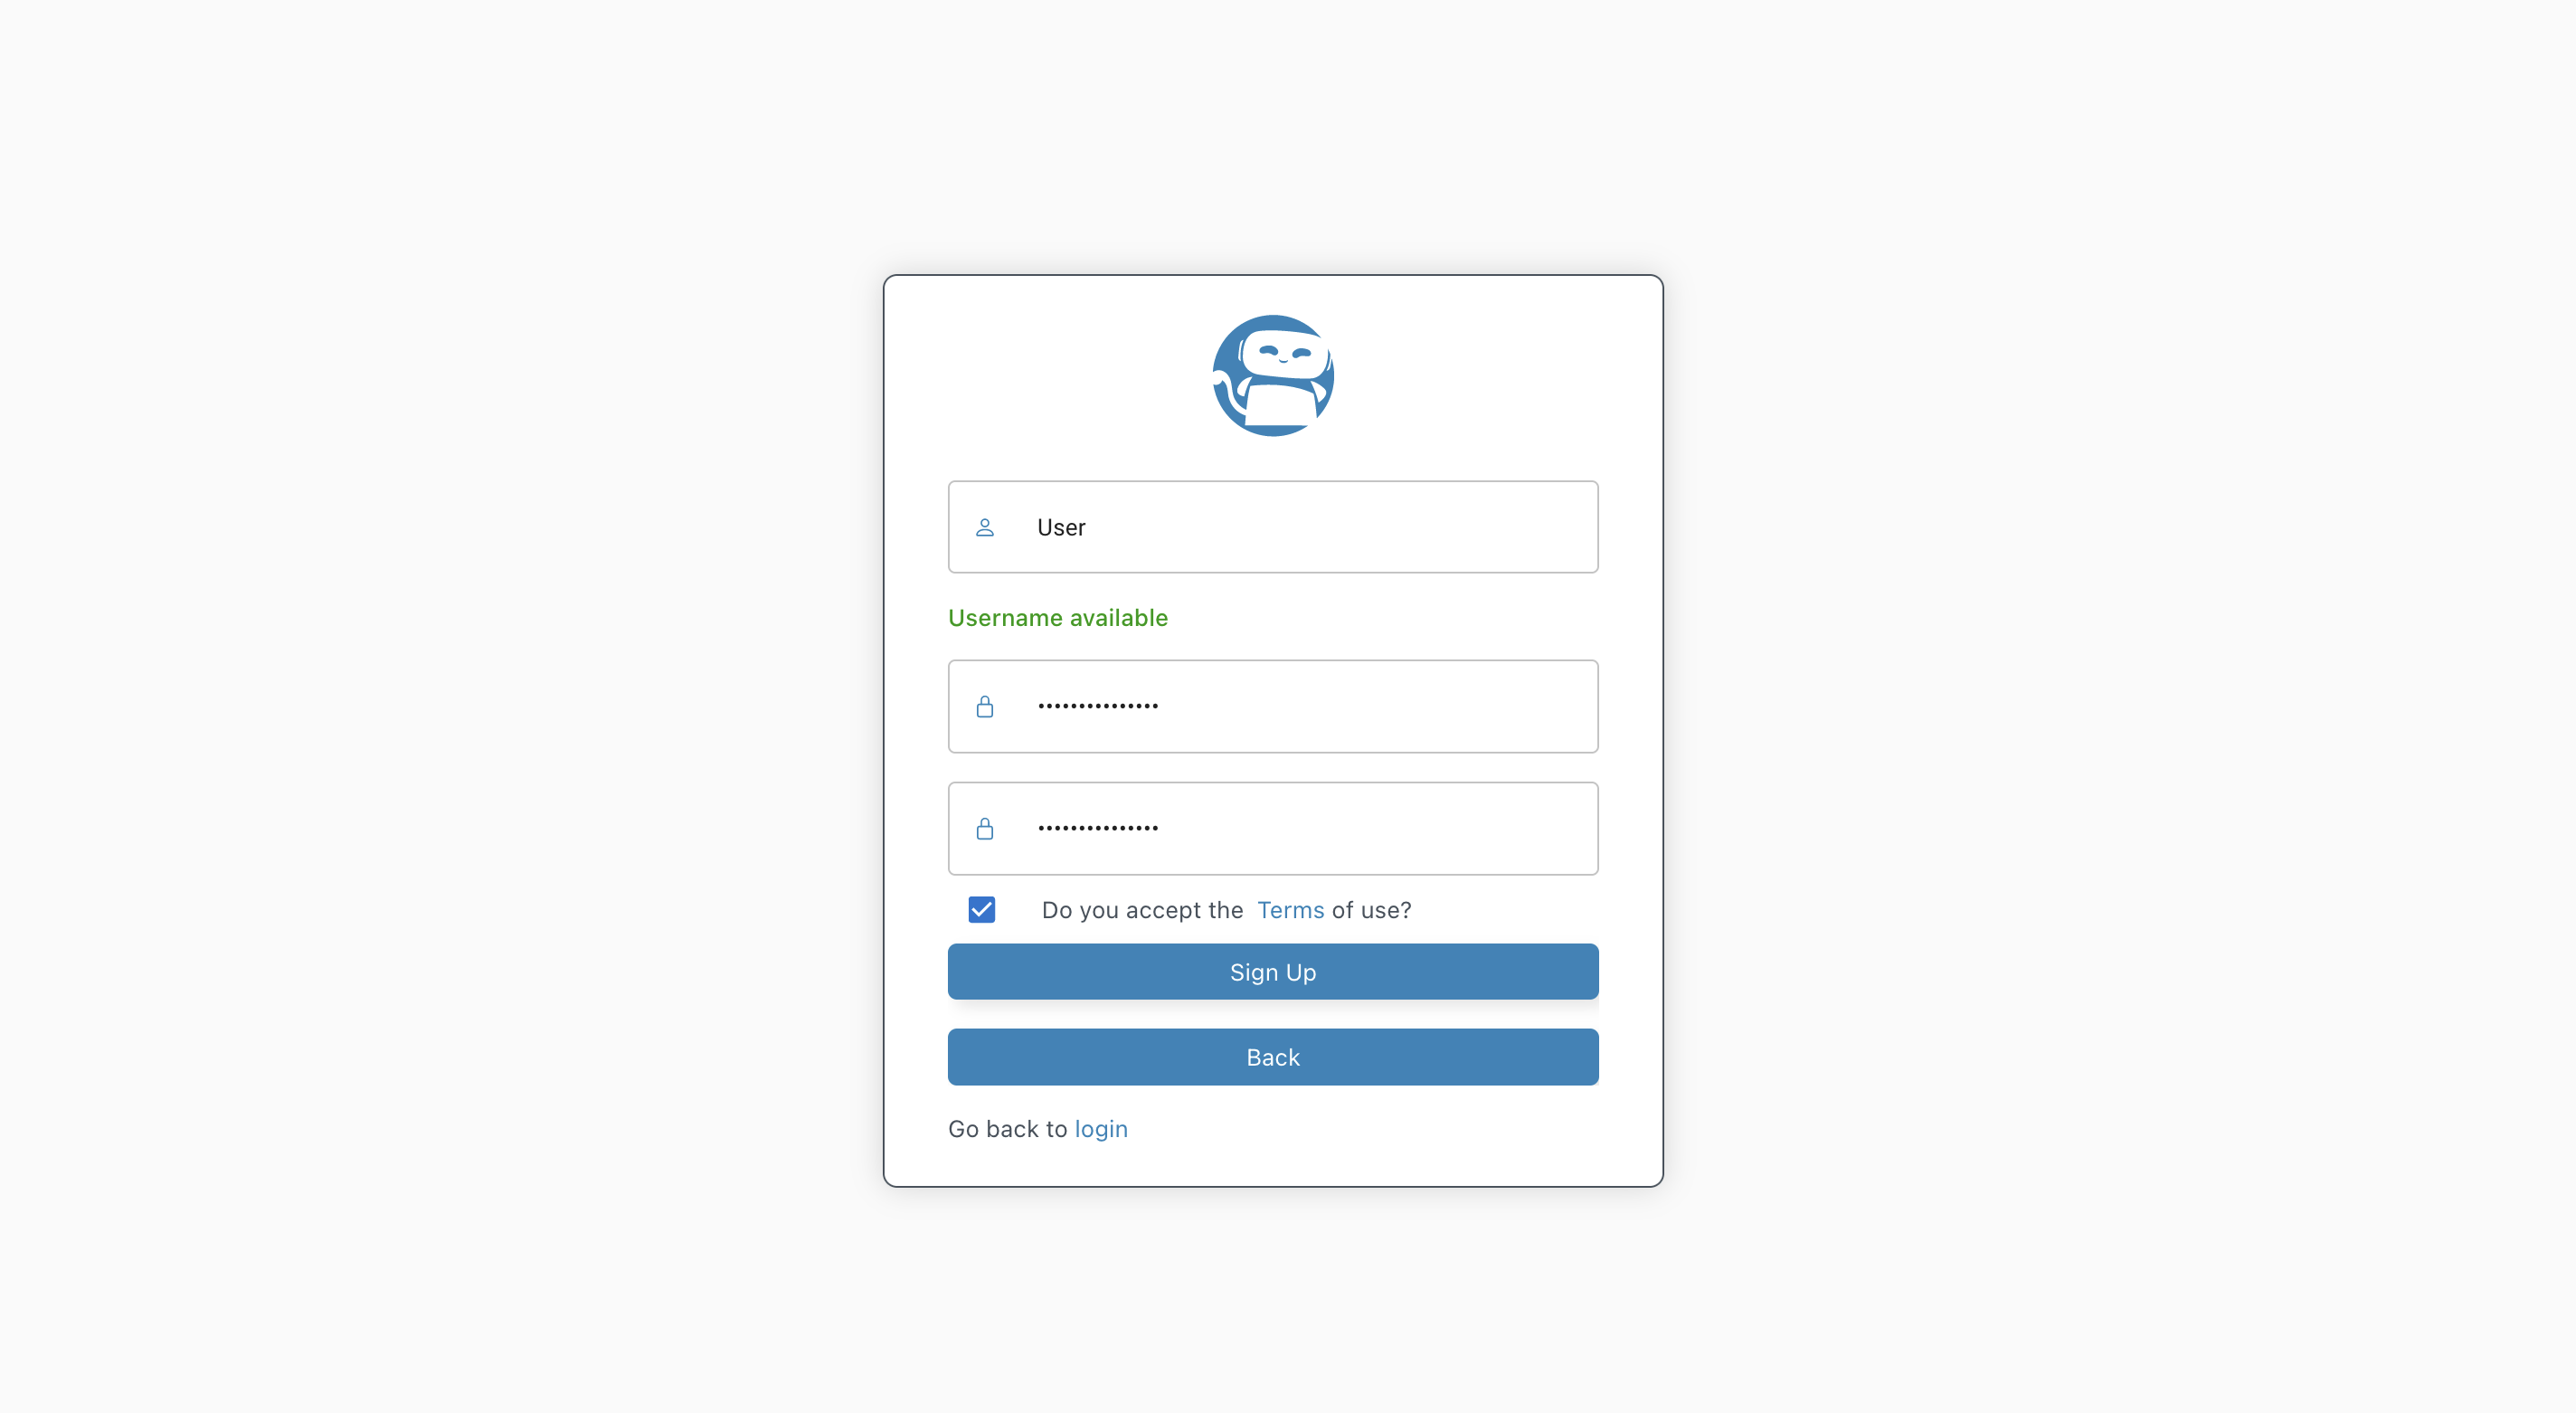
4) Create a Username and Password for your account , confirm terms and conditions and click on Sign Up.
For Example - Here Username is "User" and password is randomly generated.
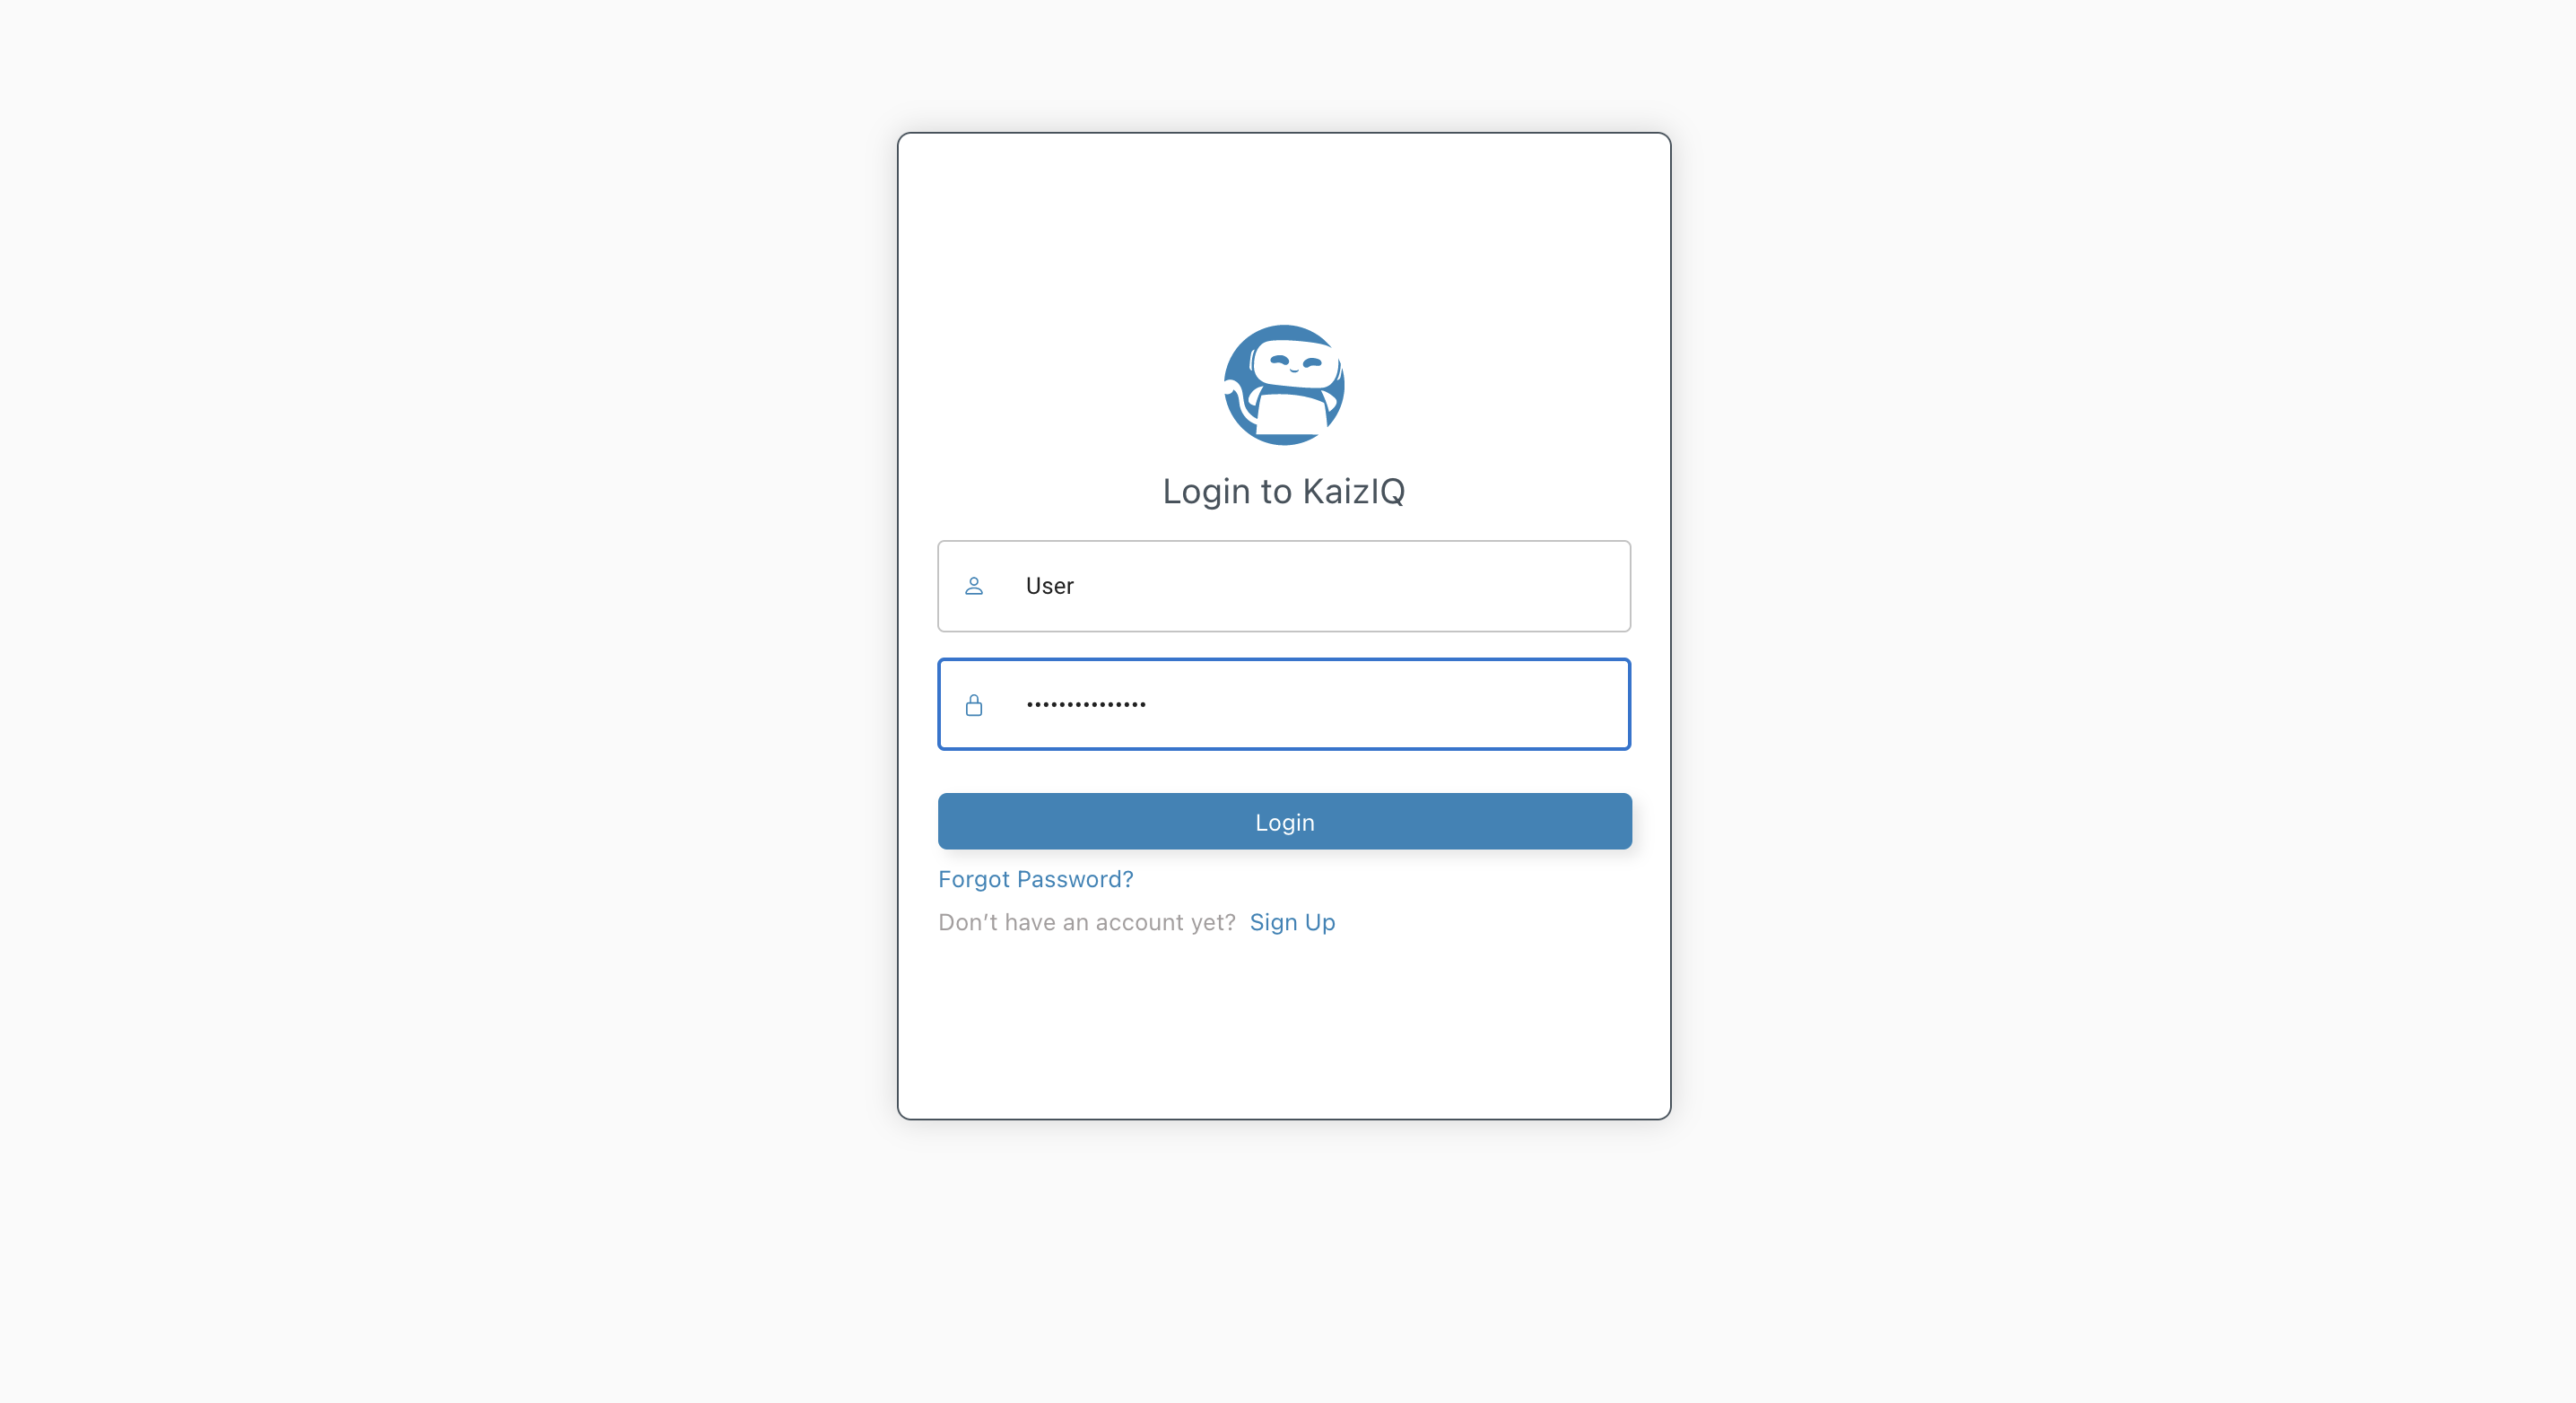
5) You will be redirected to the login page. Enter your Username and Password and click on Sign In.
For Example - Here Username is "User" and password is same as the one created in the previous step.
Congratulations! You have successfully created an account on KaizIQ. Let's get started with the basics.
Organization
Create an Organization
Follow the steps below to Create an Organization:
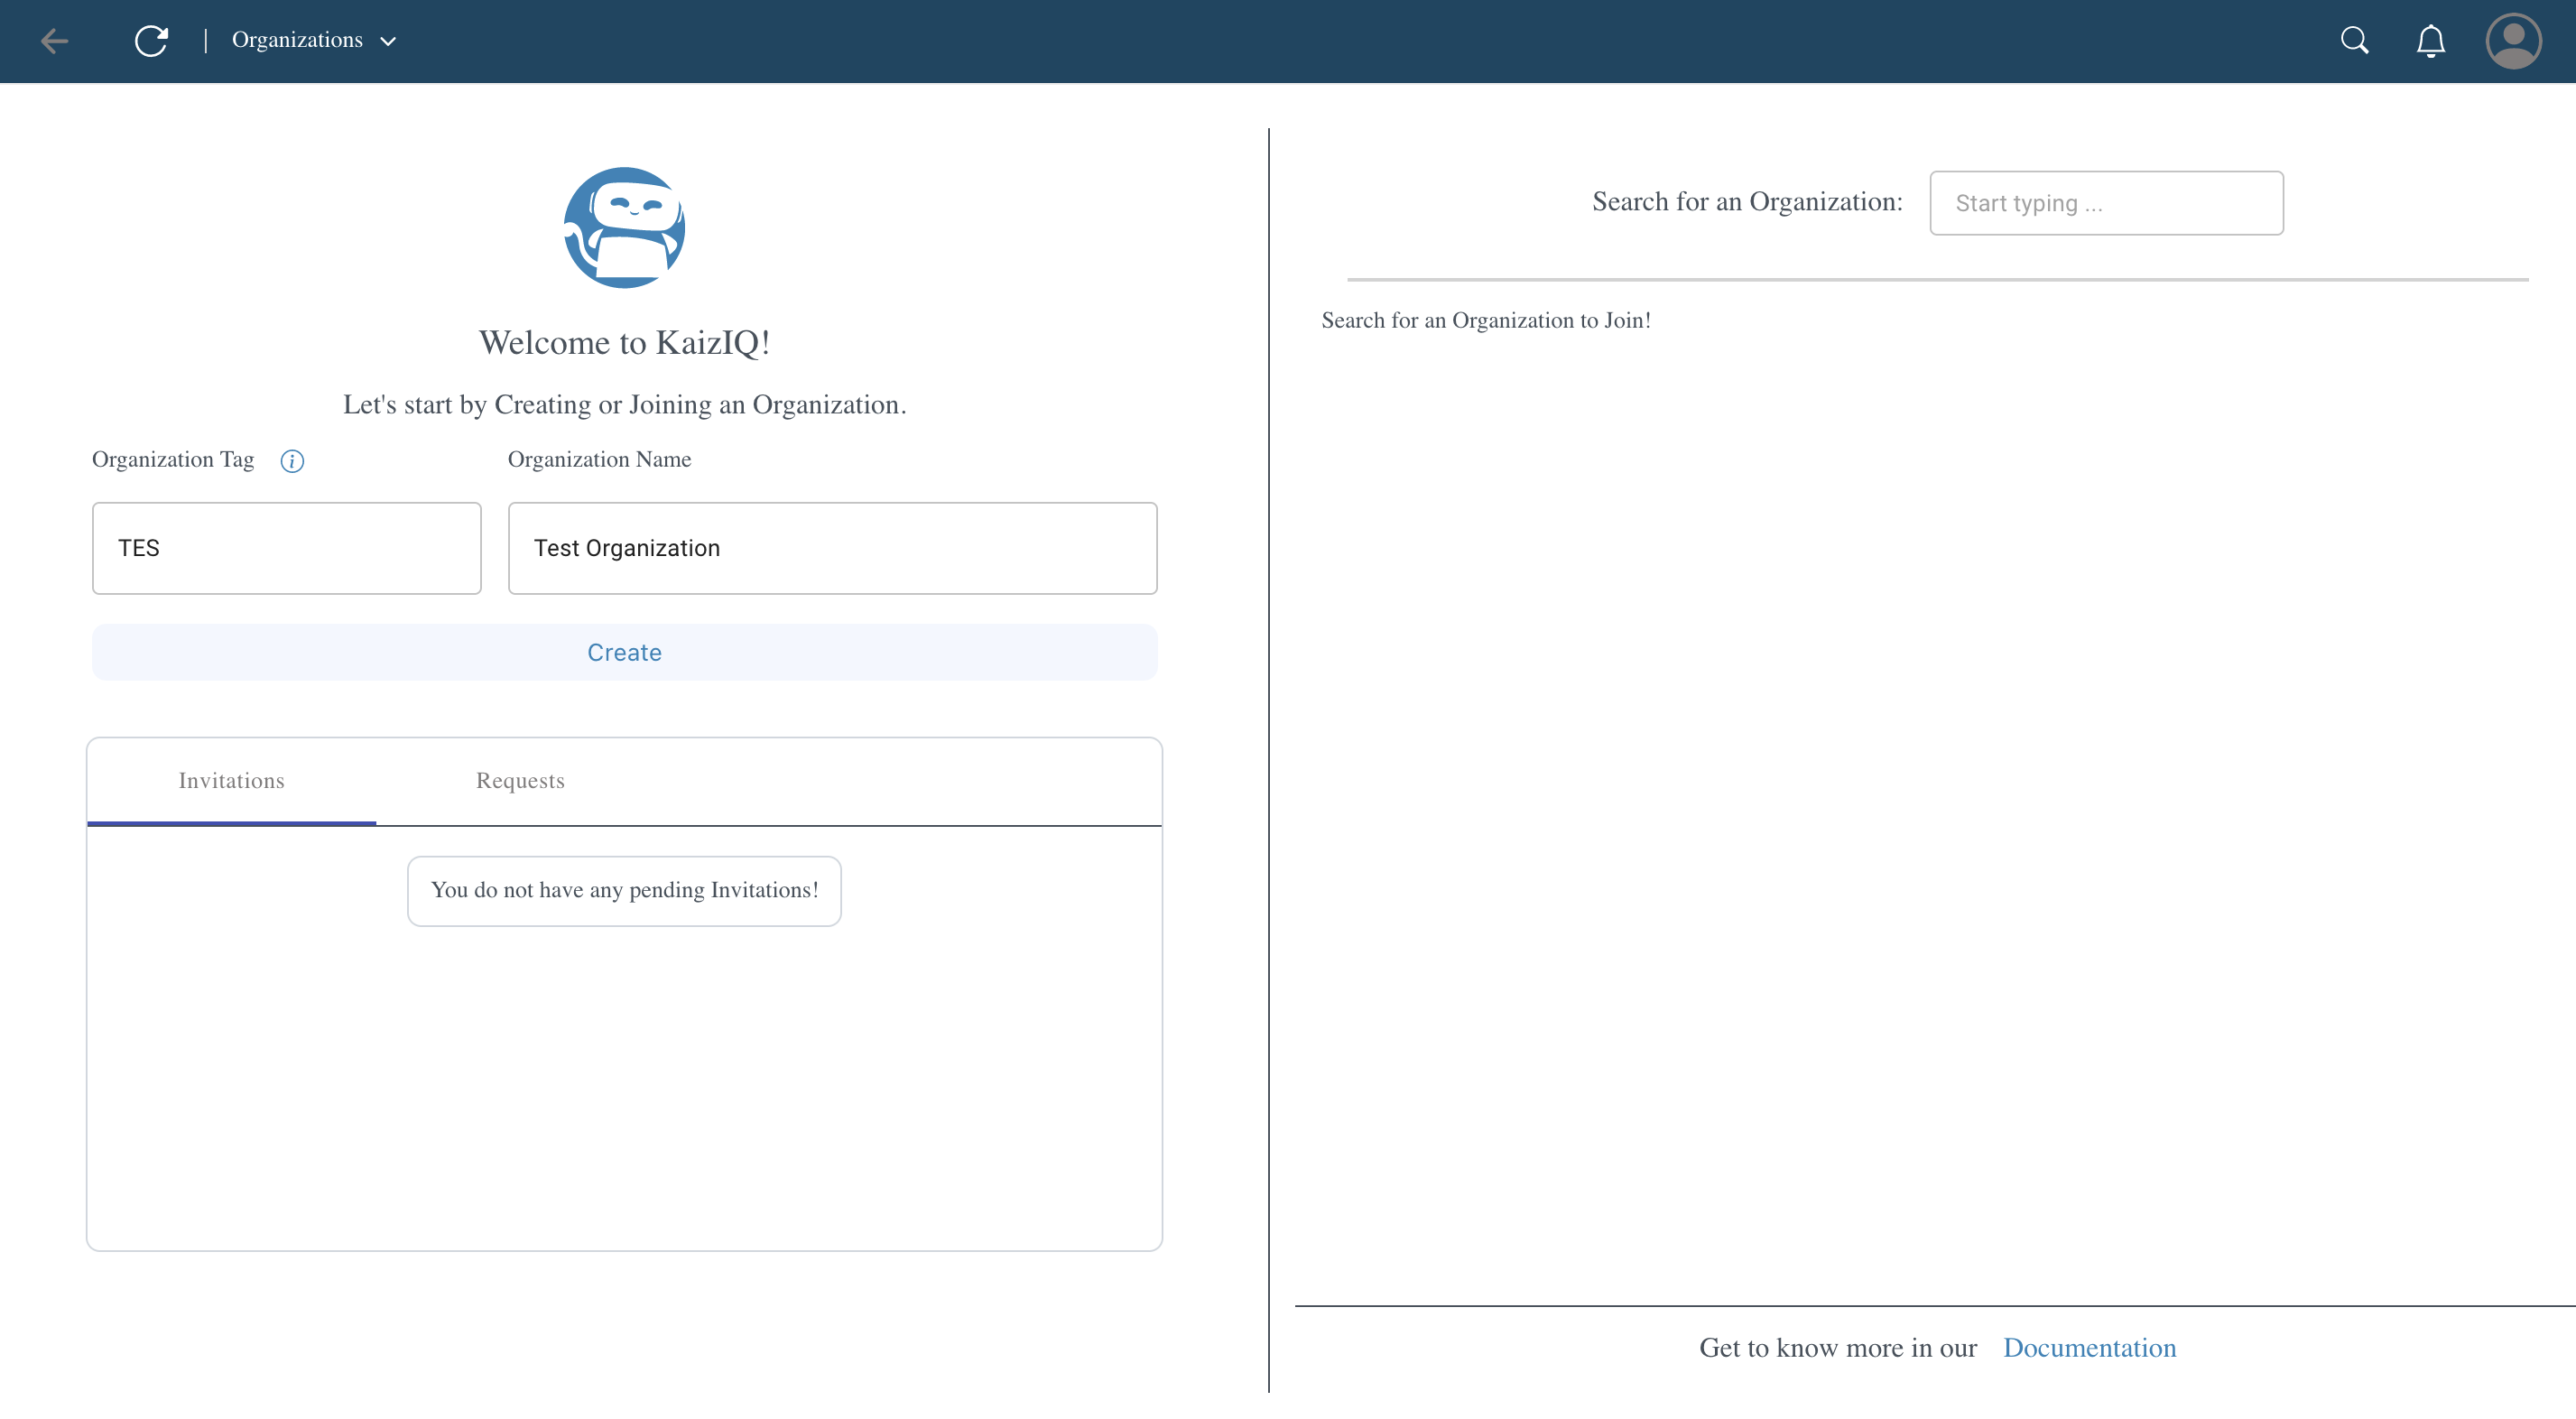
1) Once you are inside an Application, you will be able to create organization by writing organization Tag and Organization Name.
For Example - Here organization tag is "TES" and organization name is "Test Organization"
We then tap on "Create" button and organization will be created.
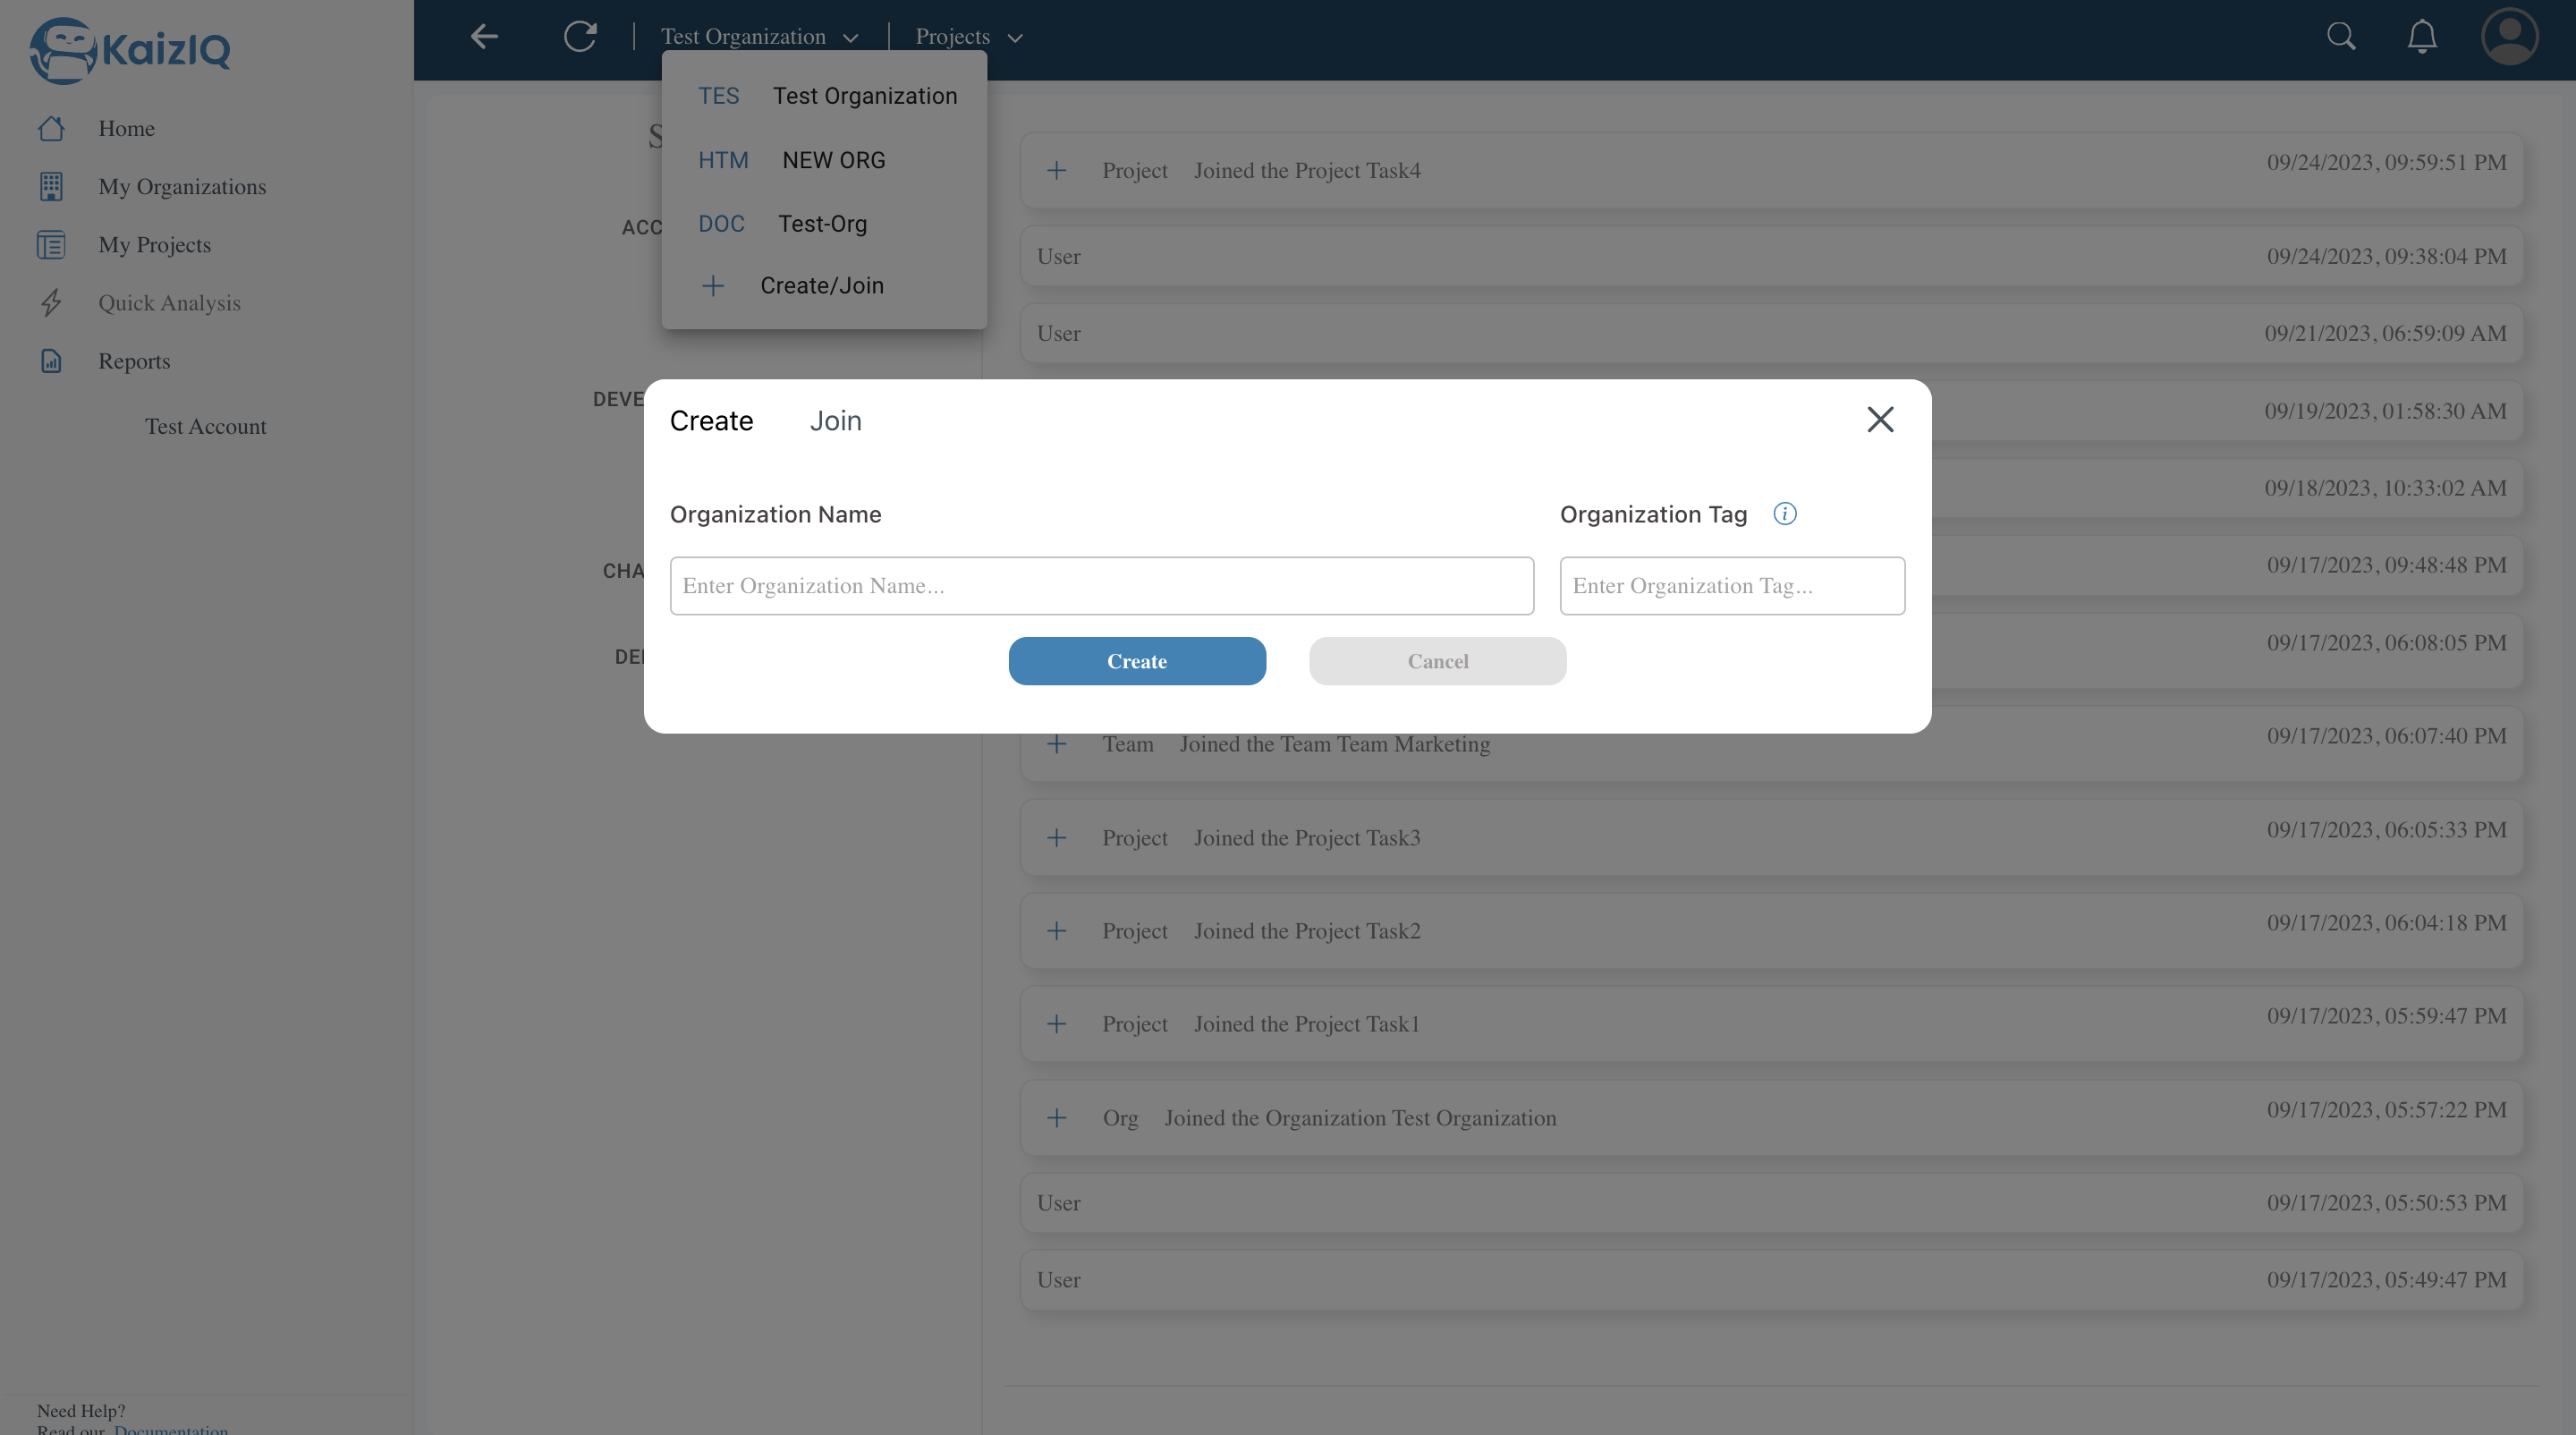
2) You can create multiple organization using organization tags and names using the "+" button in the top panel.
3) Your Organization will be created and you will be redirected to the Organization Page.
Join an Organization
1) Once you are inside an Application, you will see two options on the top-panel. Click on the plus button next to Organization.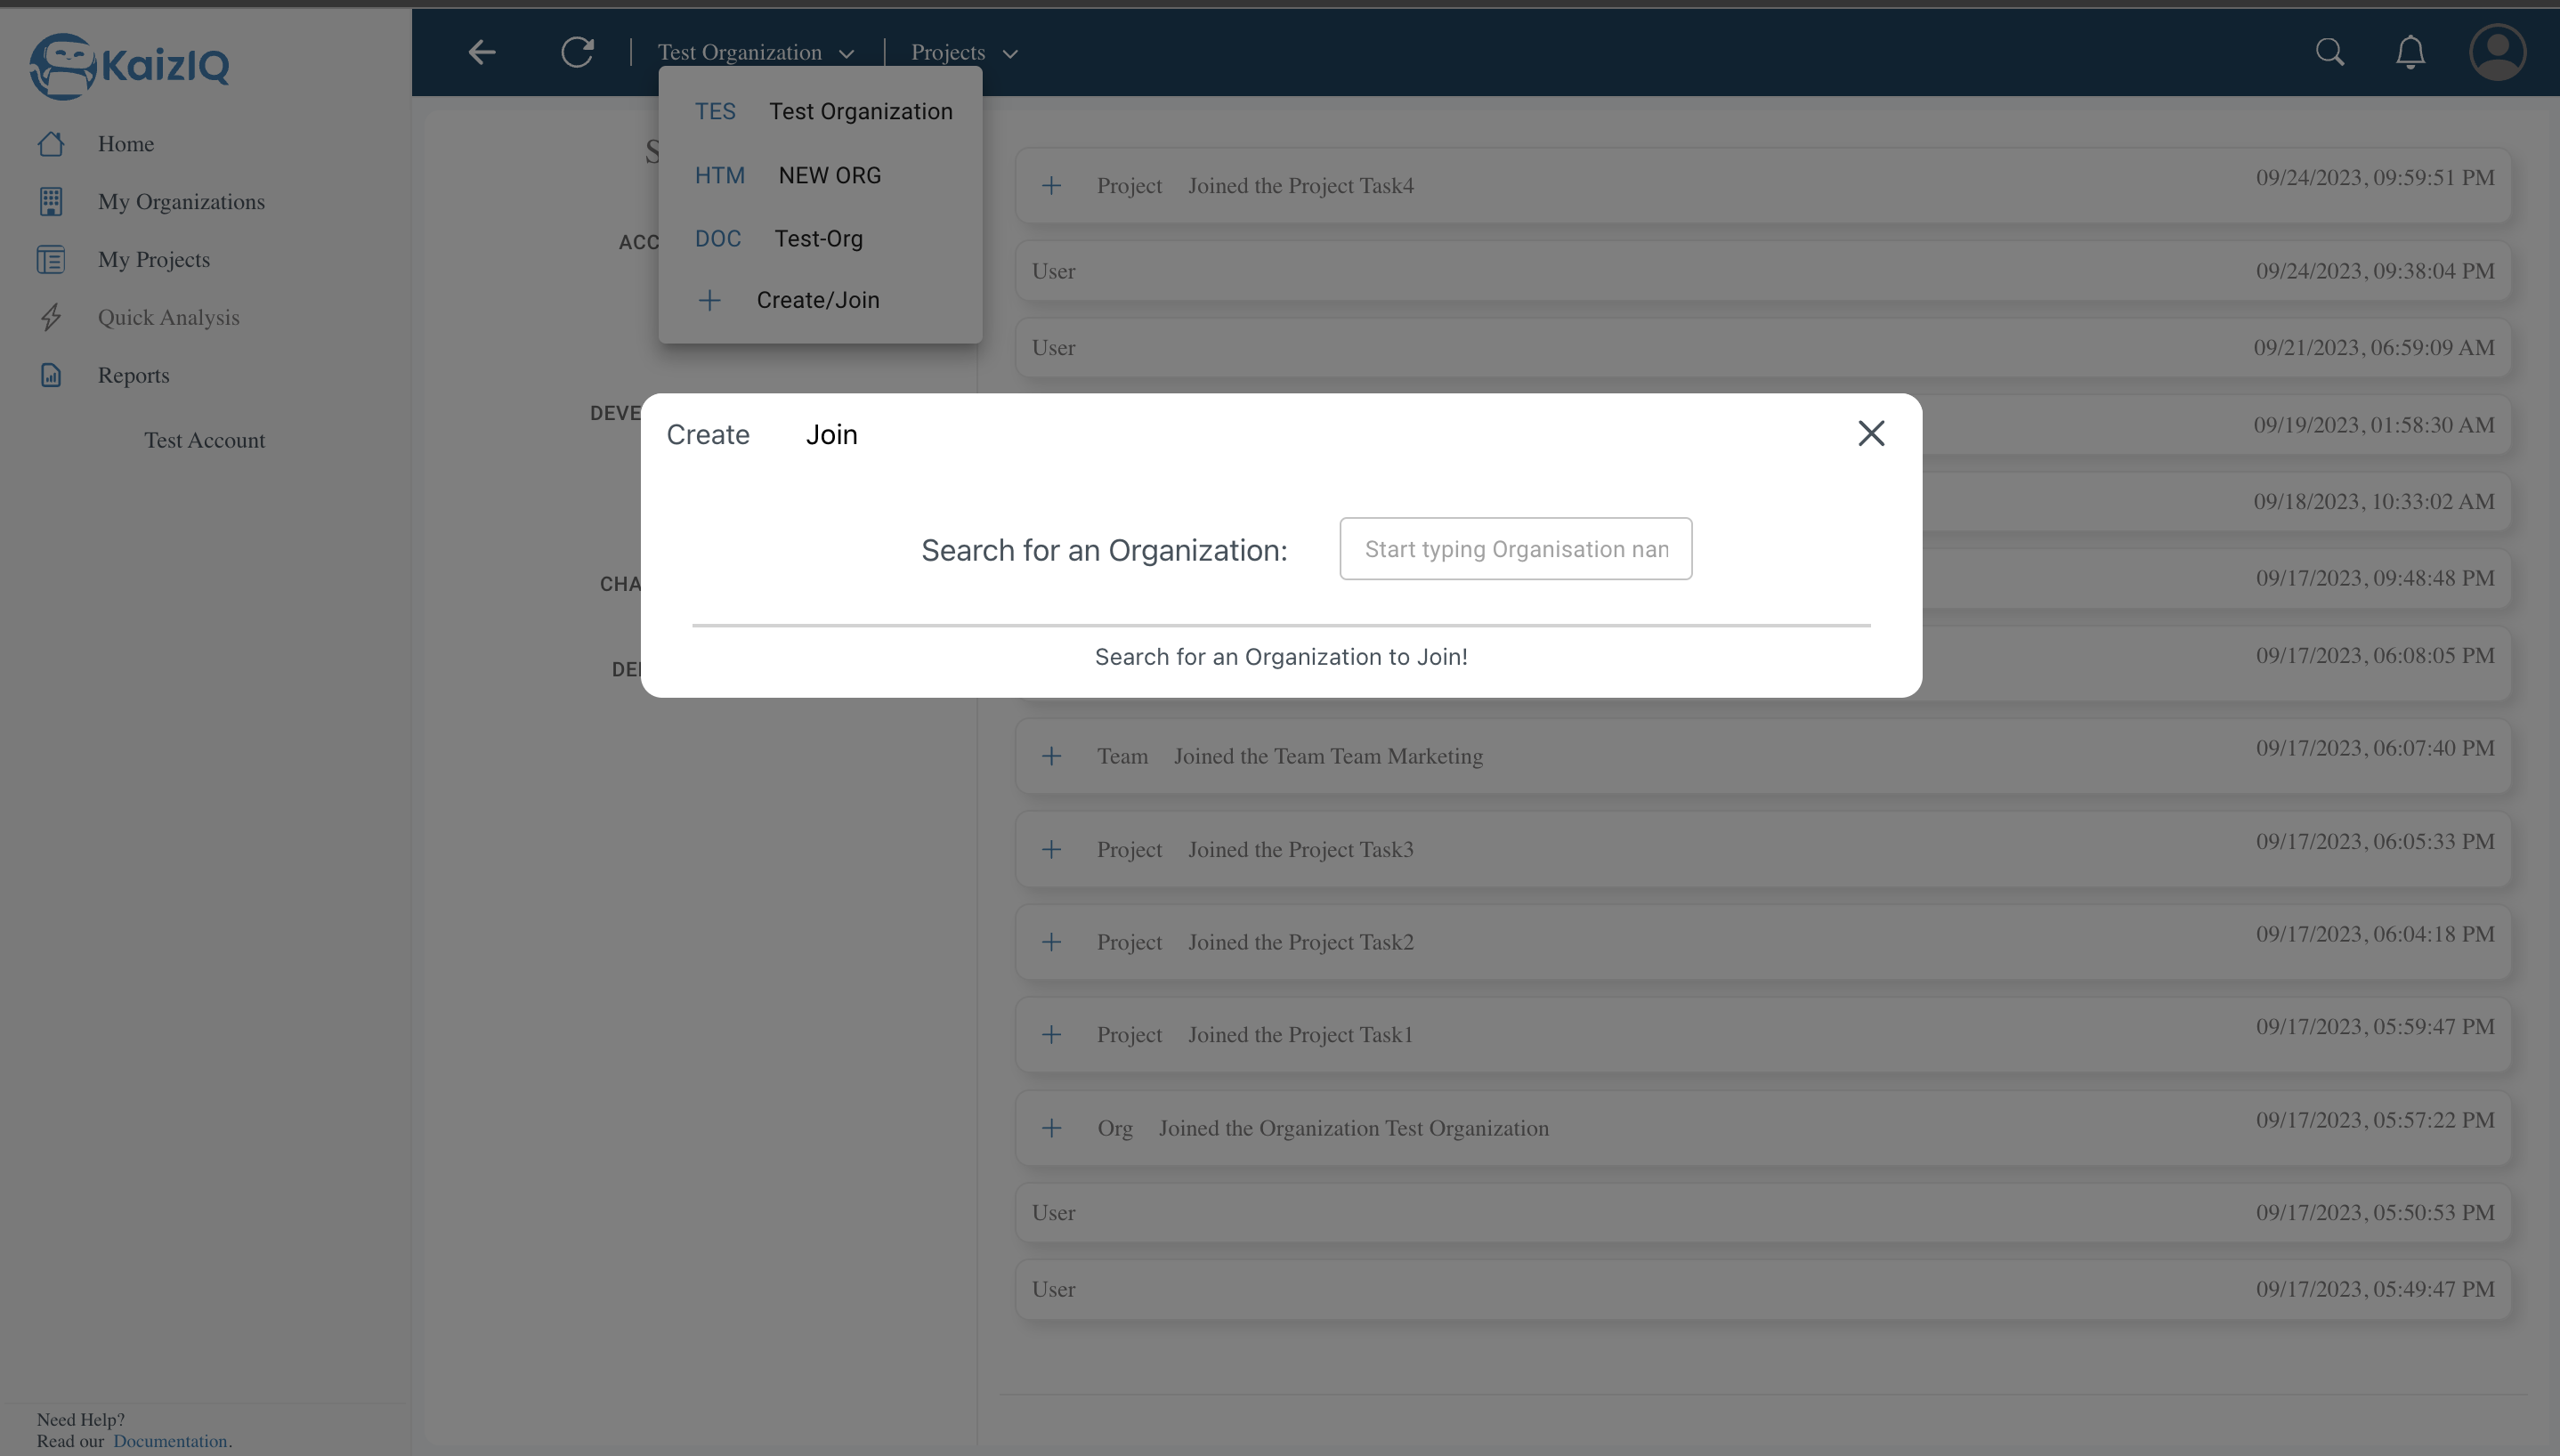
2) Select the Join tab on top, and start typing the Organization name in the search bar. NOTE: Only Organizations with public visibility will show up here.
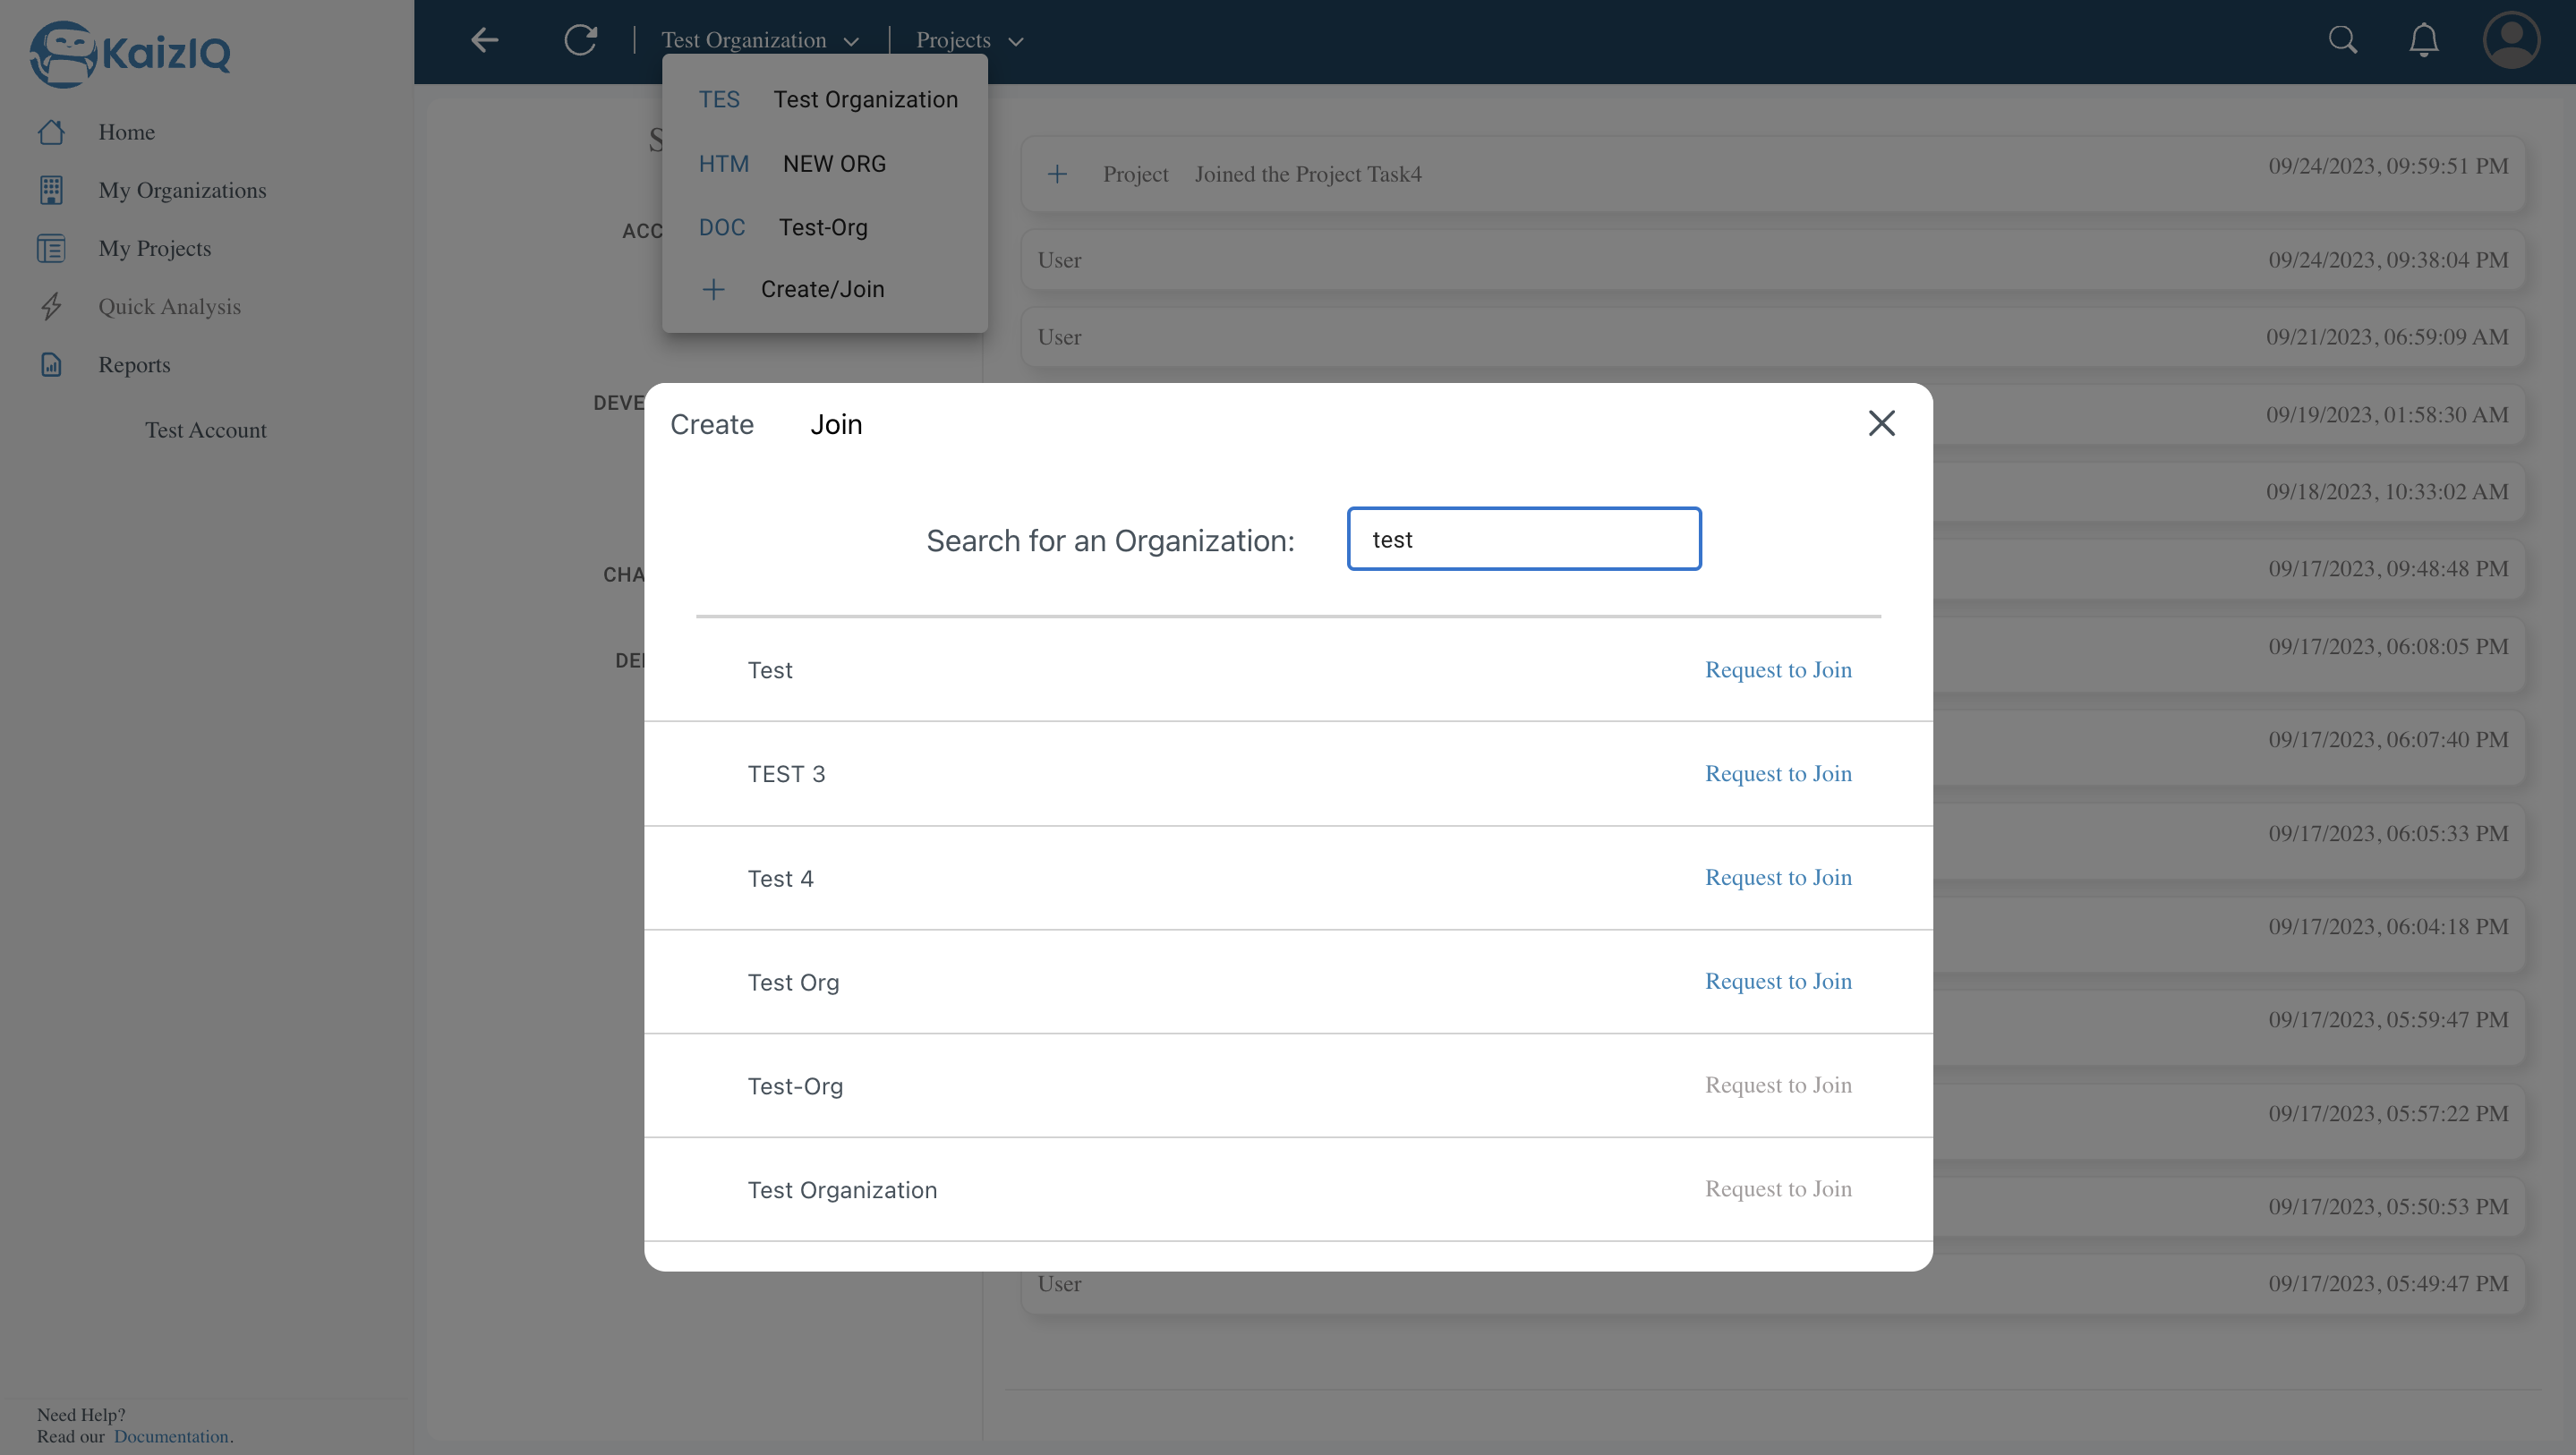
3) Click on the Organization you want to join, and click on Send Request.
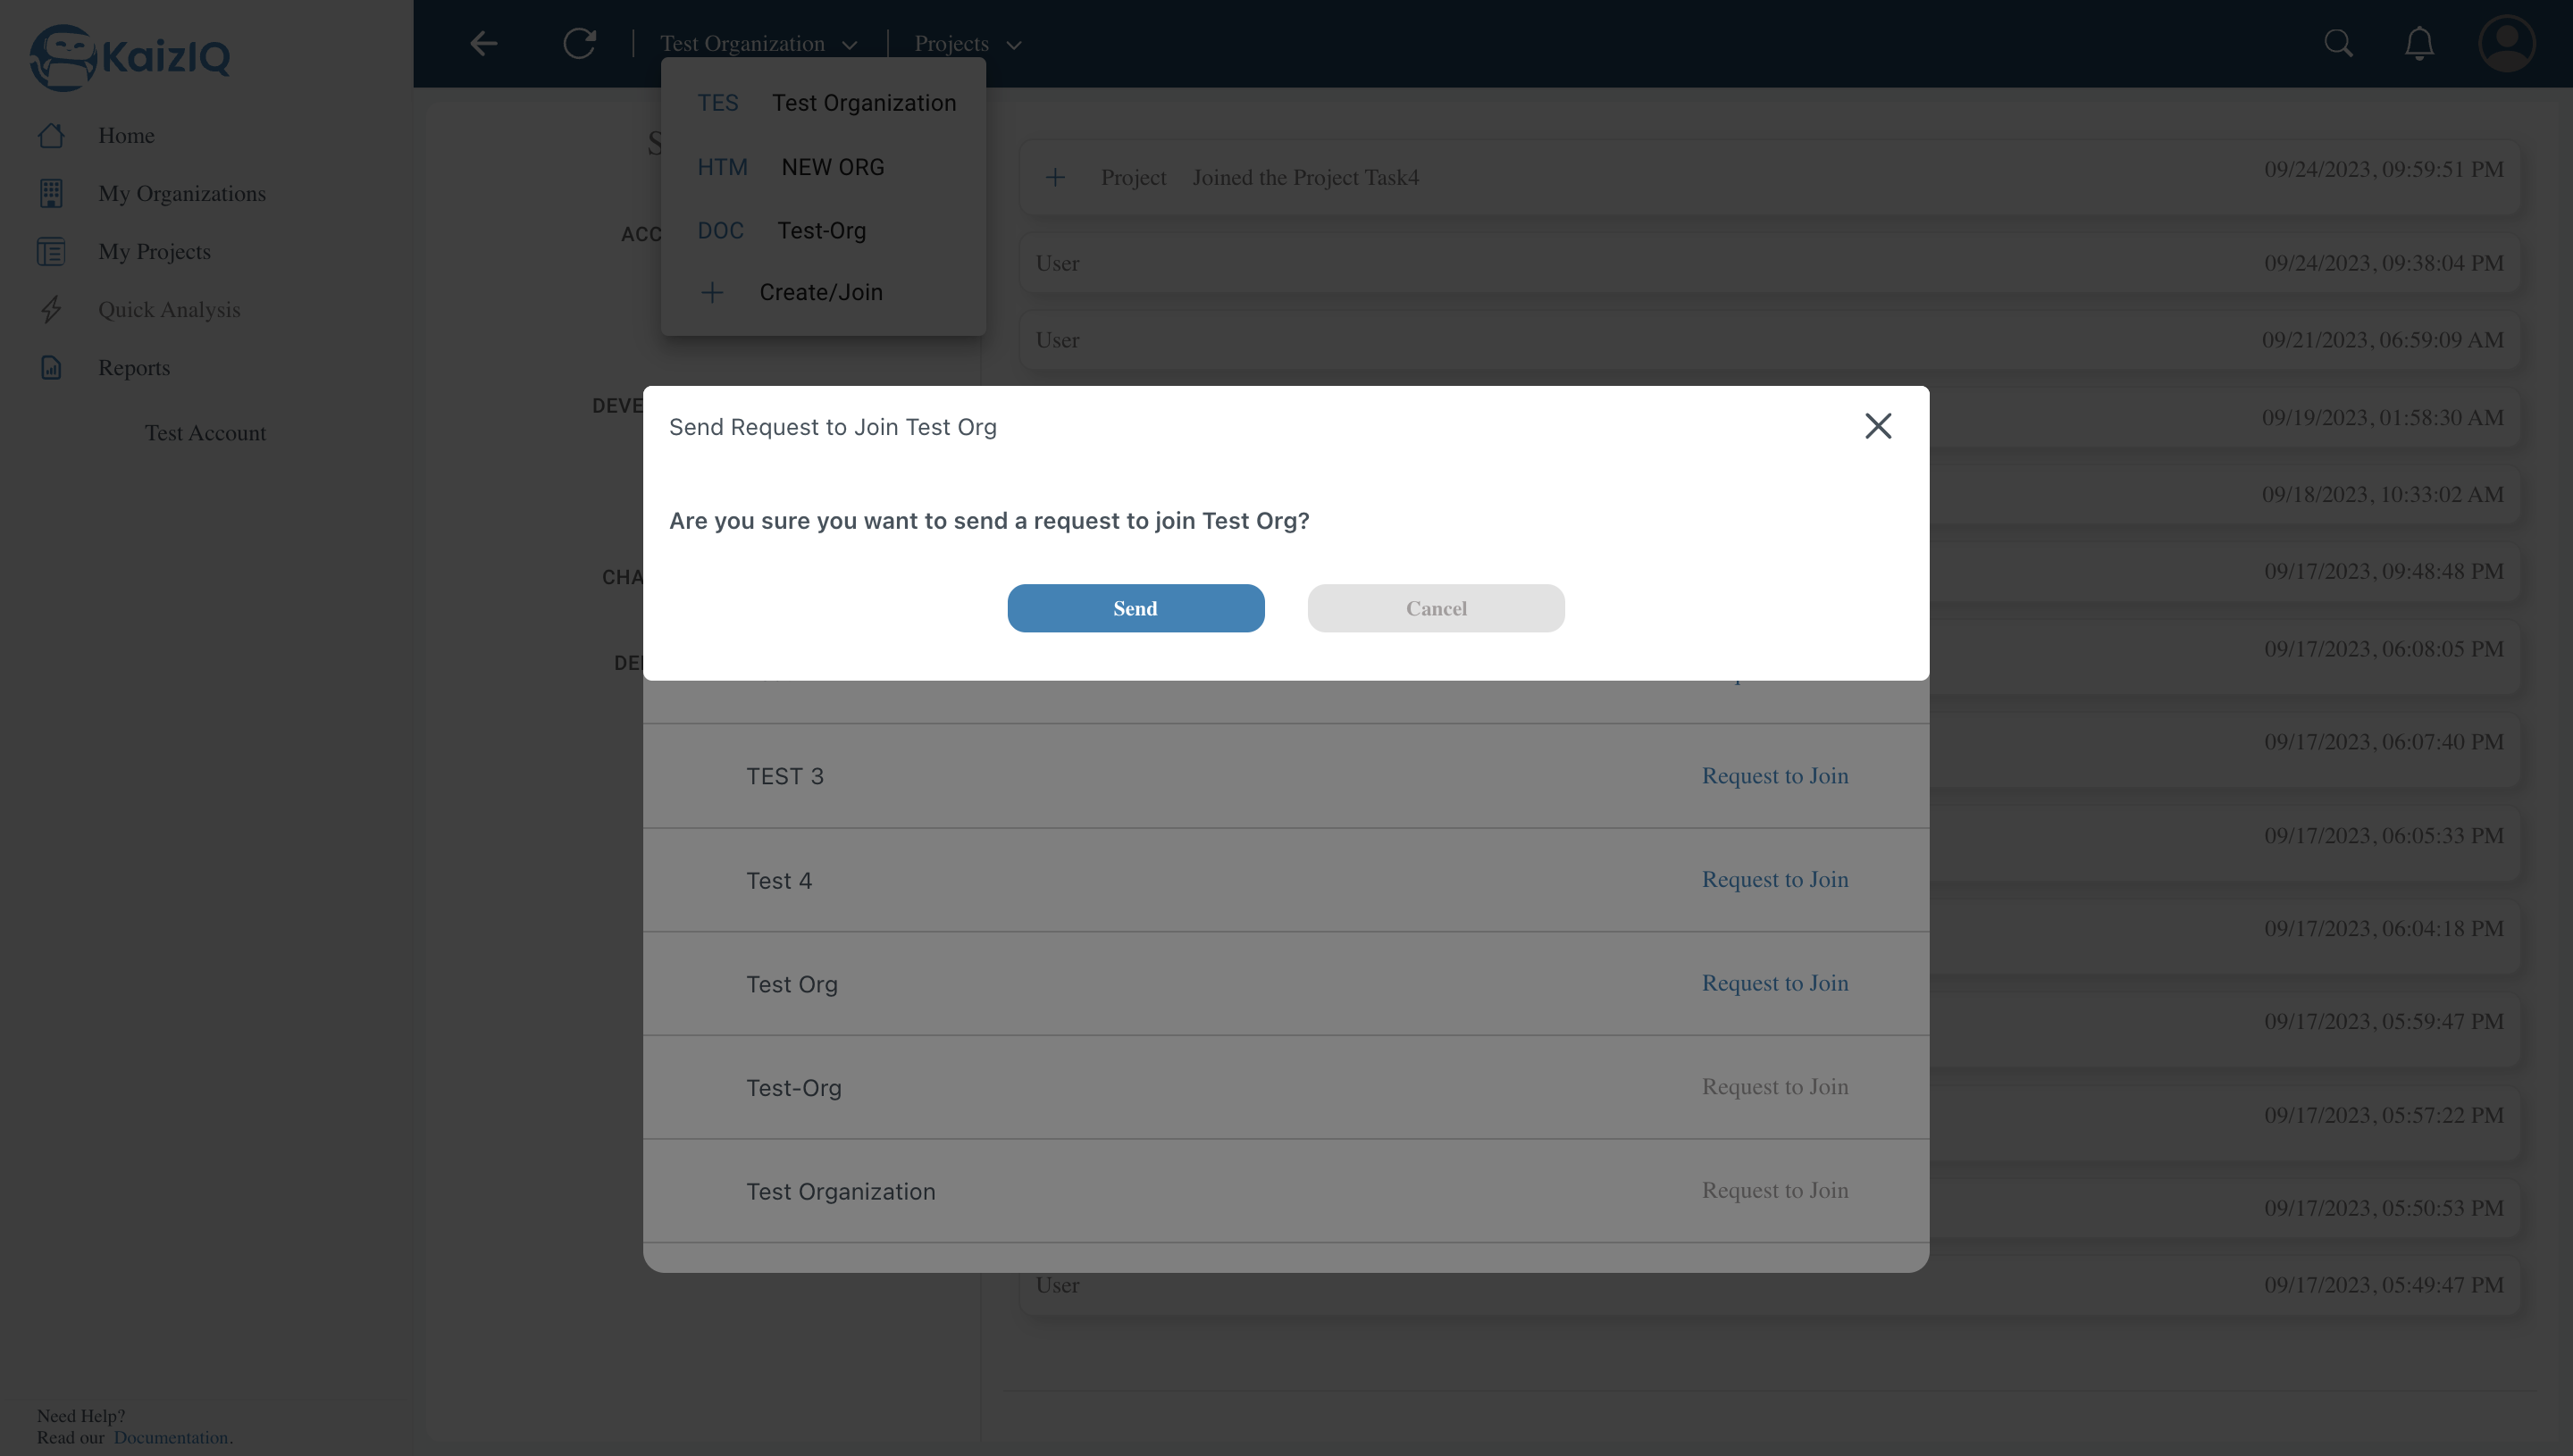
4) Once you have sent a join request, the next step will be taken by the admin/owner of the Organization.
Invite Members
1) Click on the dropdown under Organization and select the Organization you want to go to.For example - Here organization tag is "TES" and organization name is "Test Organization"

2) On the Organization page, you can go to members page from the side panel.
Here you will find an option to invite members.
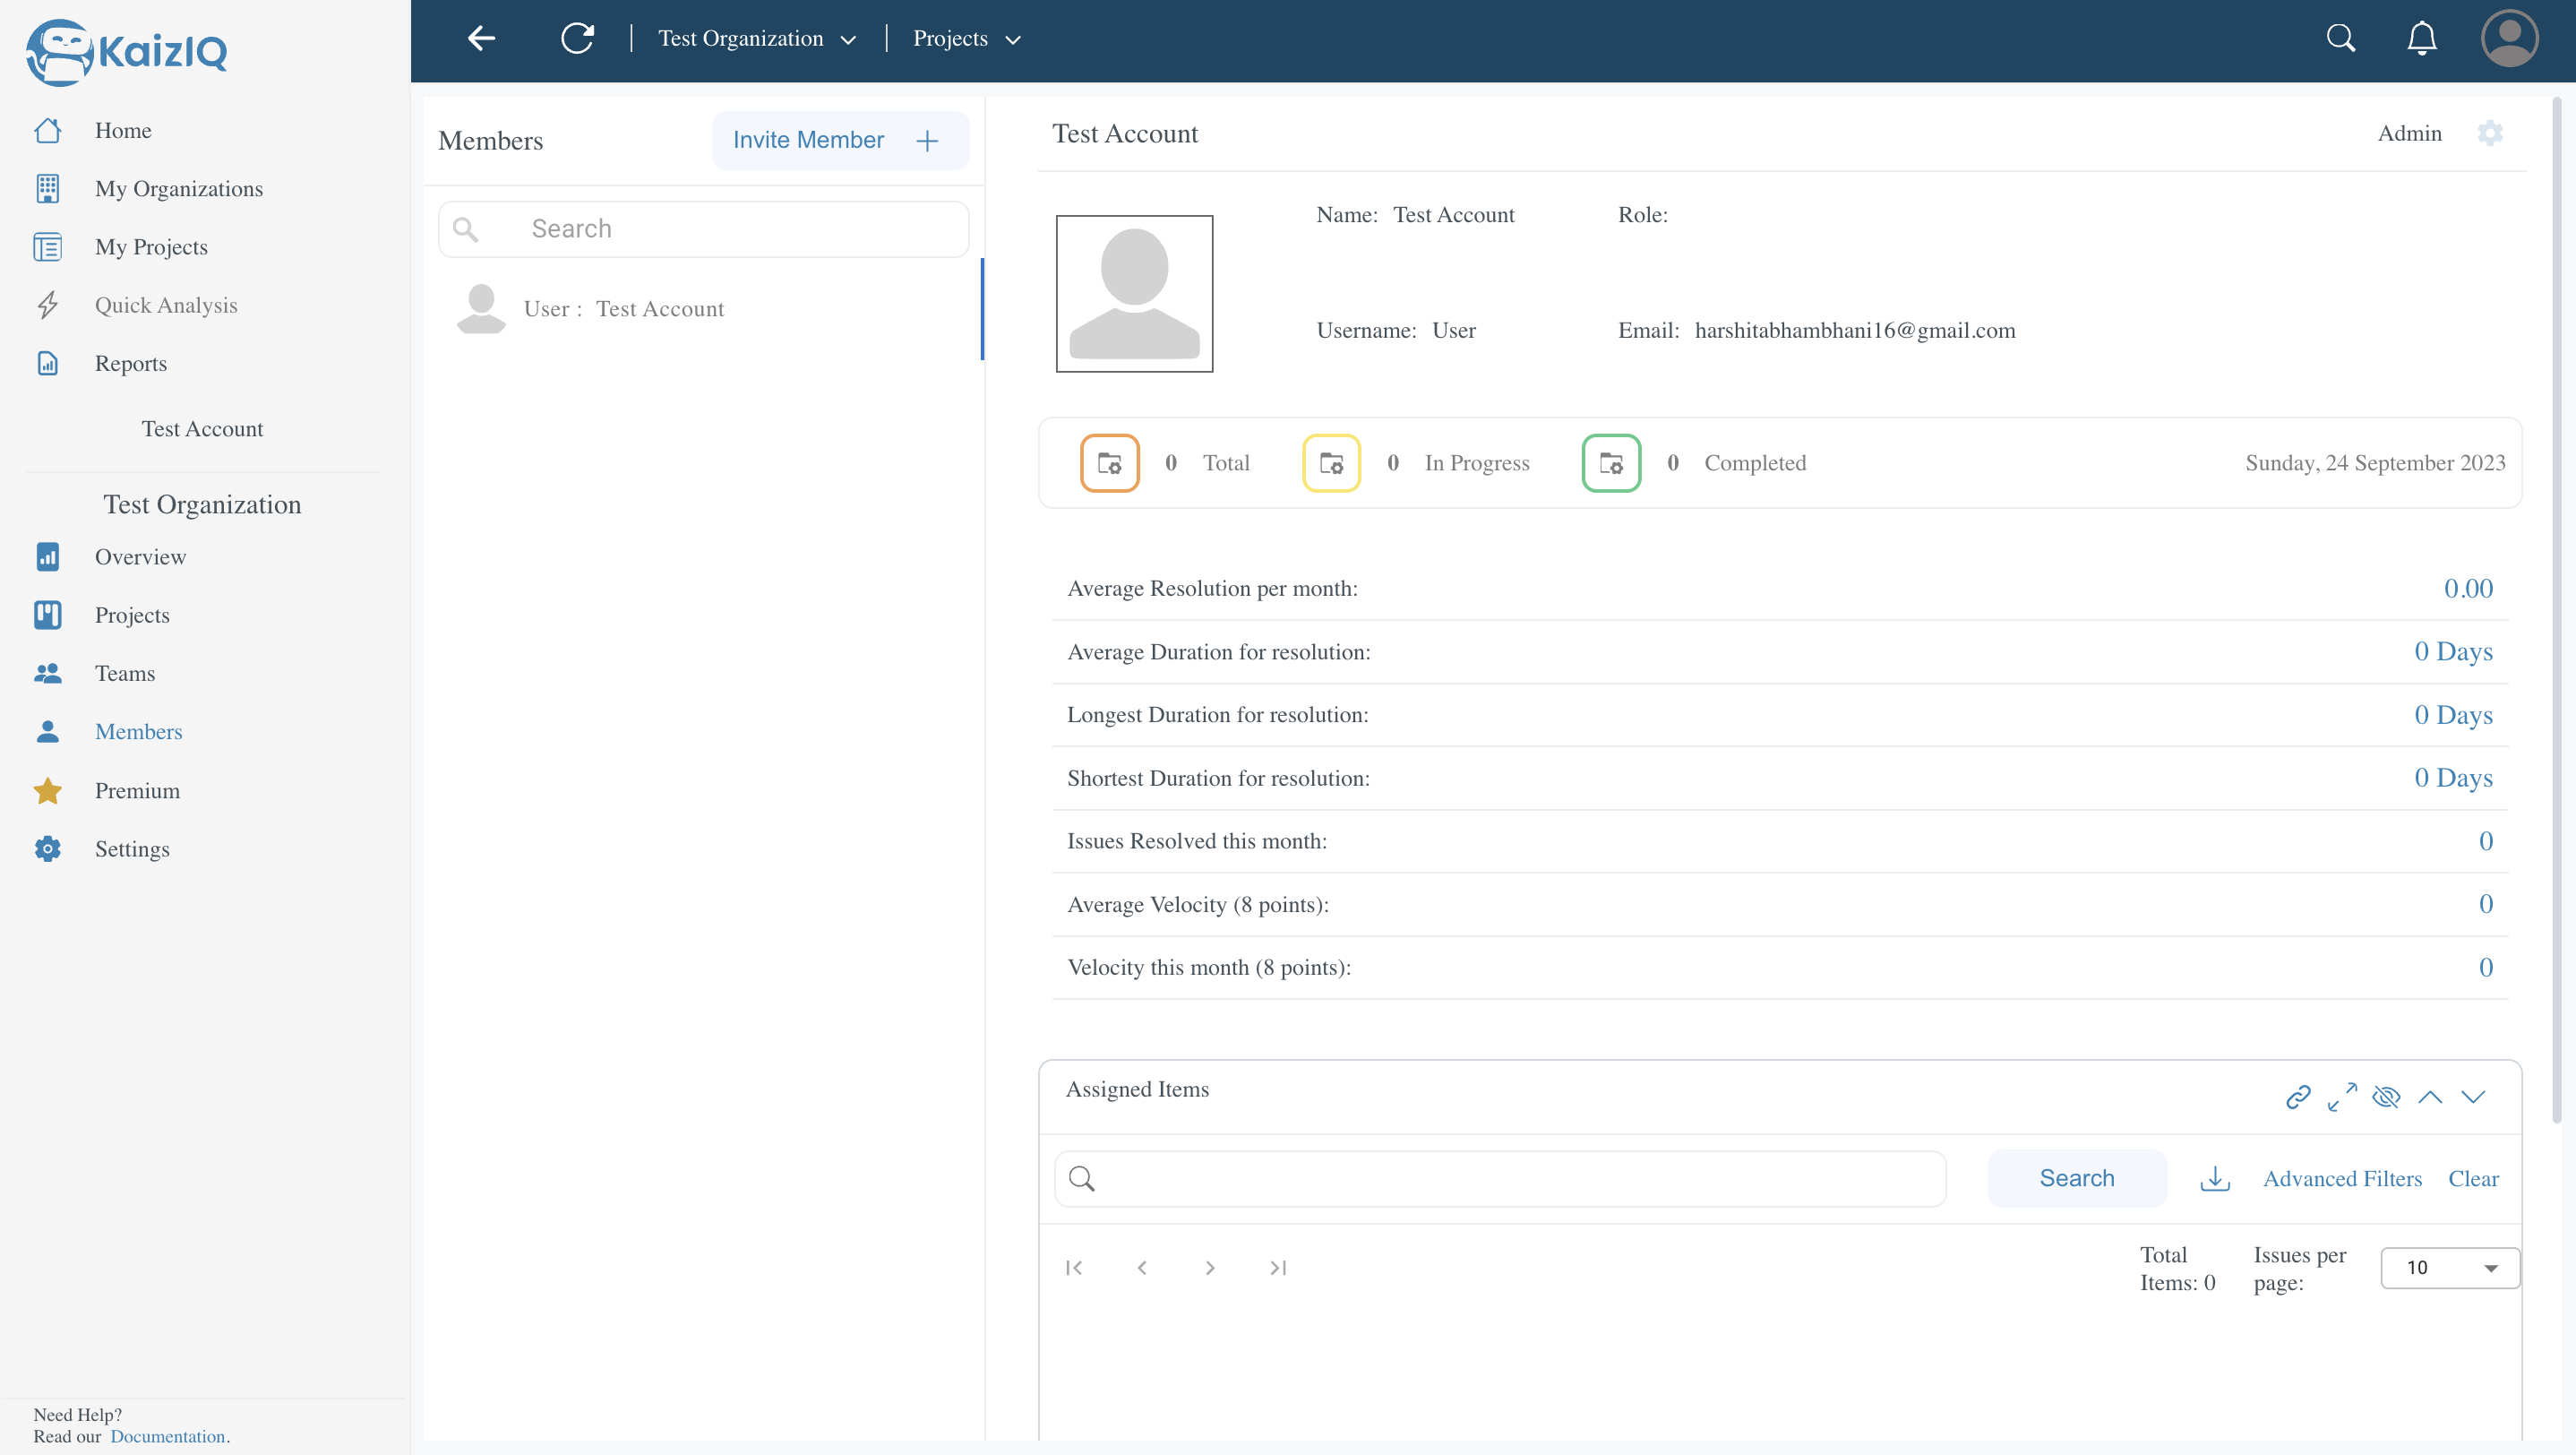
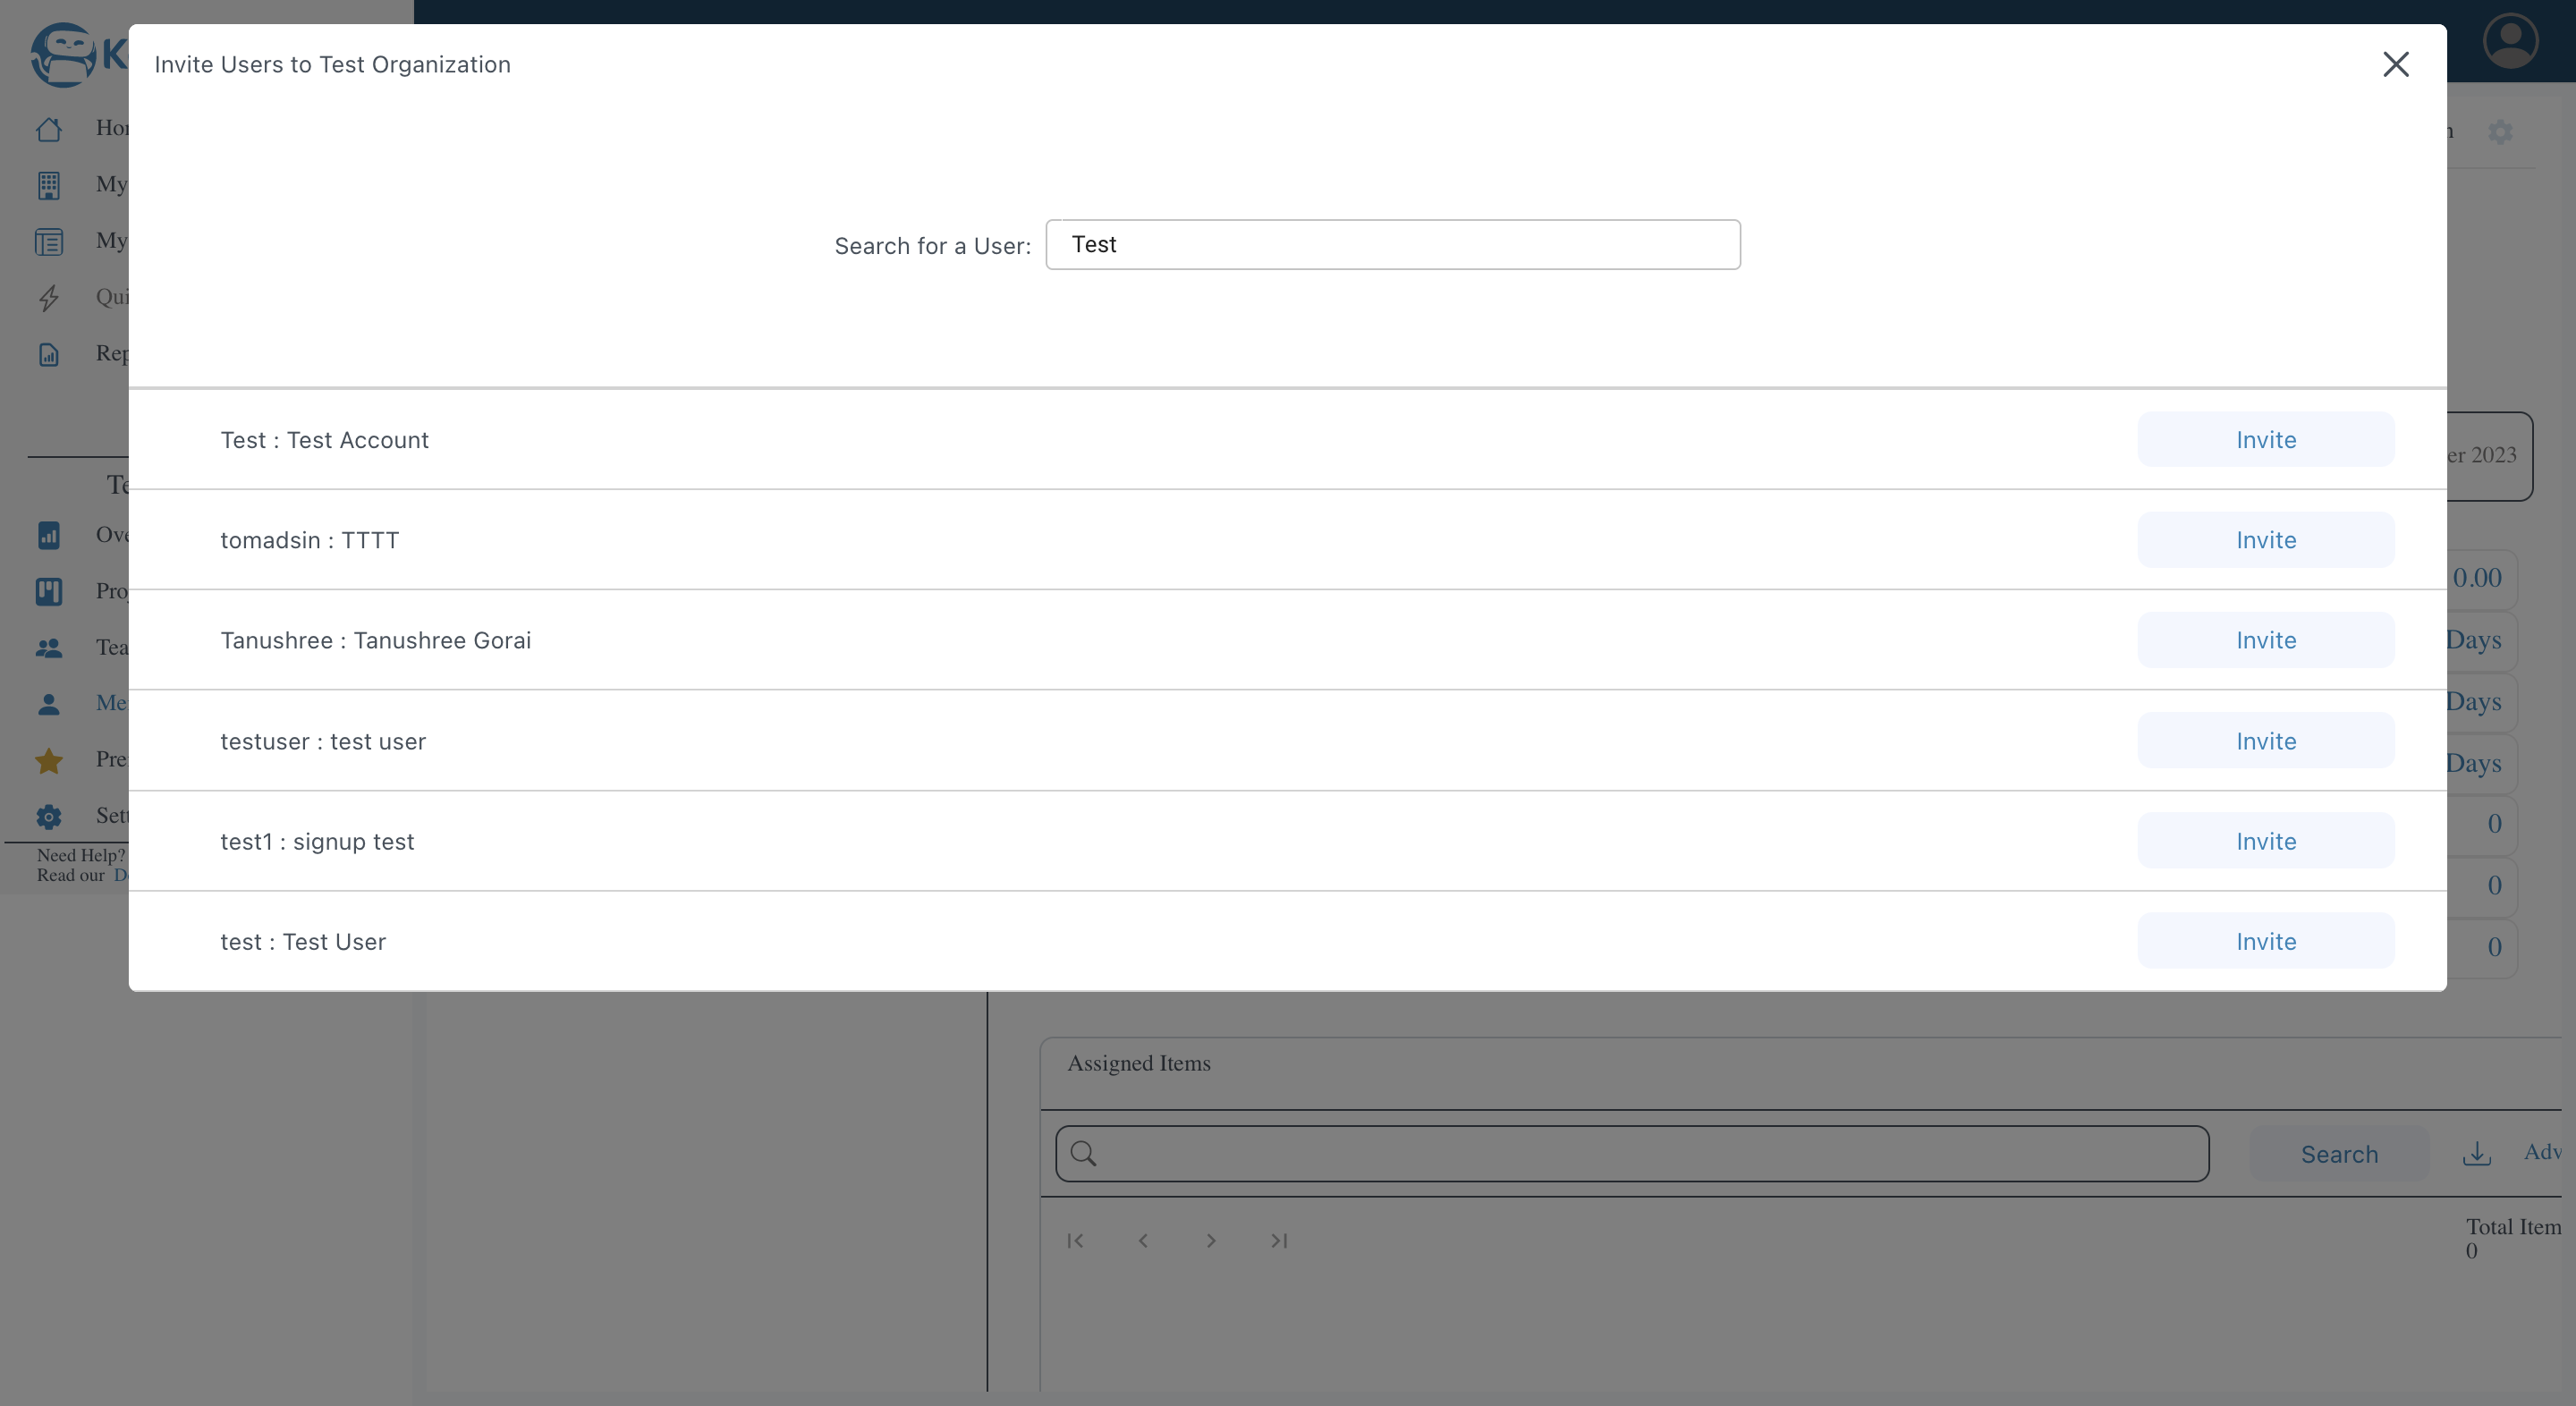
3) A box will appear and you can enter the username to invite the user.
For example - Here username we want to invite is "test user"
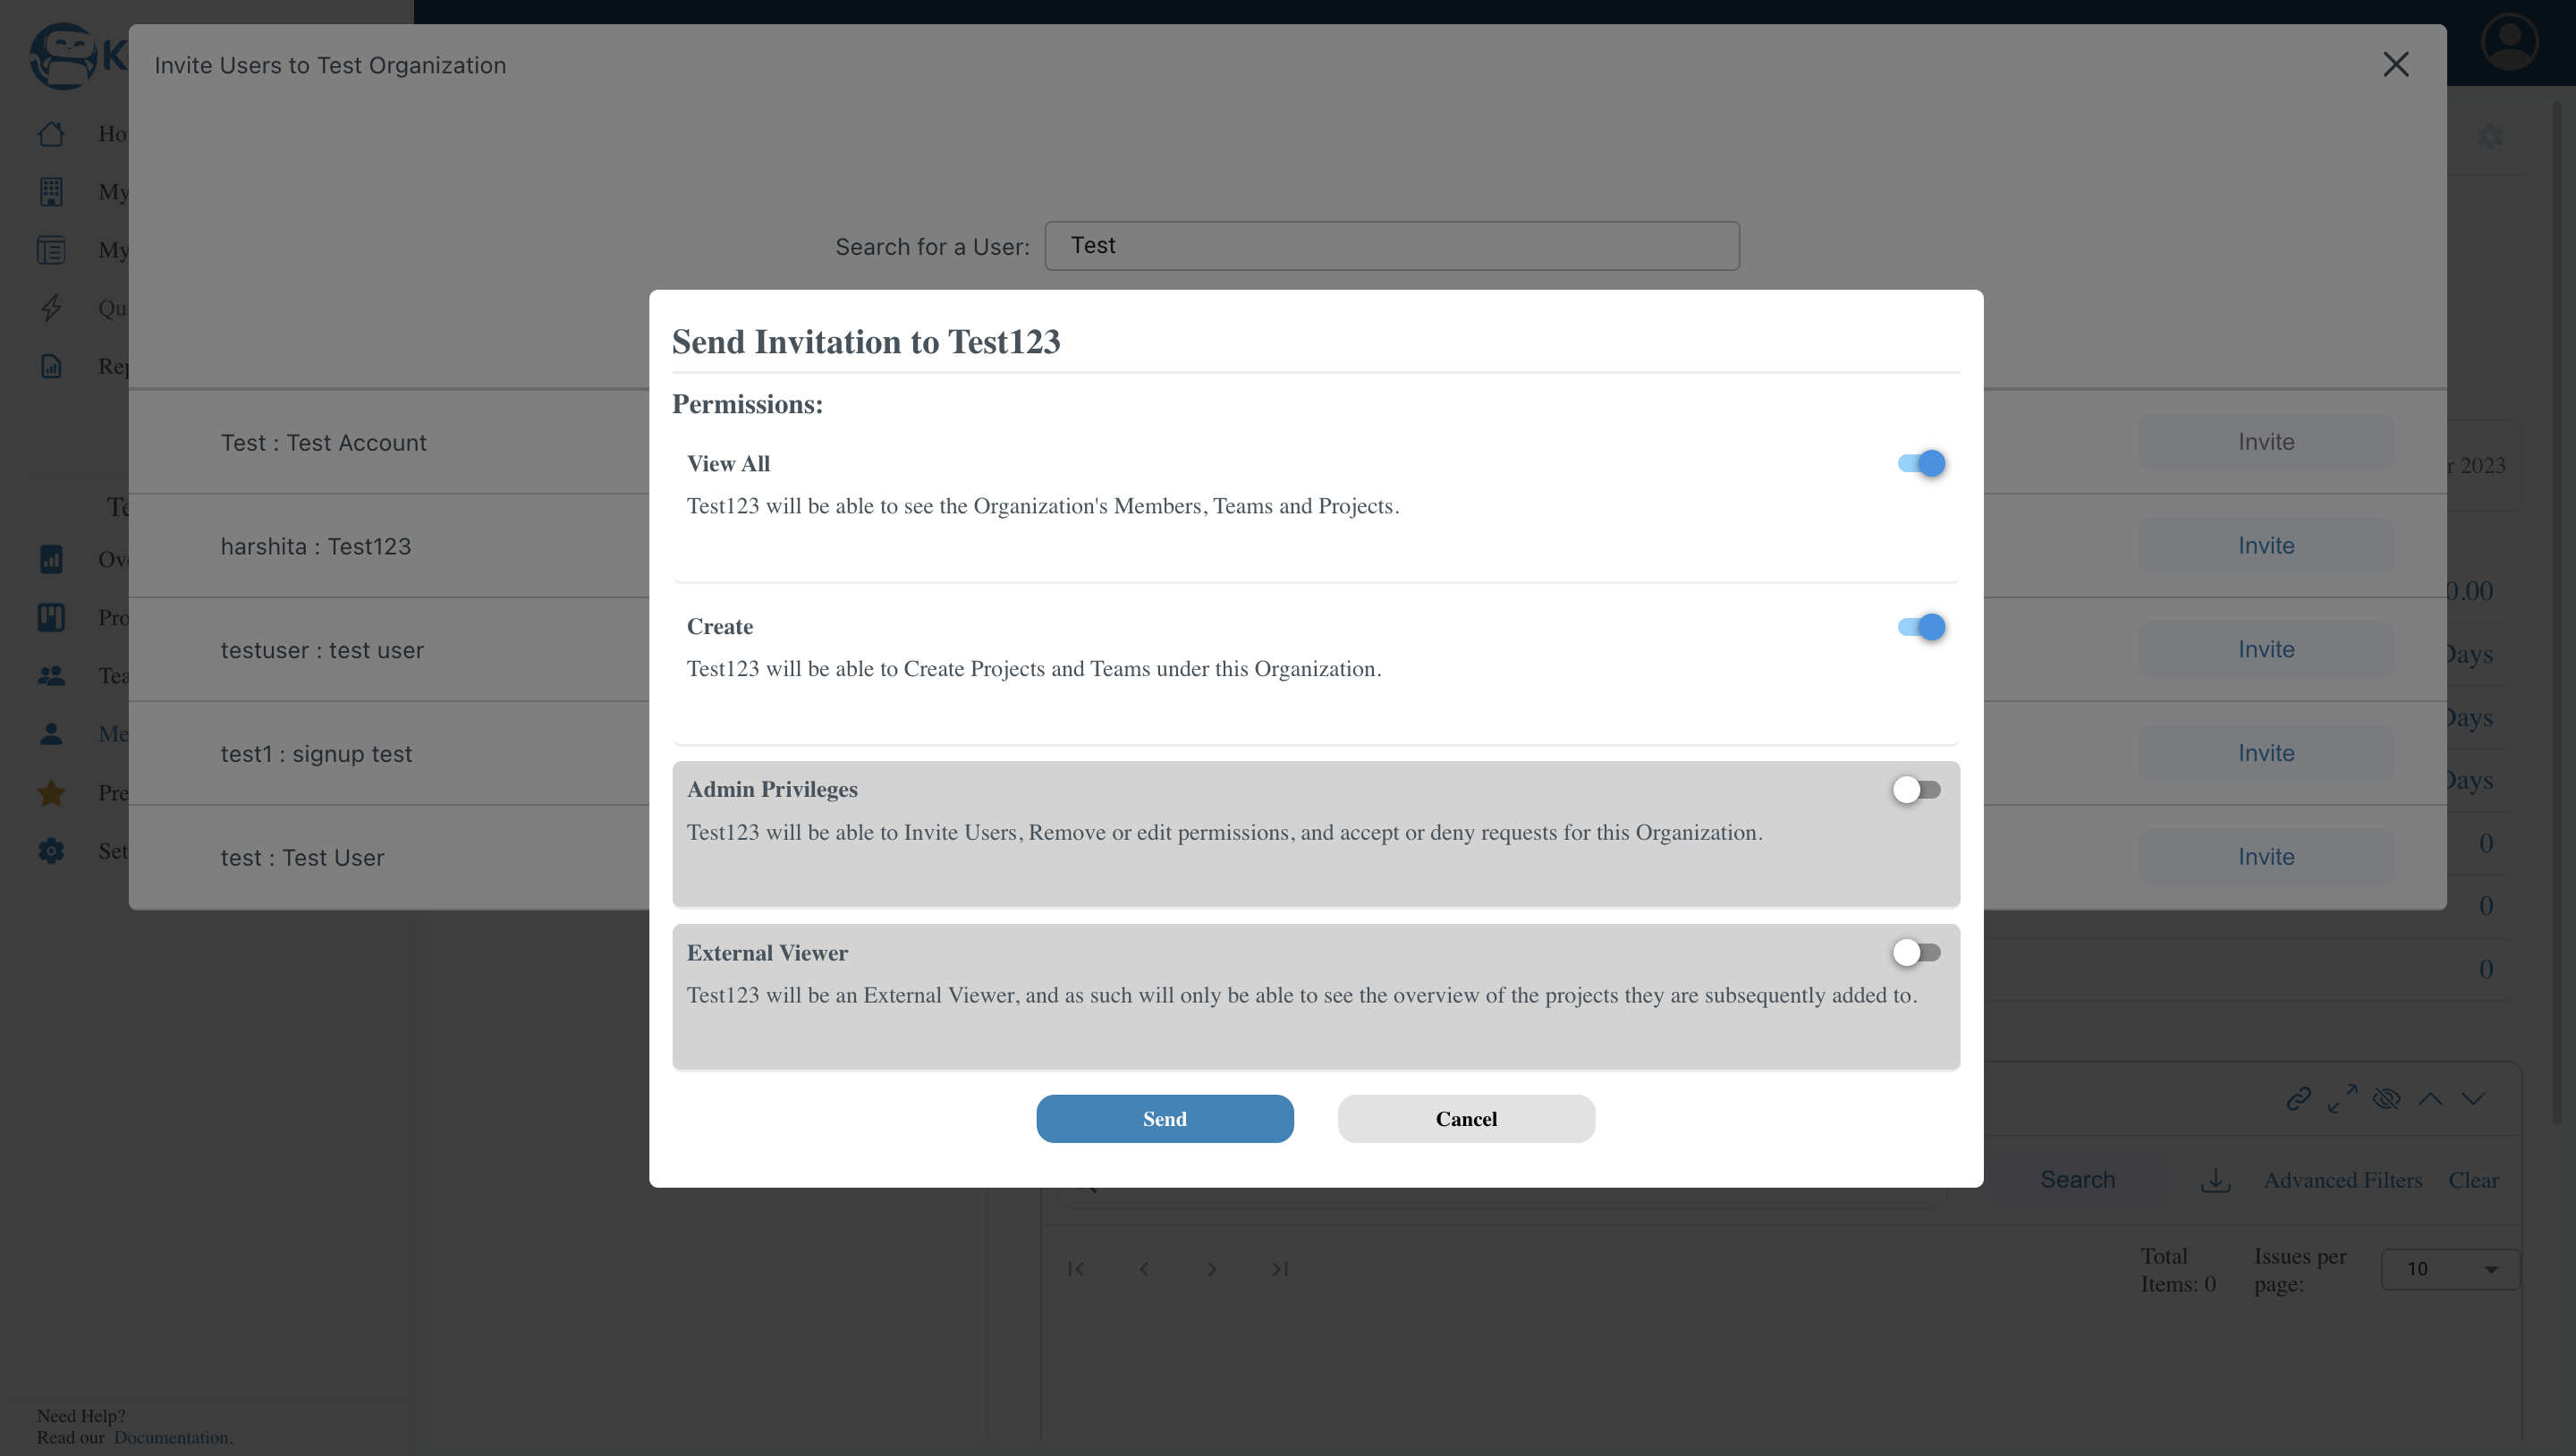
4) Grant permissions to the user based on their role.
View All- On by default -
Allows the user to view or be a part of the Projects and Teams without allowing them to create Projects and Teams.
Only allows the user to view Projects and Teams they are a part of.Create- On by default -
Allows the user to create Projects and Teams.
Needs View permissions.
Only allows the user to view Projects and Teams they are a part of.Admin Privileges-
Allows the user to add/remove members from the Organization.
Needs Create permissions.
Allows user to see all the projects and teams-
External Viewer-
Allows the user to view the projects and teams without being a part of the organization.
Needs View permissions.
Only allows the user to view Projects and Teams they are a part of.
Approve Invite Request
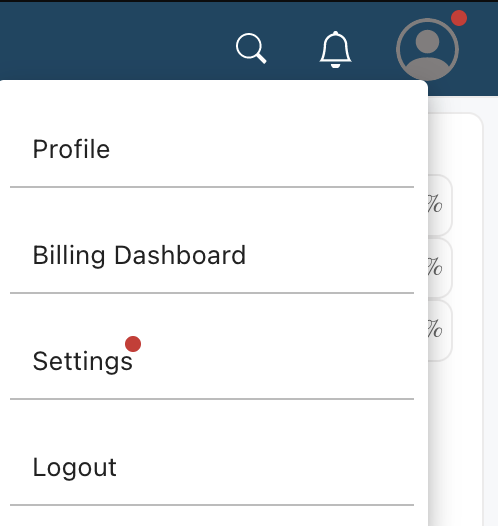
1) Once you have sent a invite request, the next step will be taken by the invitee.The invitee will see an action badge on their account dropdown on the top right of the screen. Click on it and Select the Settings tab.
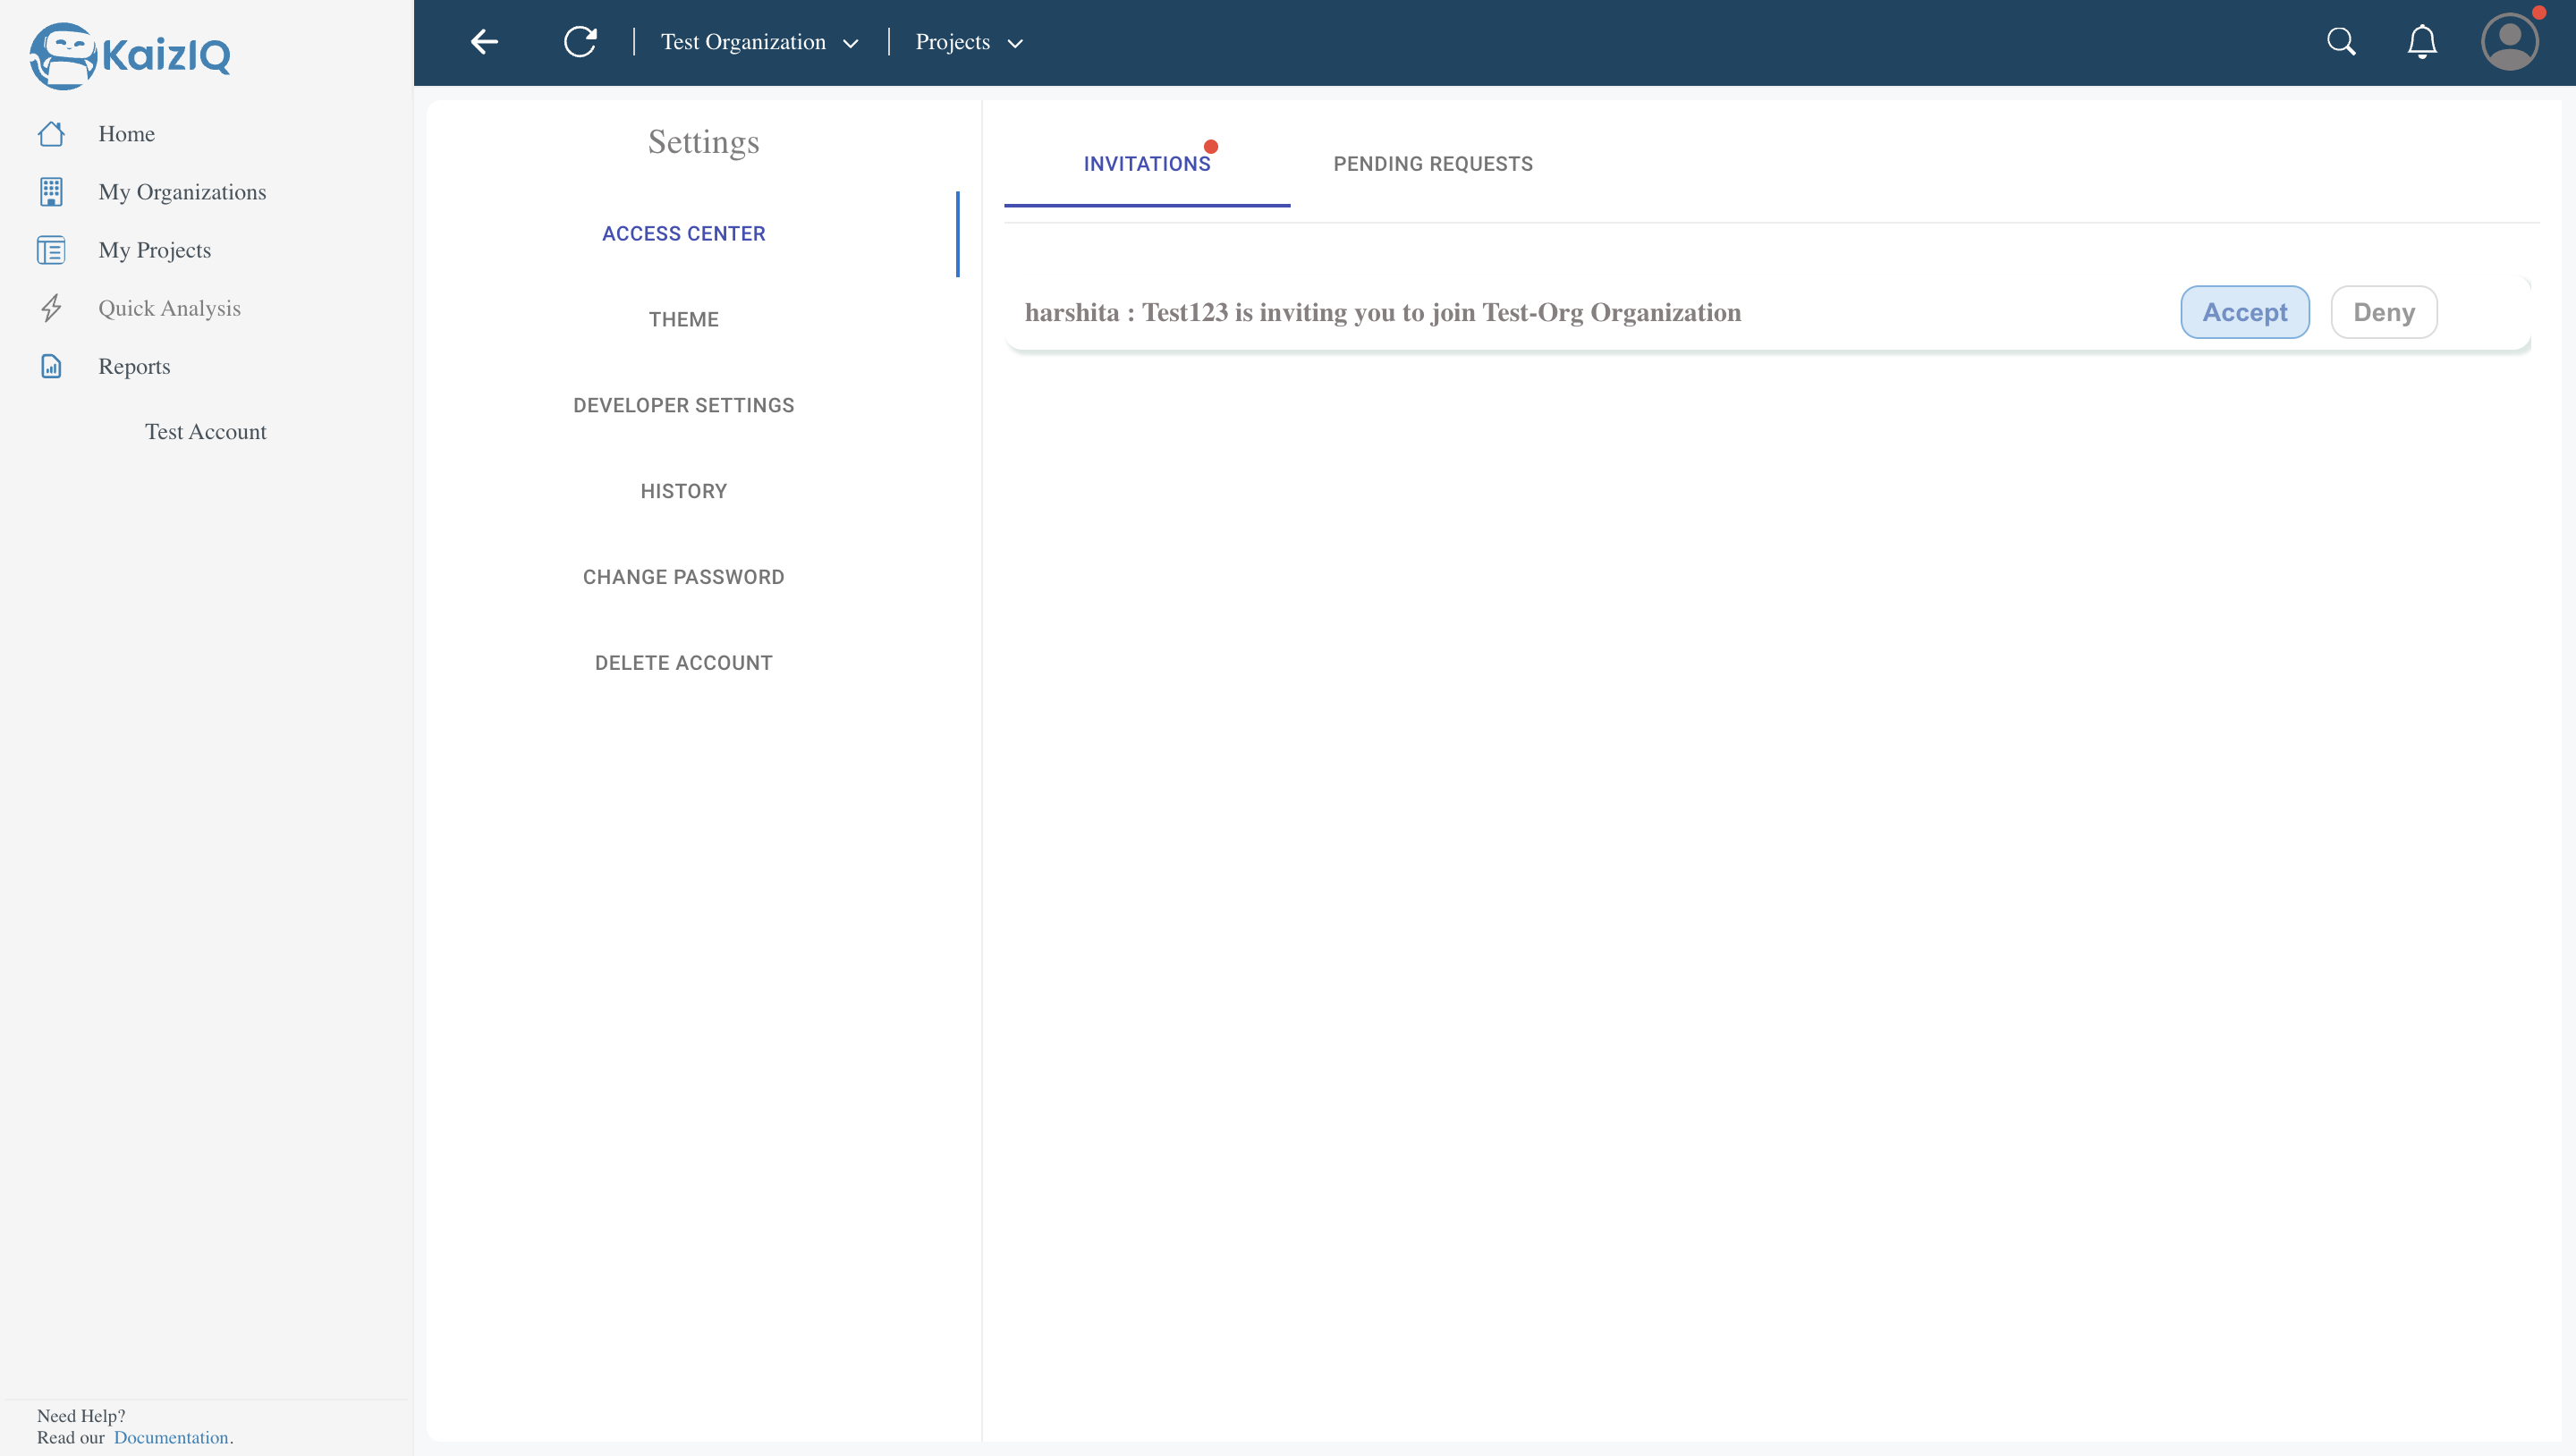
2) In the settings page, select the Access Center, and you will see an action badge on the Invitations. You can now, Accept or Deny the Invitation.
Create a Project
1) Click on the dropdown under Organization and select the Organization you want to go to.
2) Once your Organization Page opens up, on the right side you will see 'Overview/Projects/Teams/members/Settings. Click on Projects. Click on the + Button to create your project.
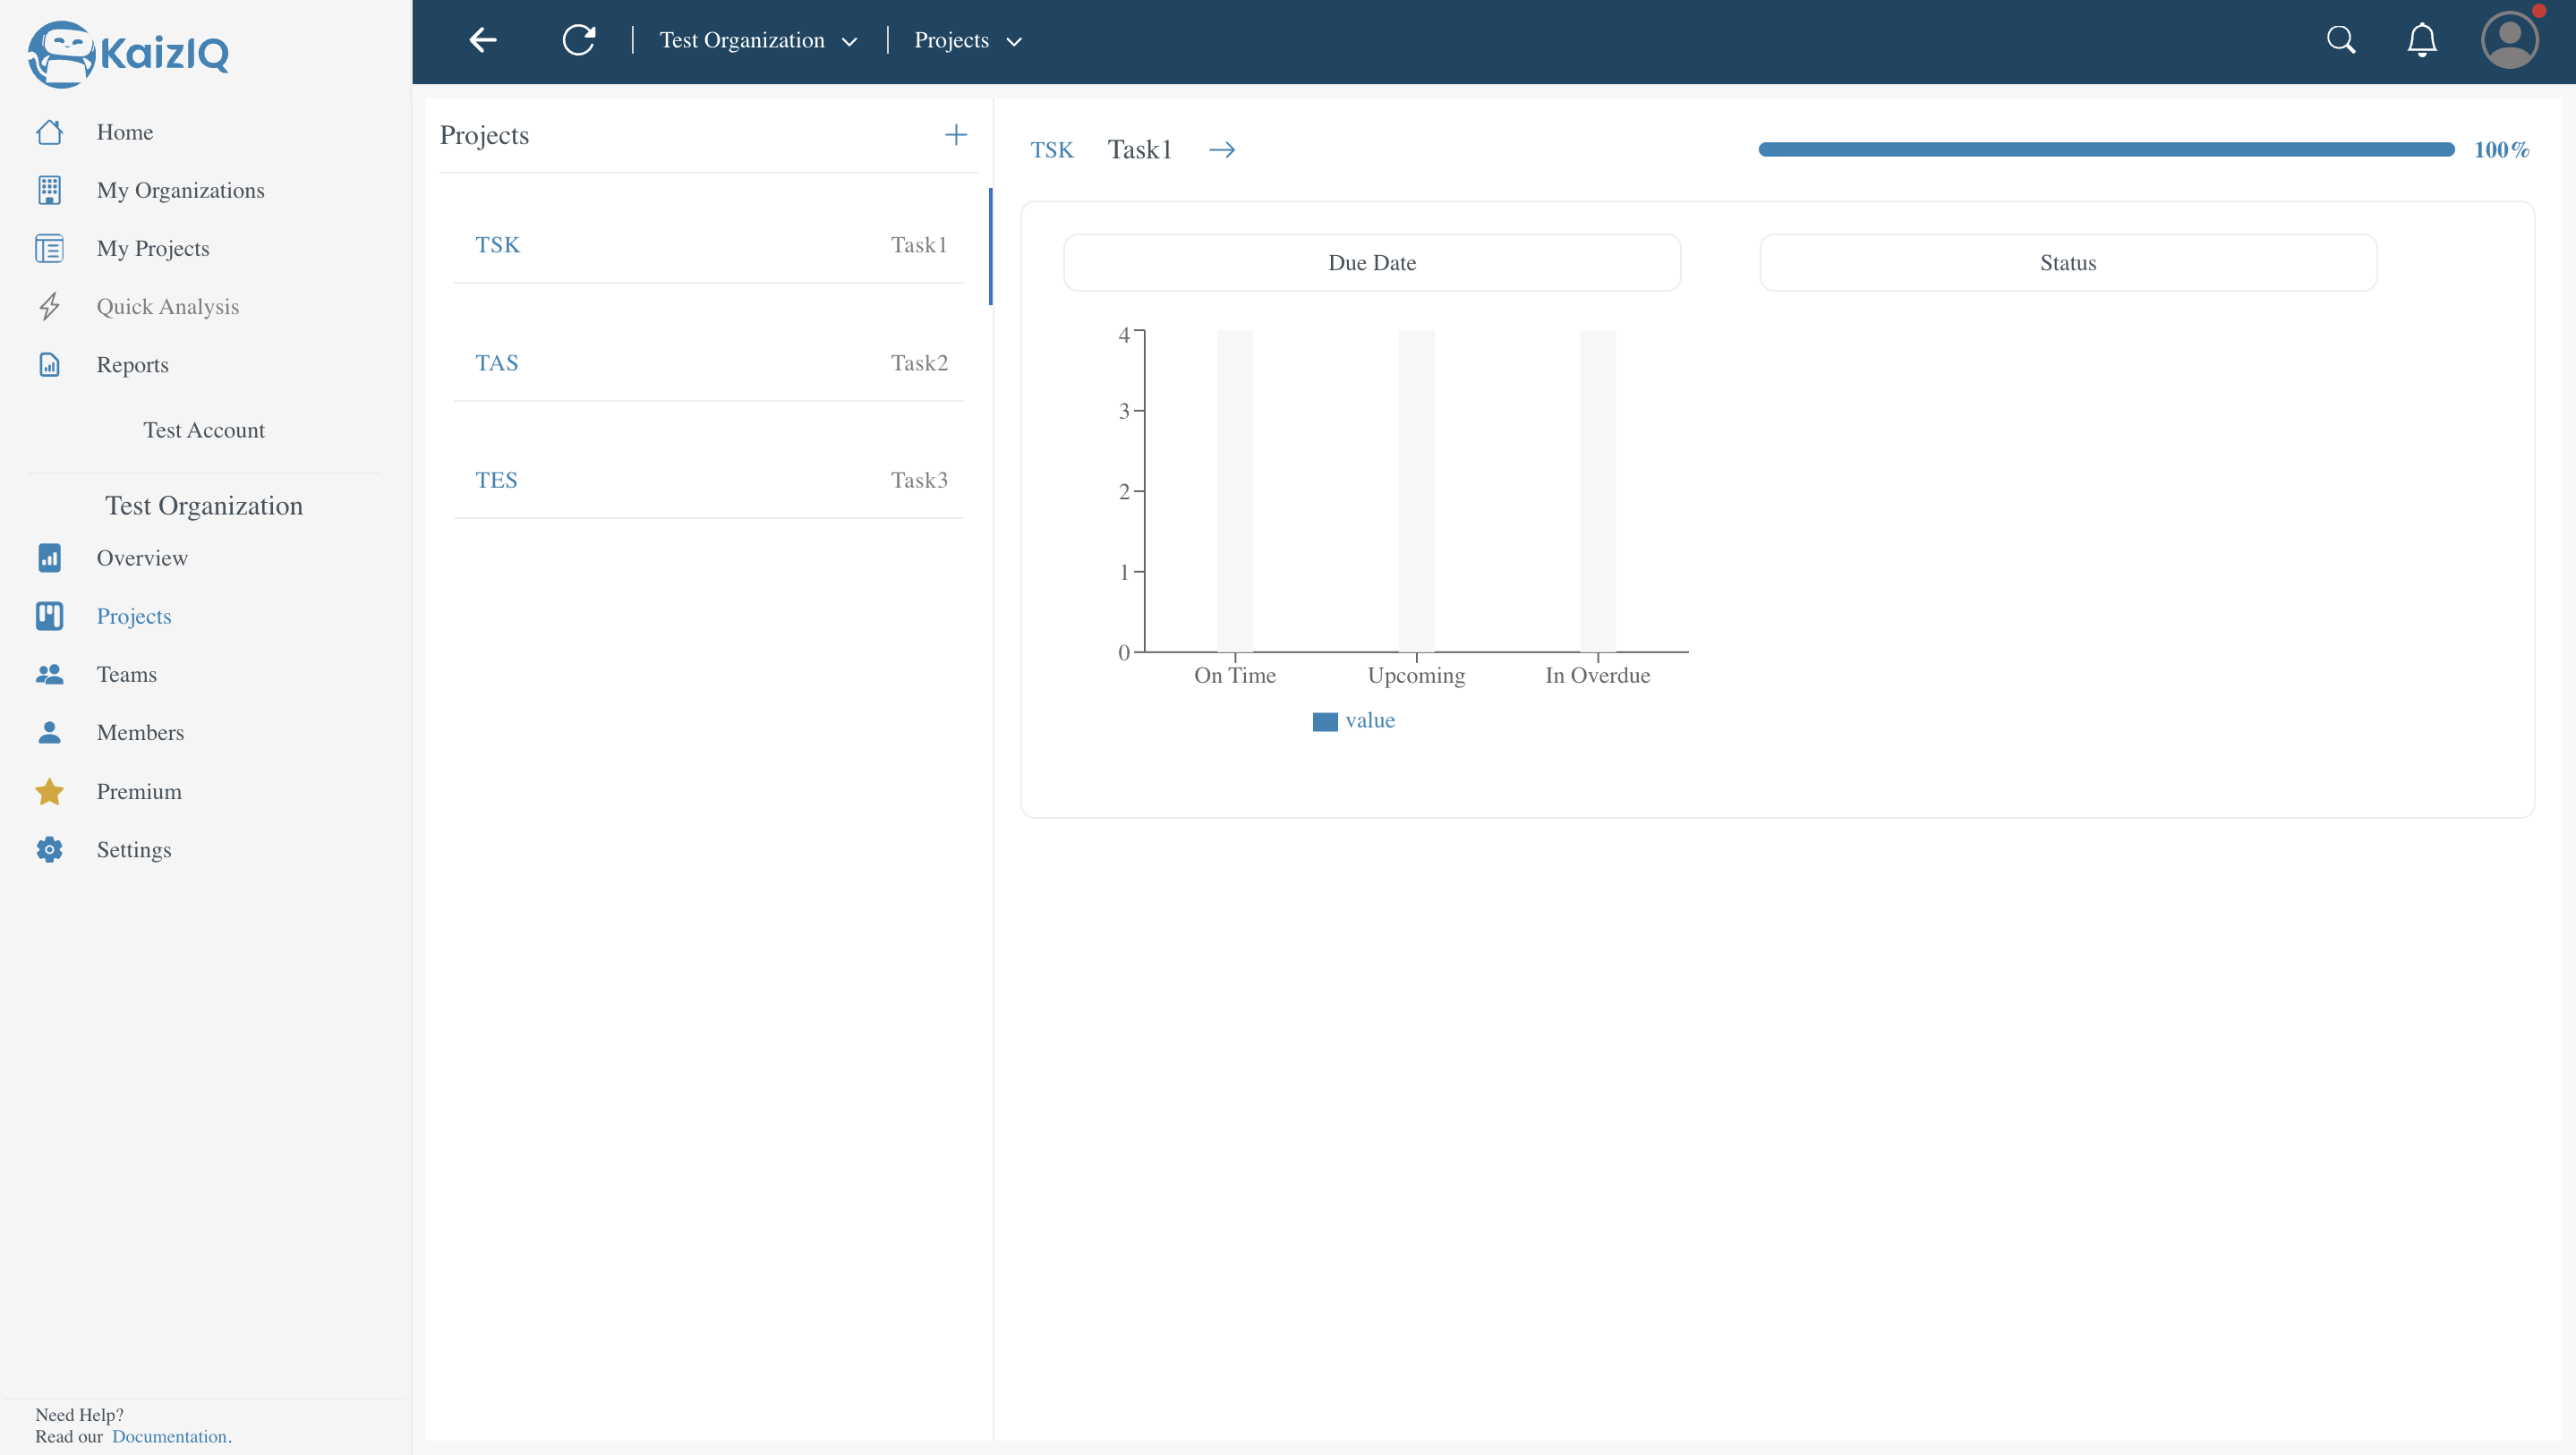
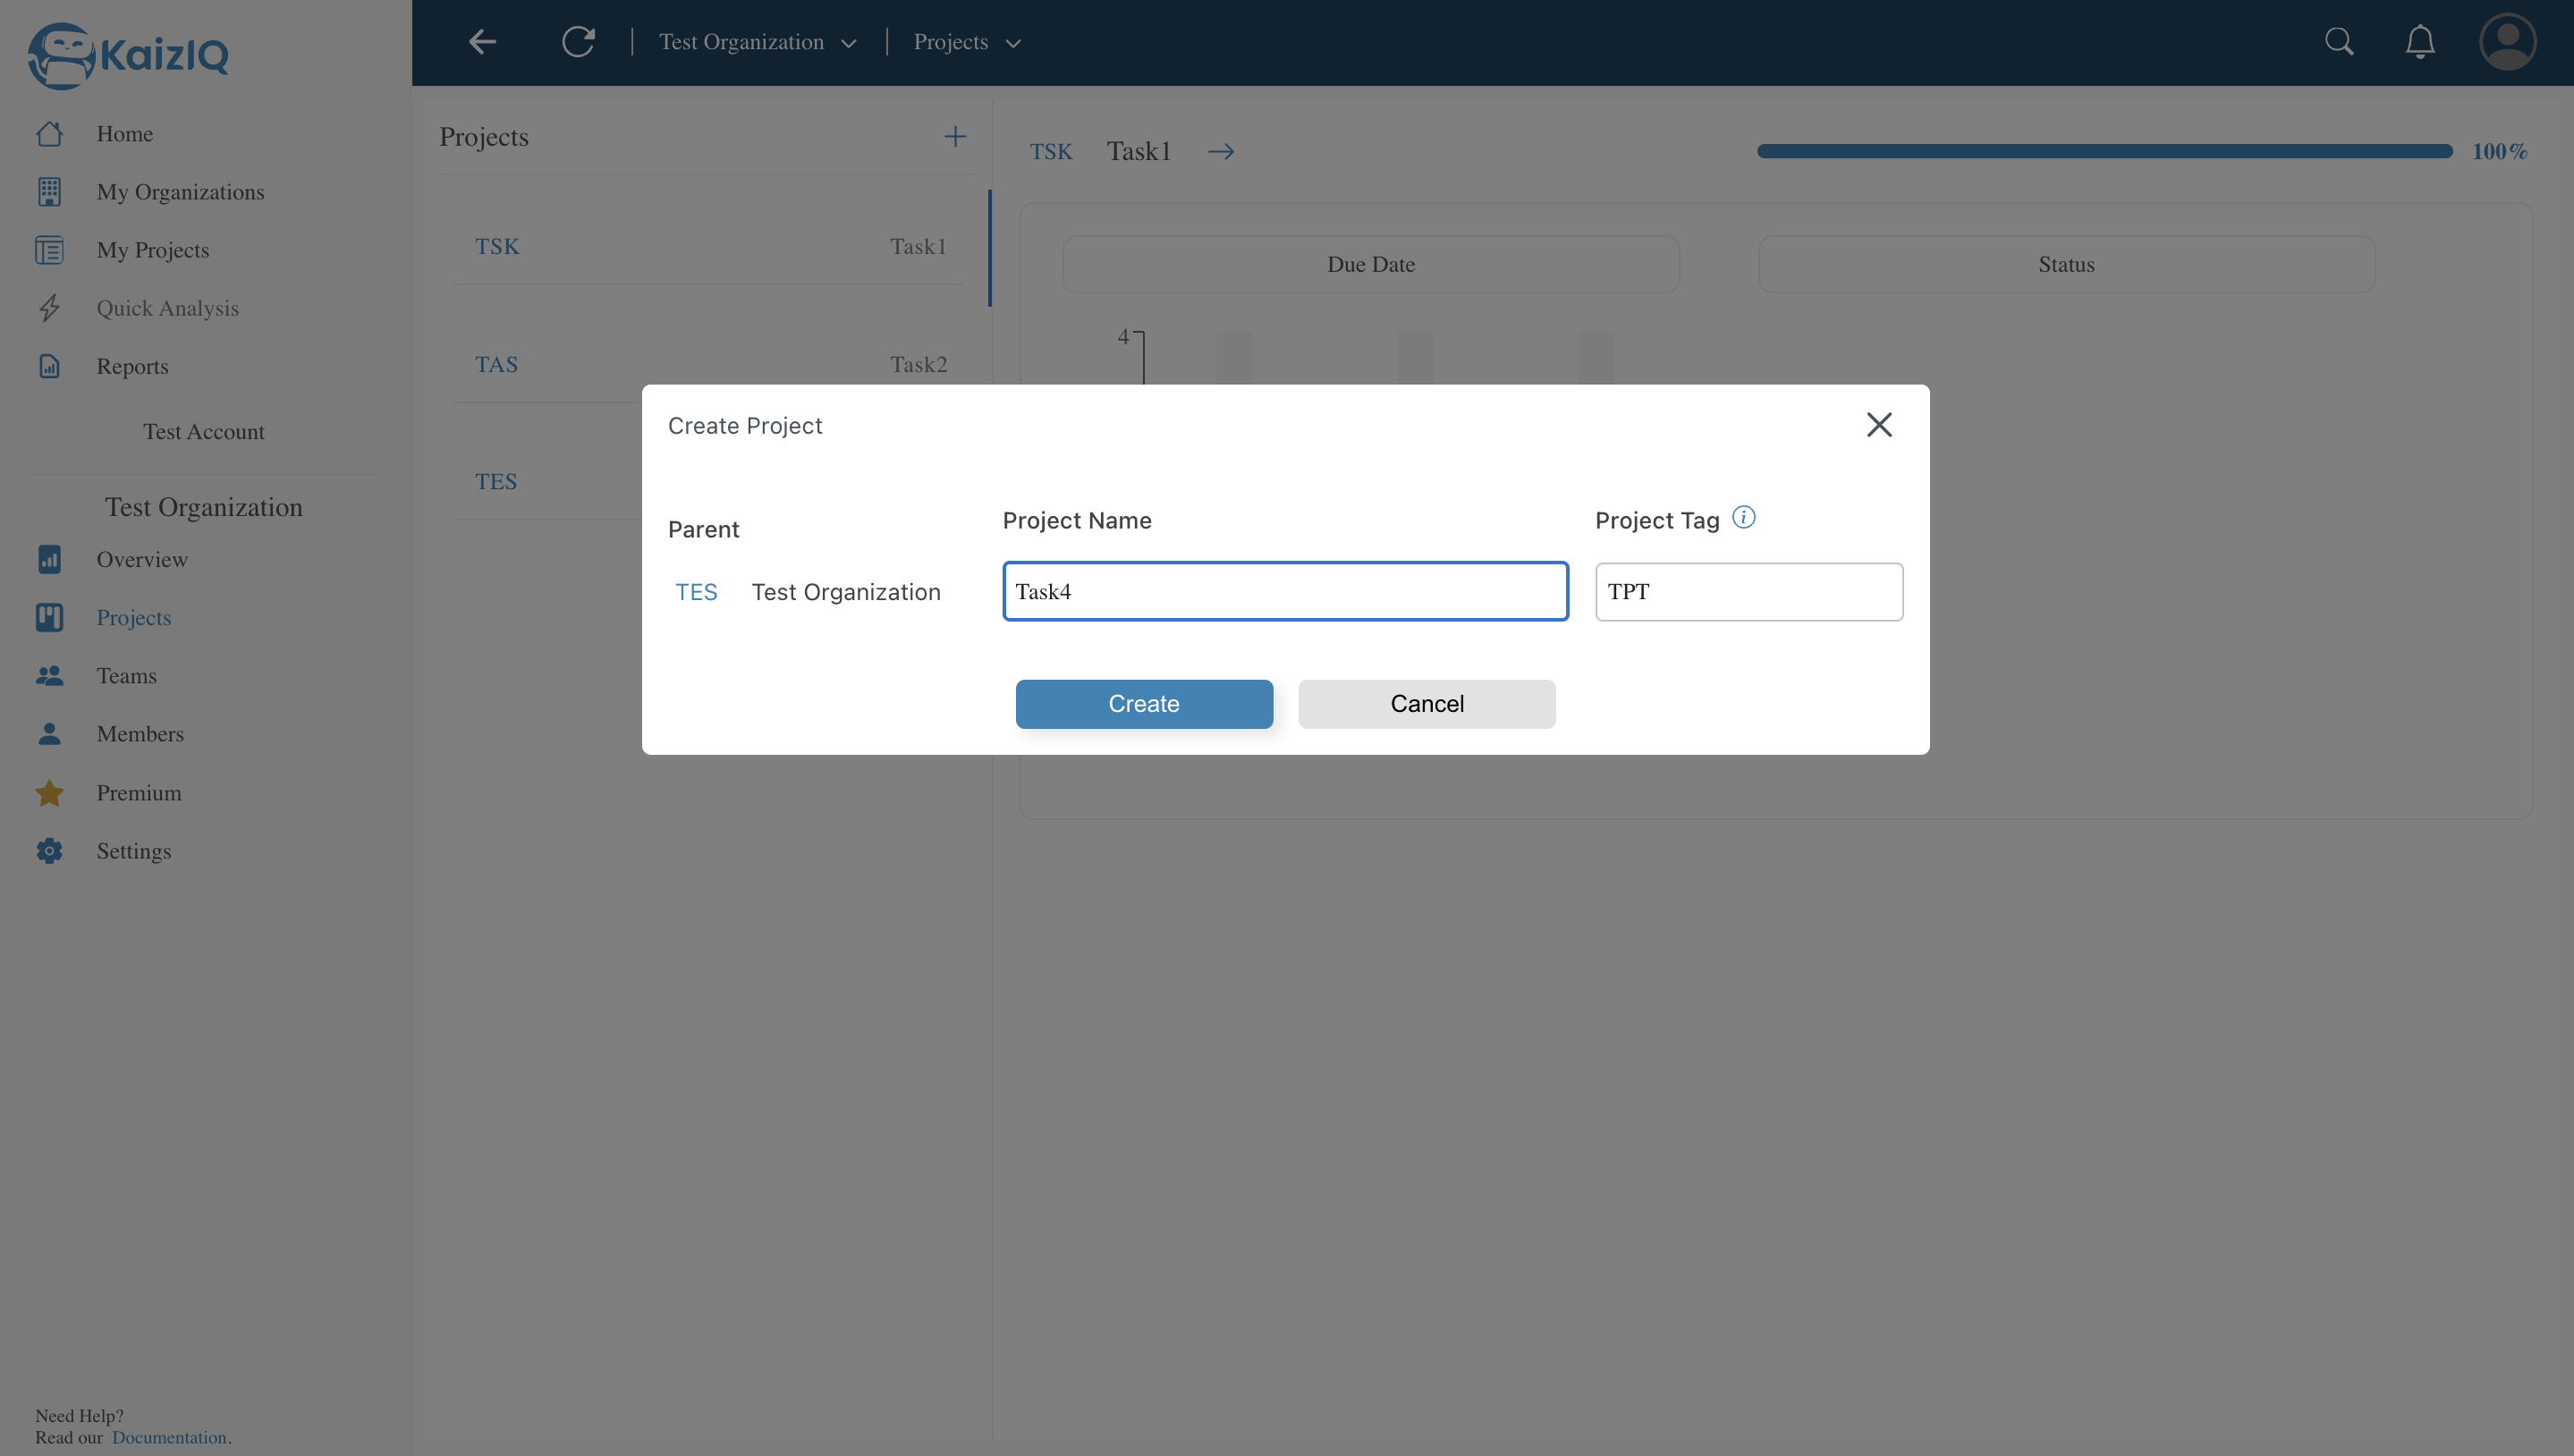
3) Fill in the Name and Tag of the Project and click on Create.
The project will automatically be fixed to the Organization. Visibility is not relevant for this Project as only those users who are contributors will be able to see it.
For example here the new task is Task 4 and tag is TPT
Create a Team
1) Click on the dropdown under Organization and select the Organization you want to go to.
2) On the Organization page, you will see an option to Create next to the Teams section.
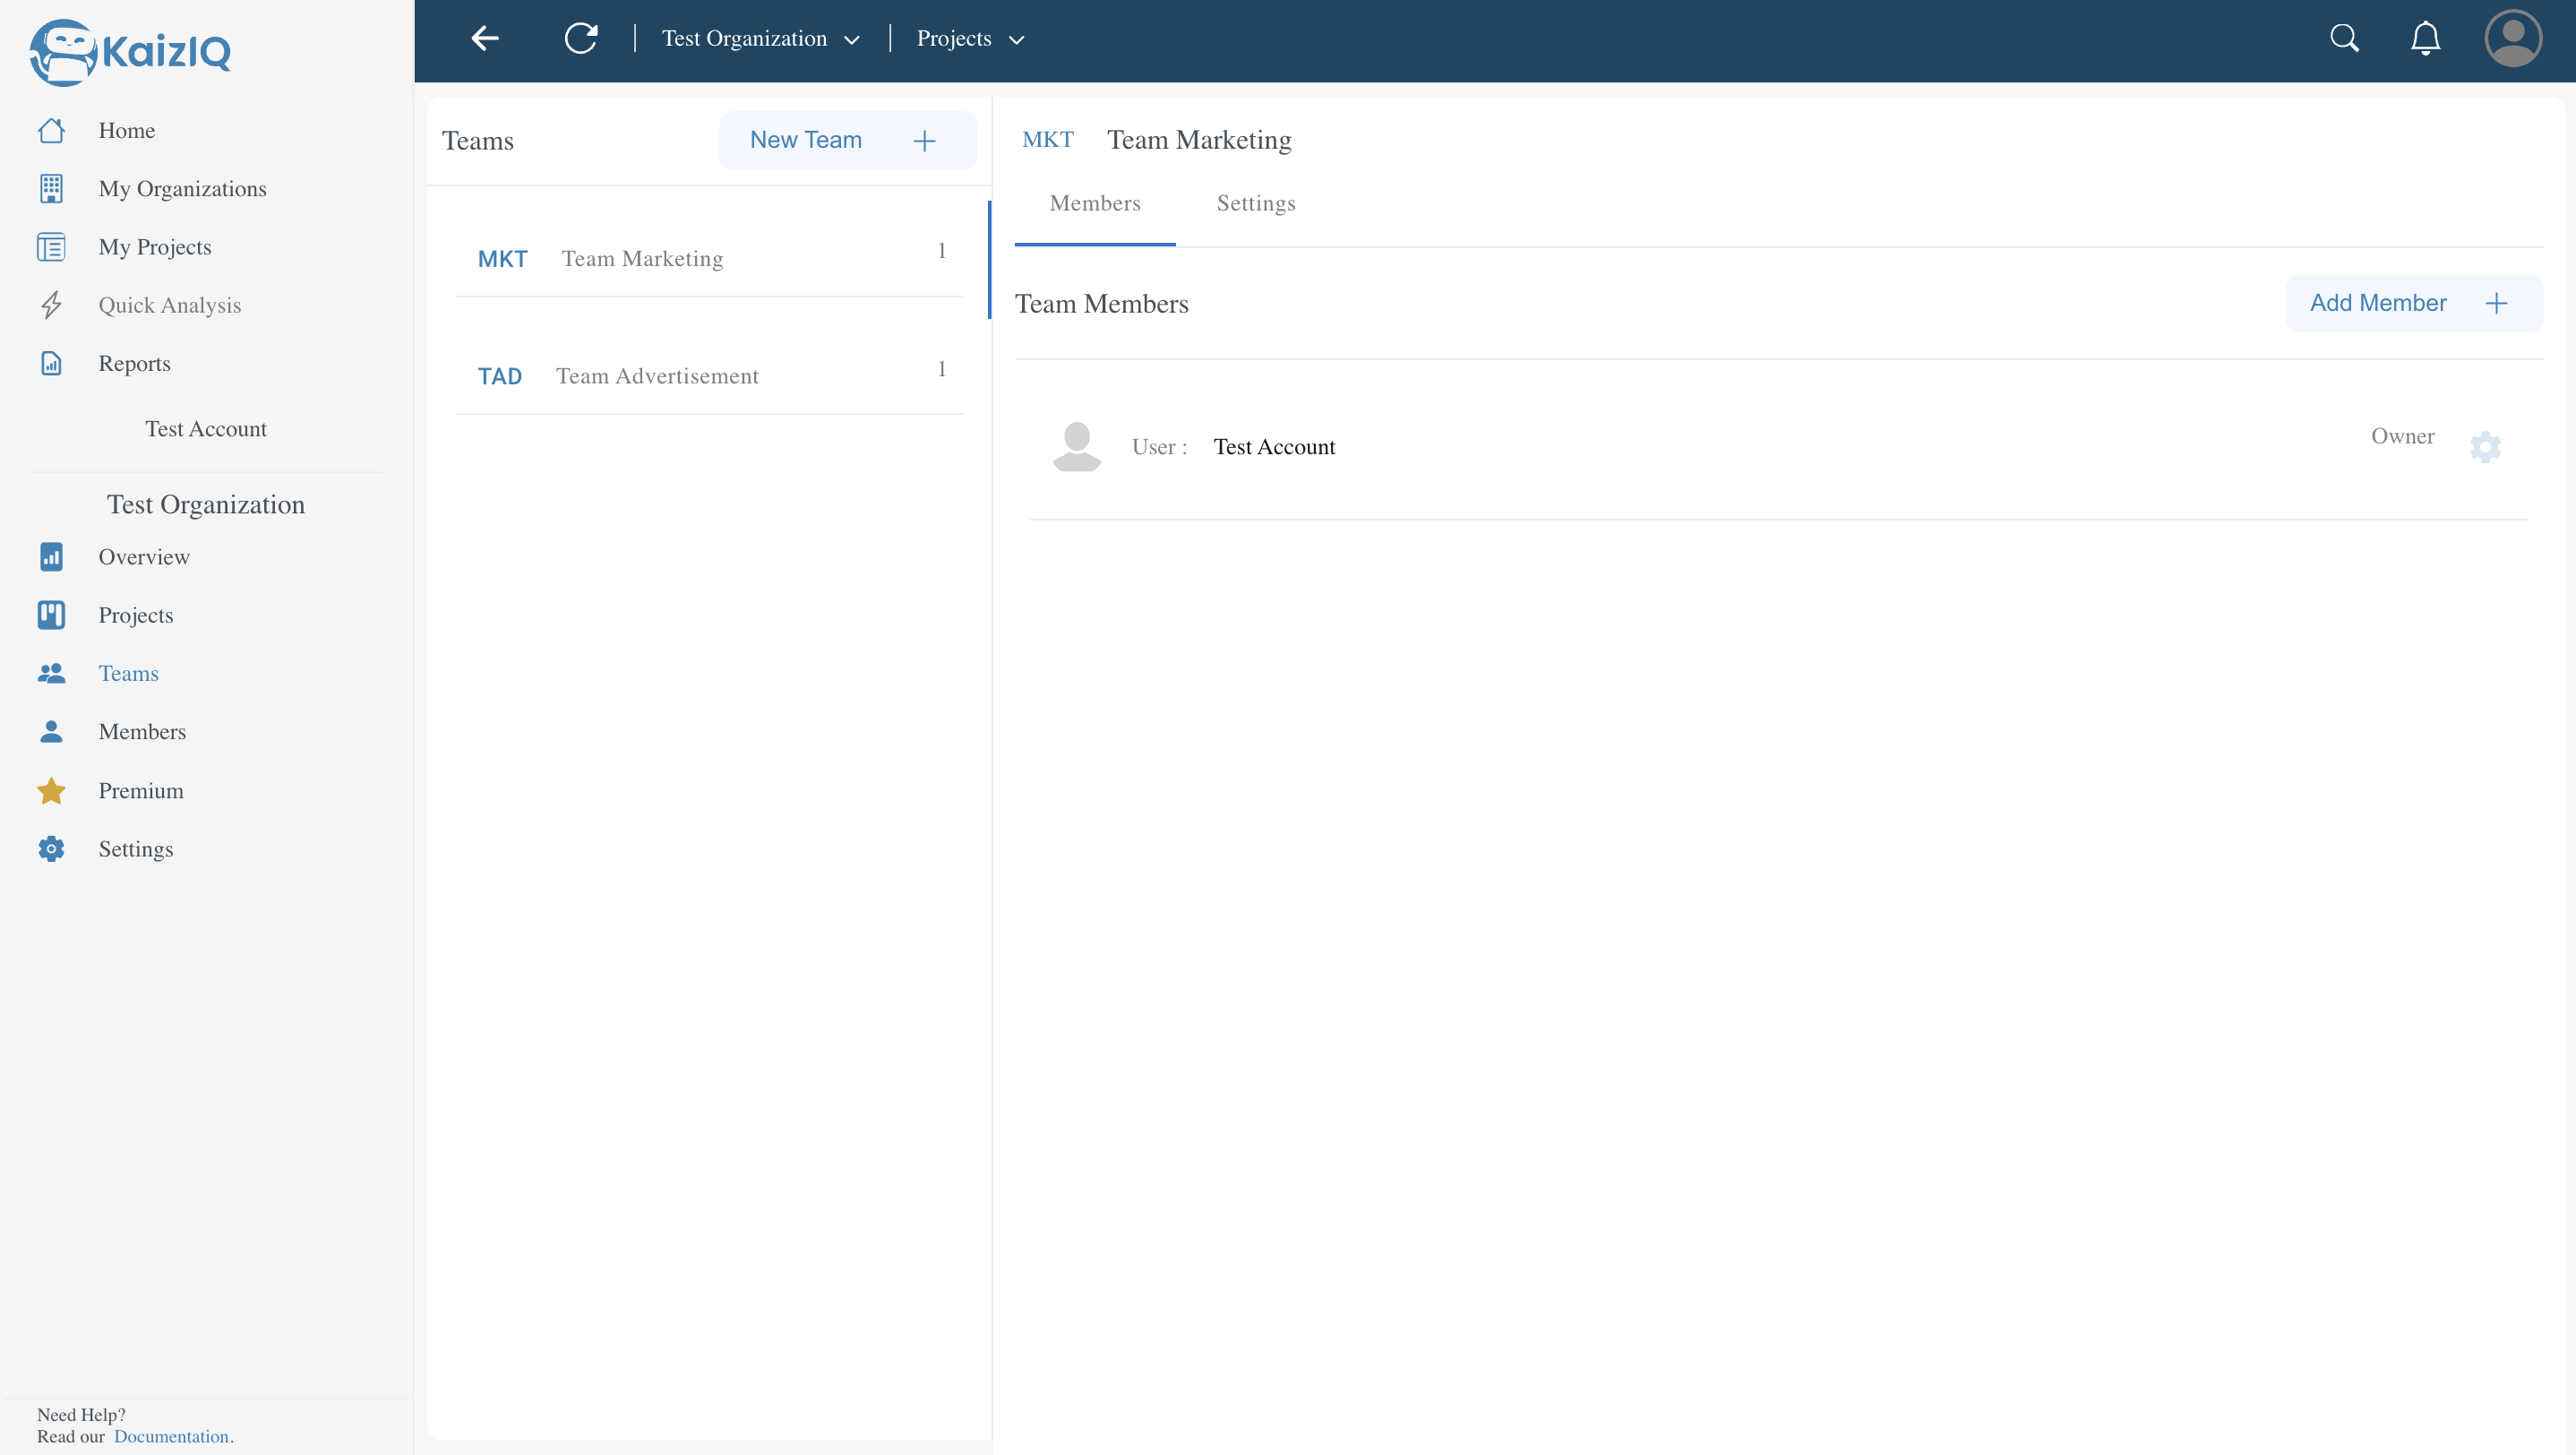
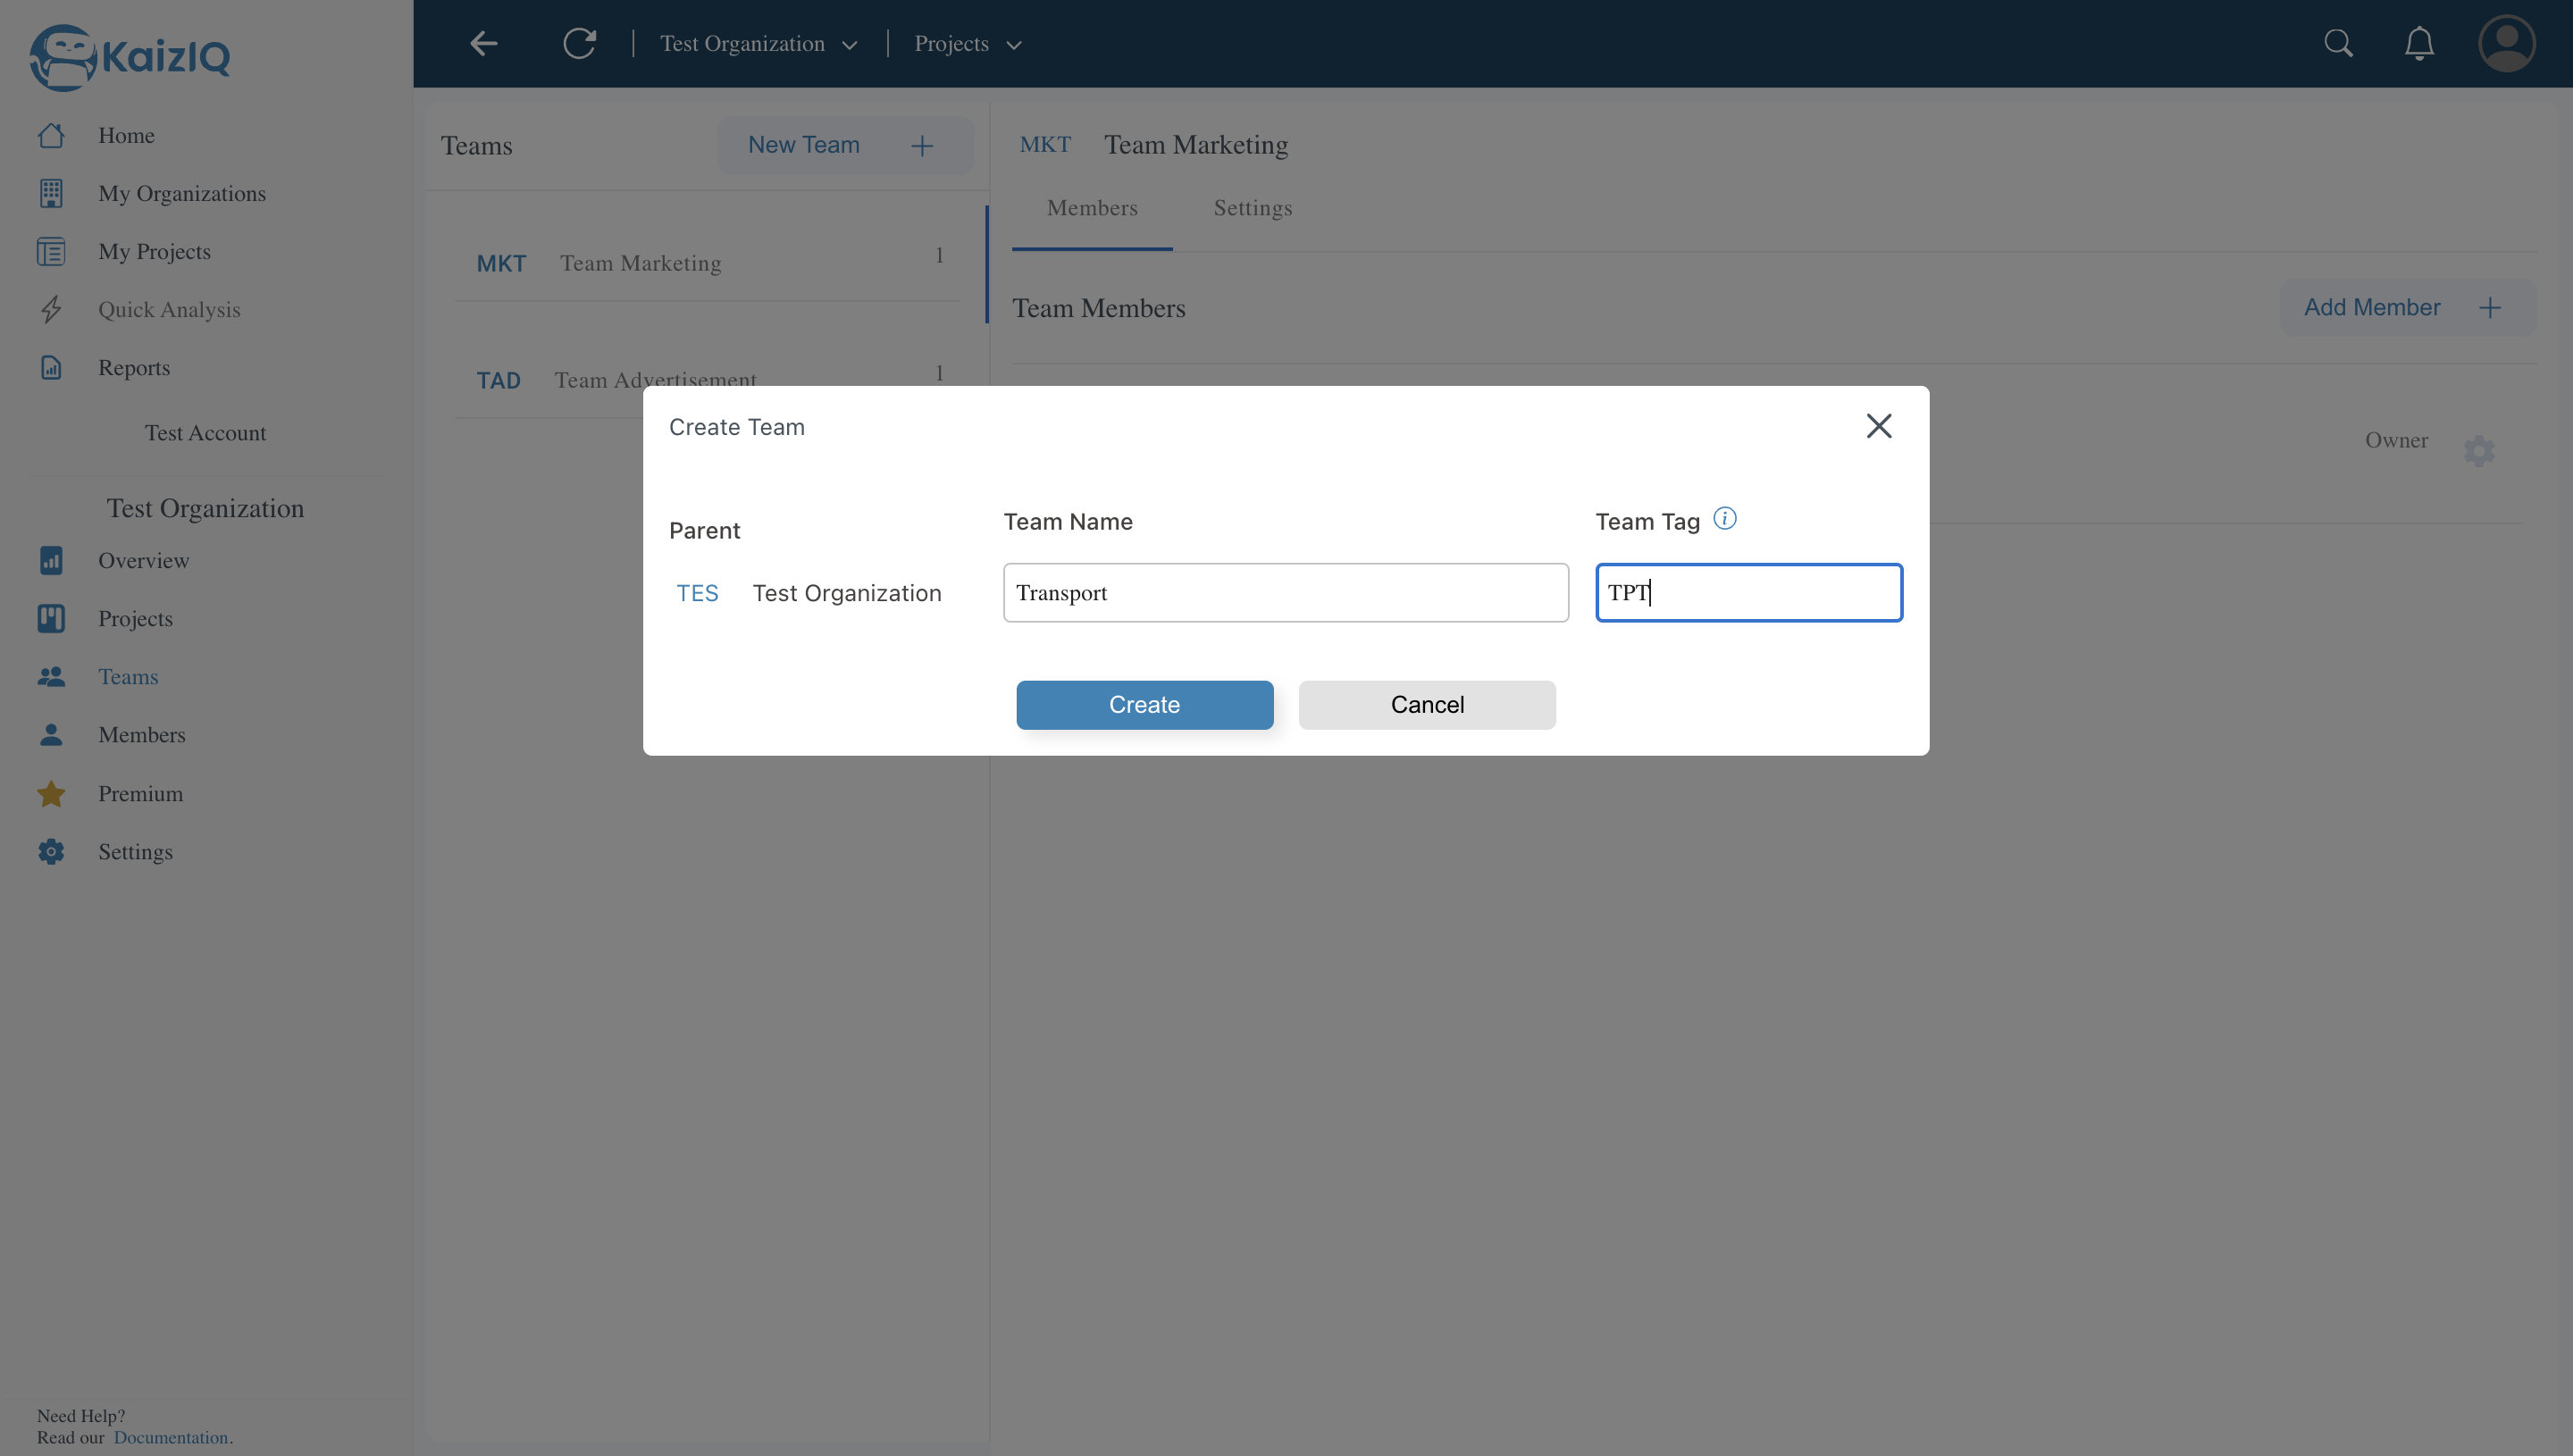
3) Fill in the Name and Tag of the Team and click on Create.
Check History of joinings
Click on the Settings and select History.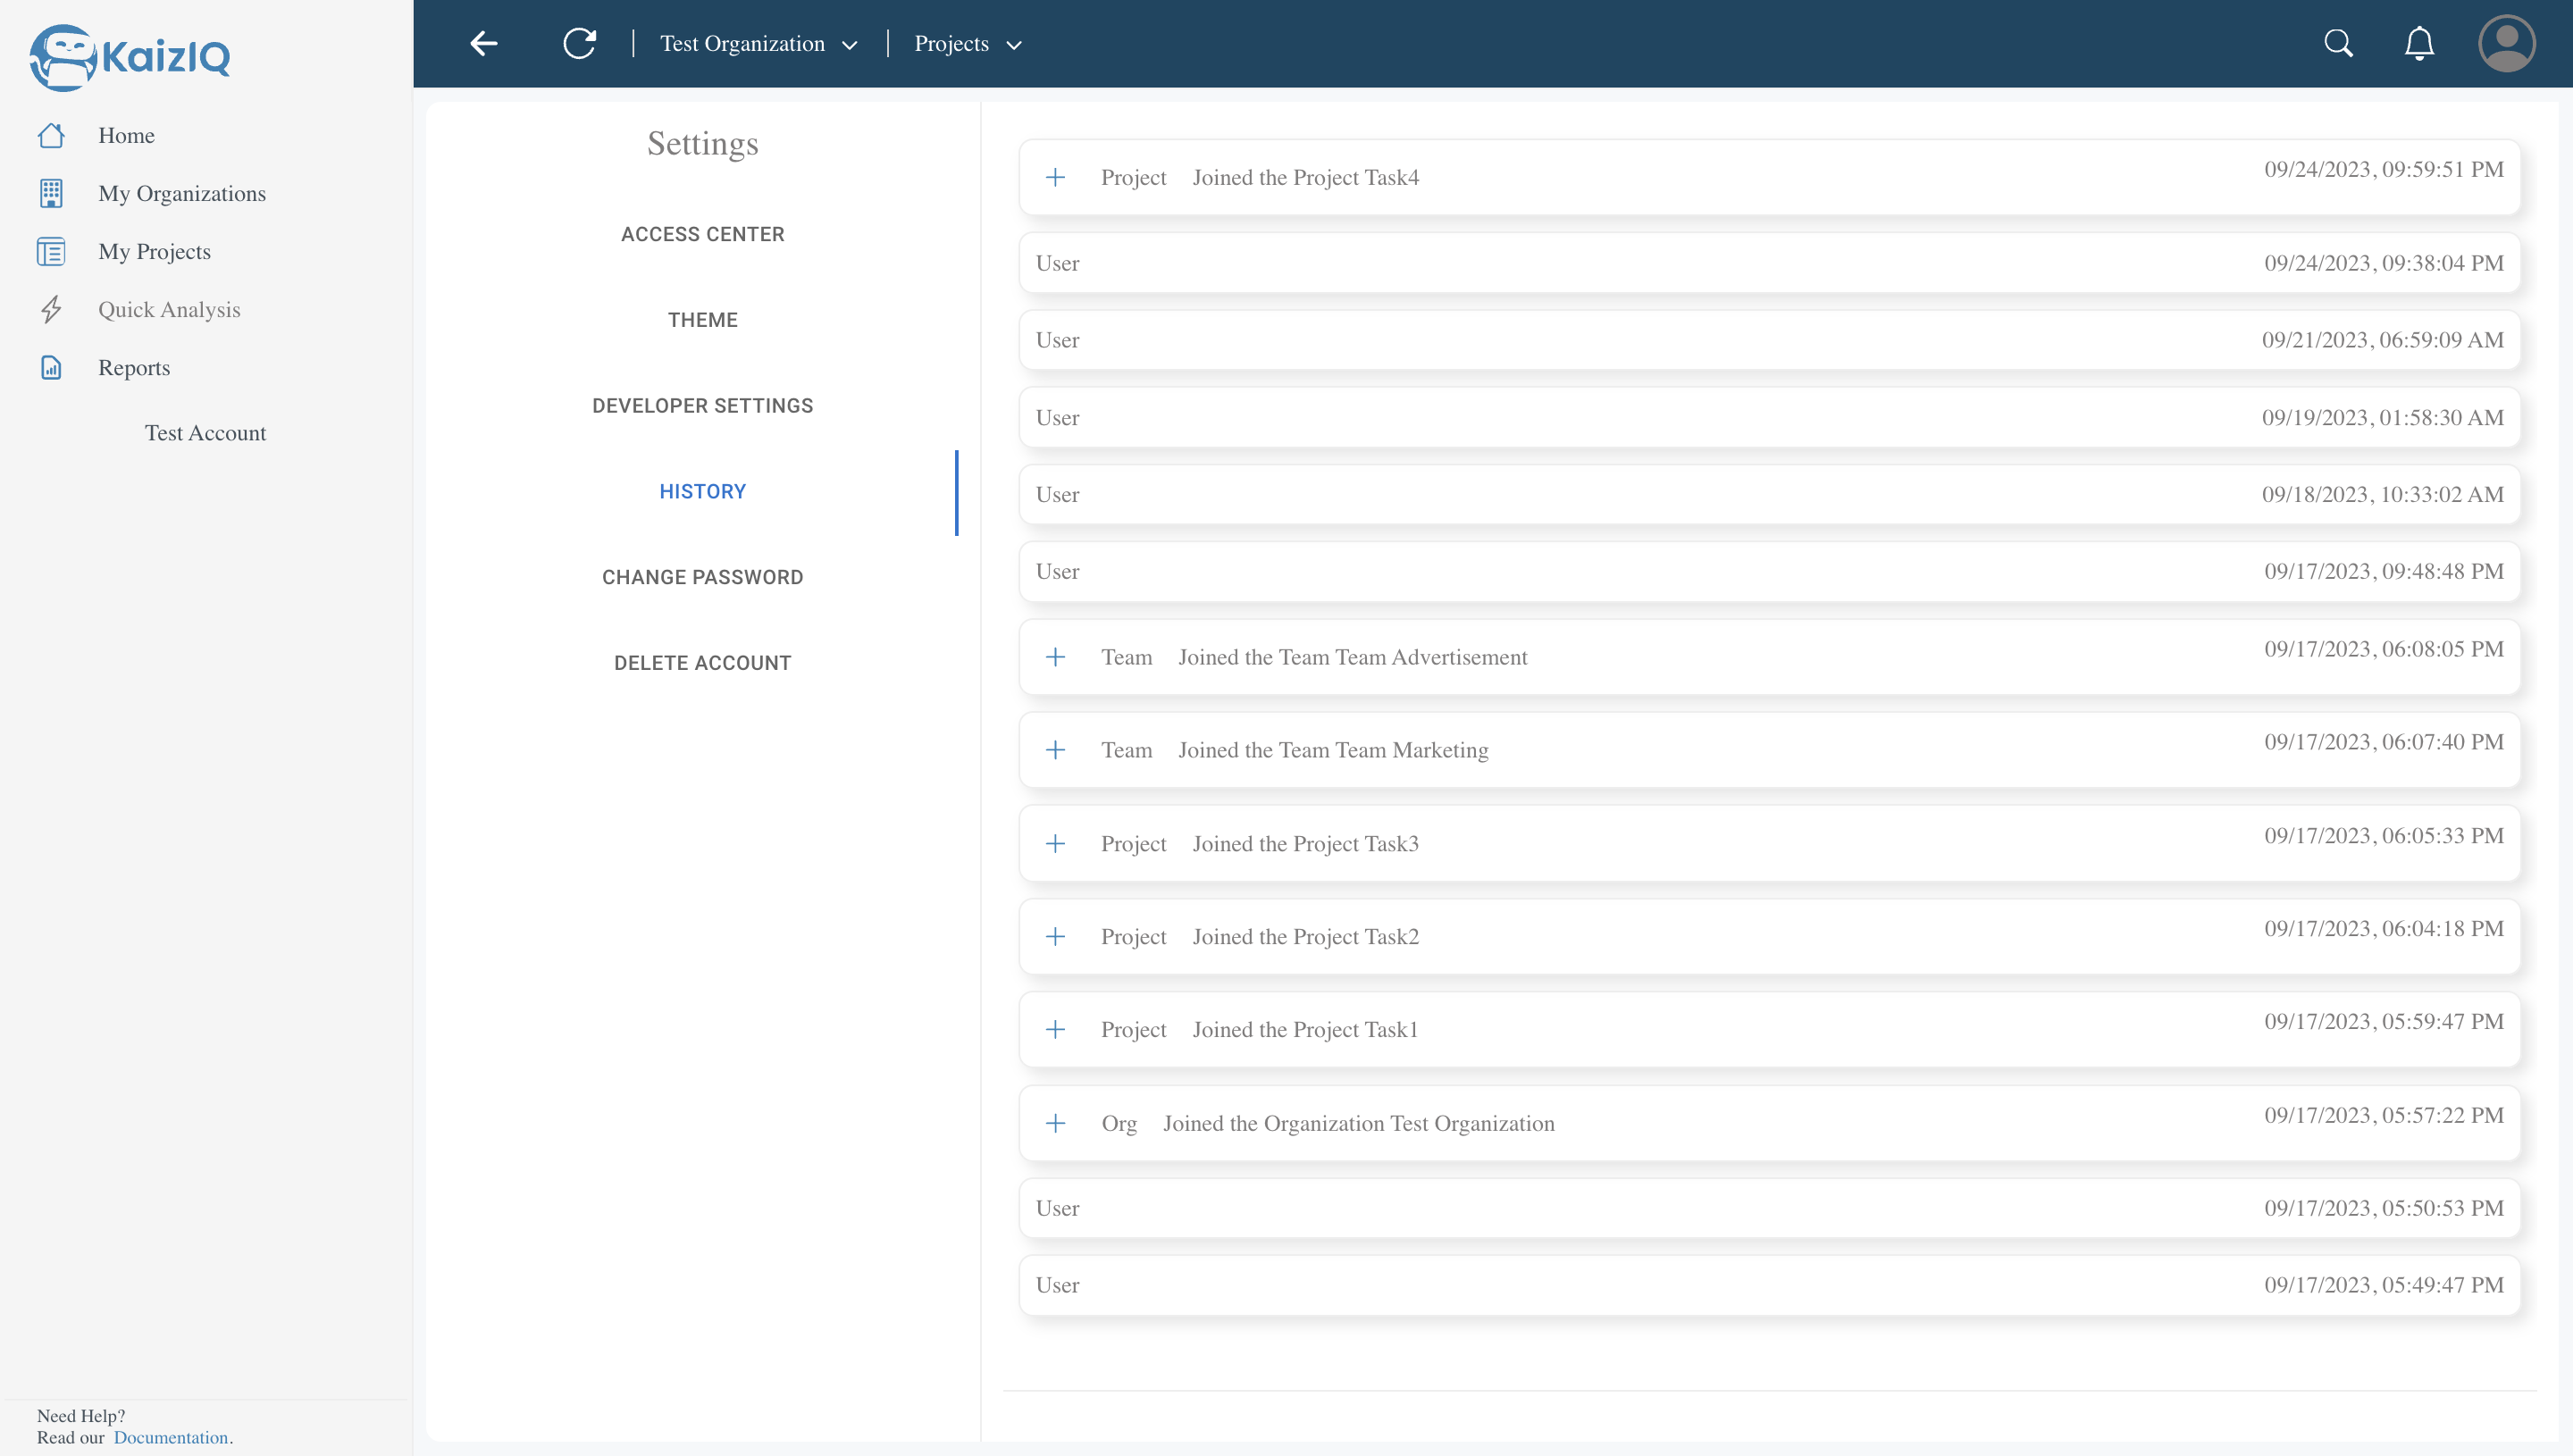
Project
Setup your first Integration
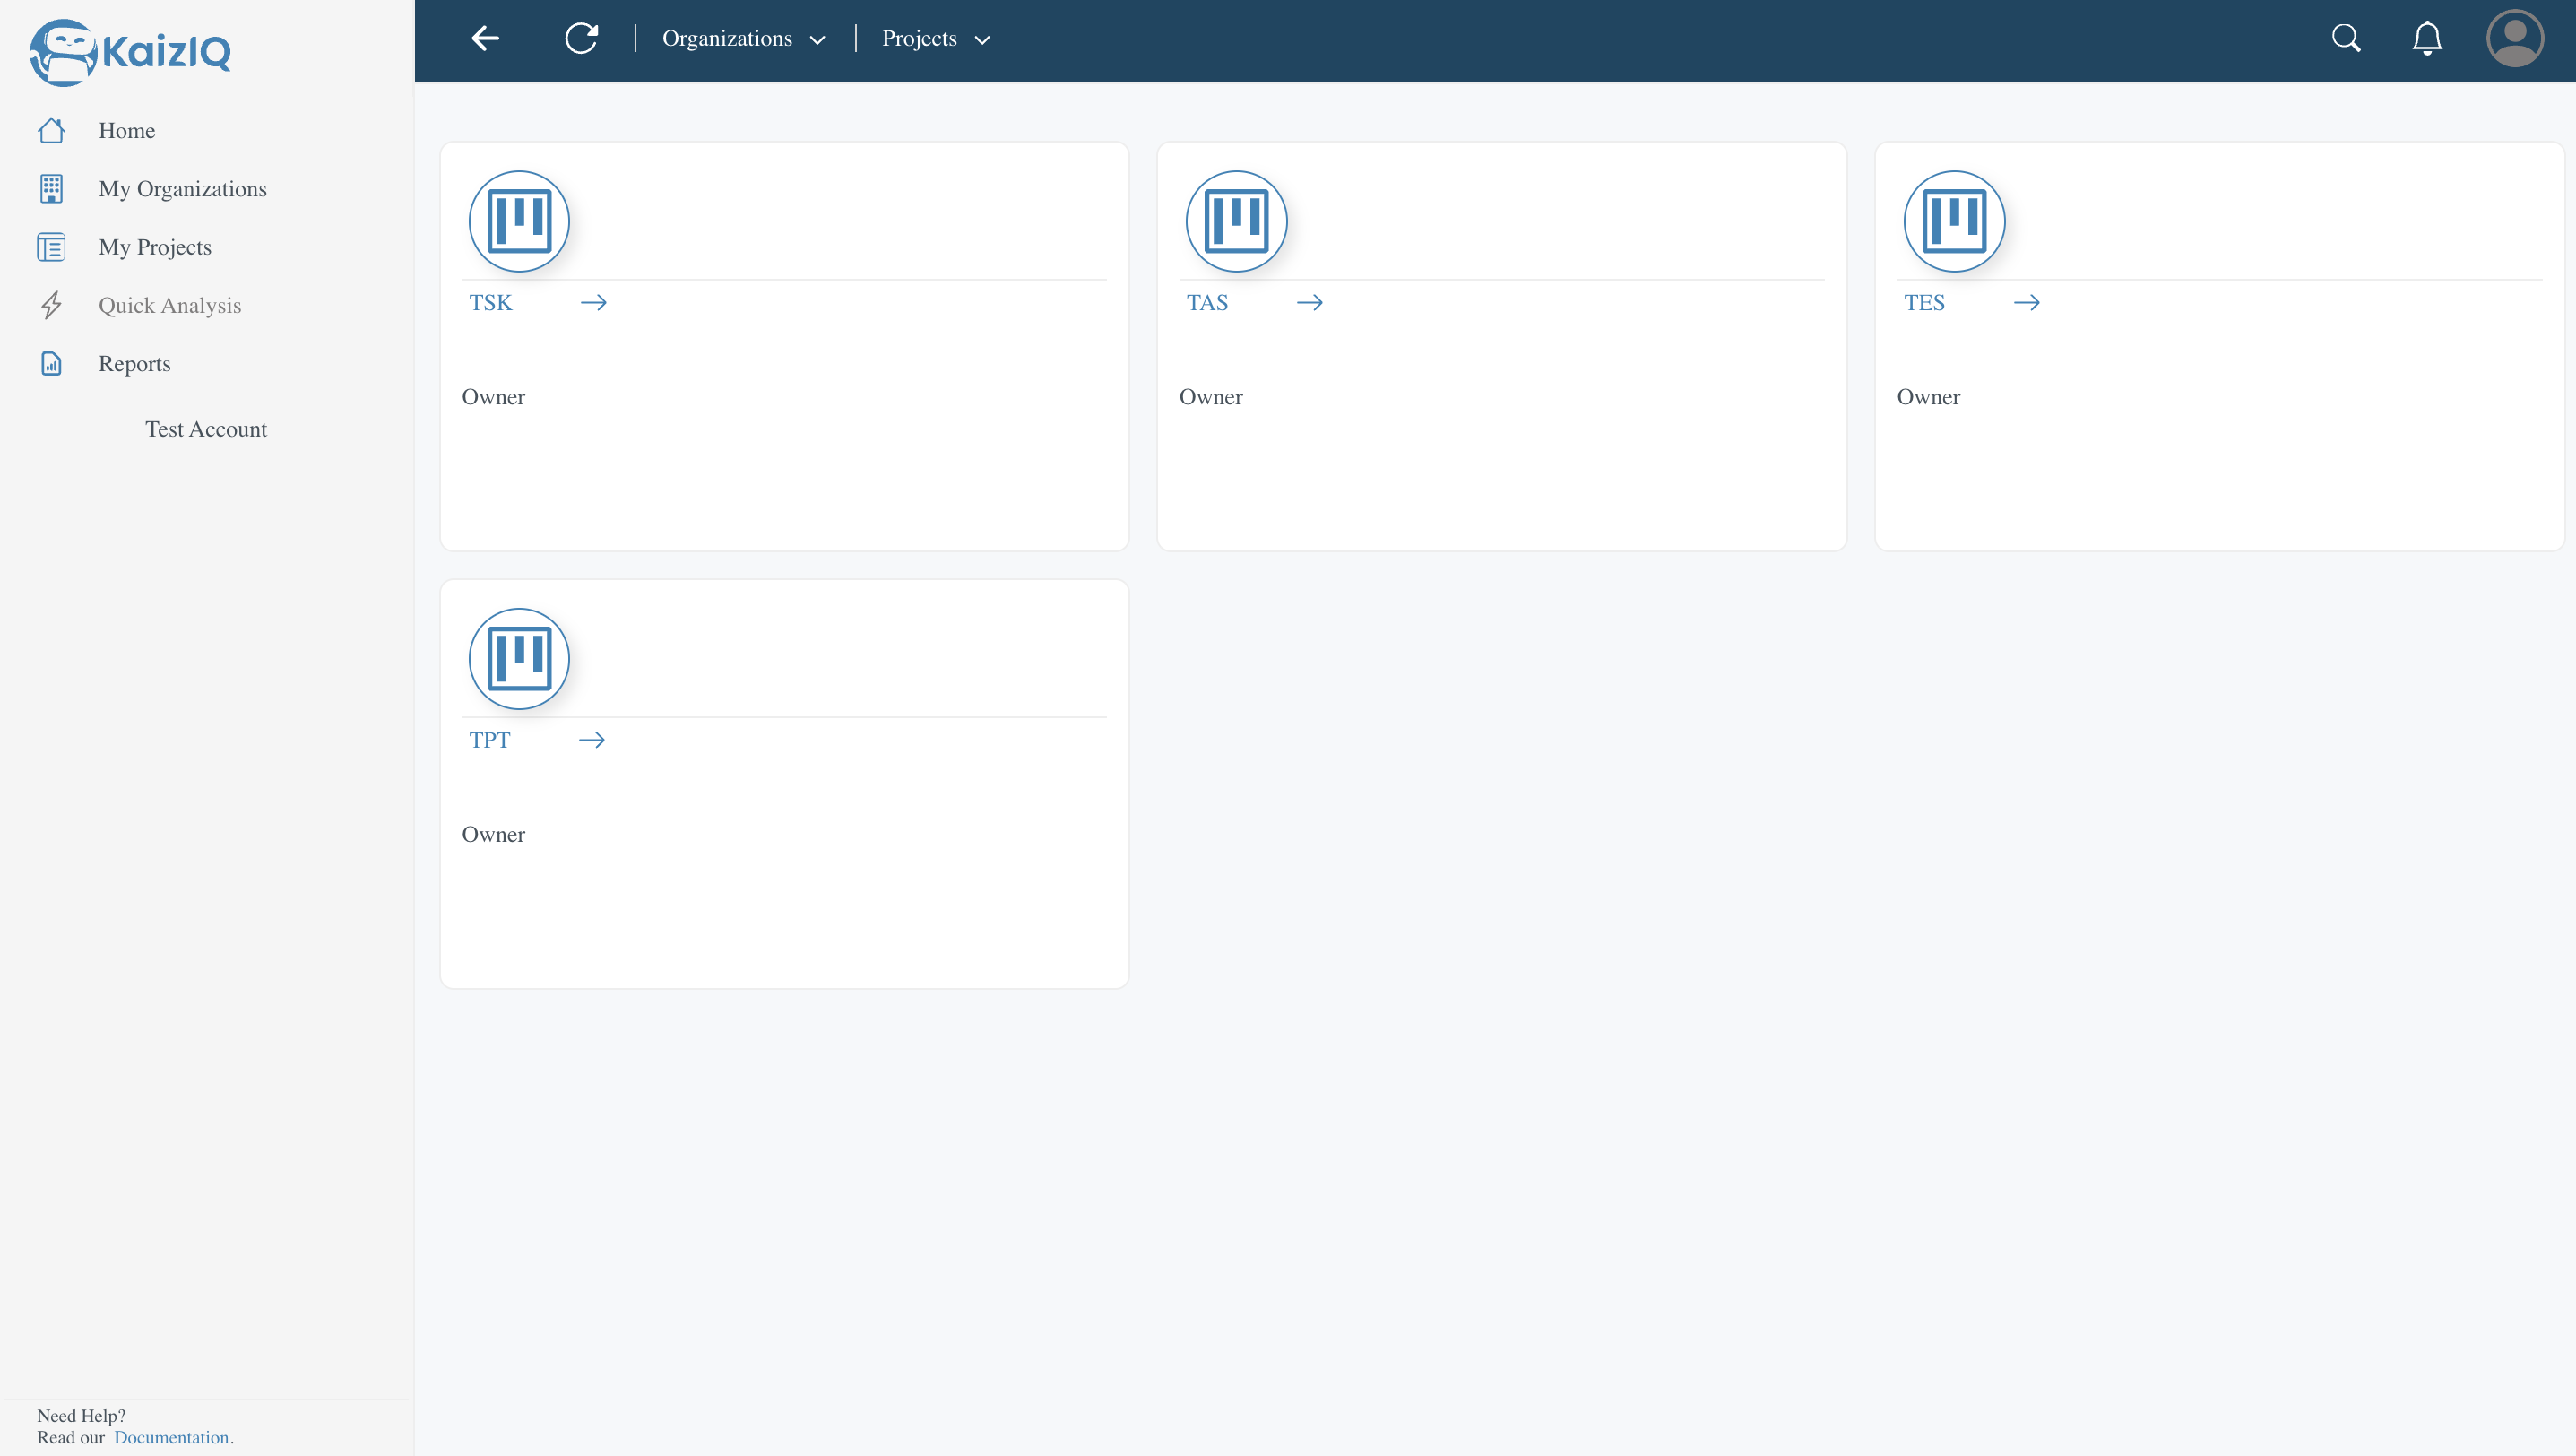
1) Click on My Projects from the Side Panel and you will see a list of all your Projects. Just like the following image.
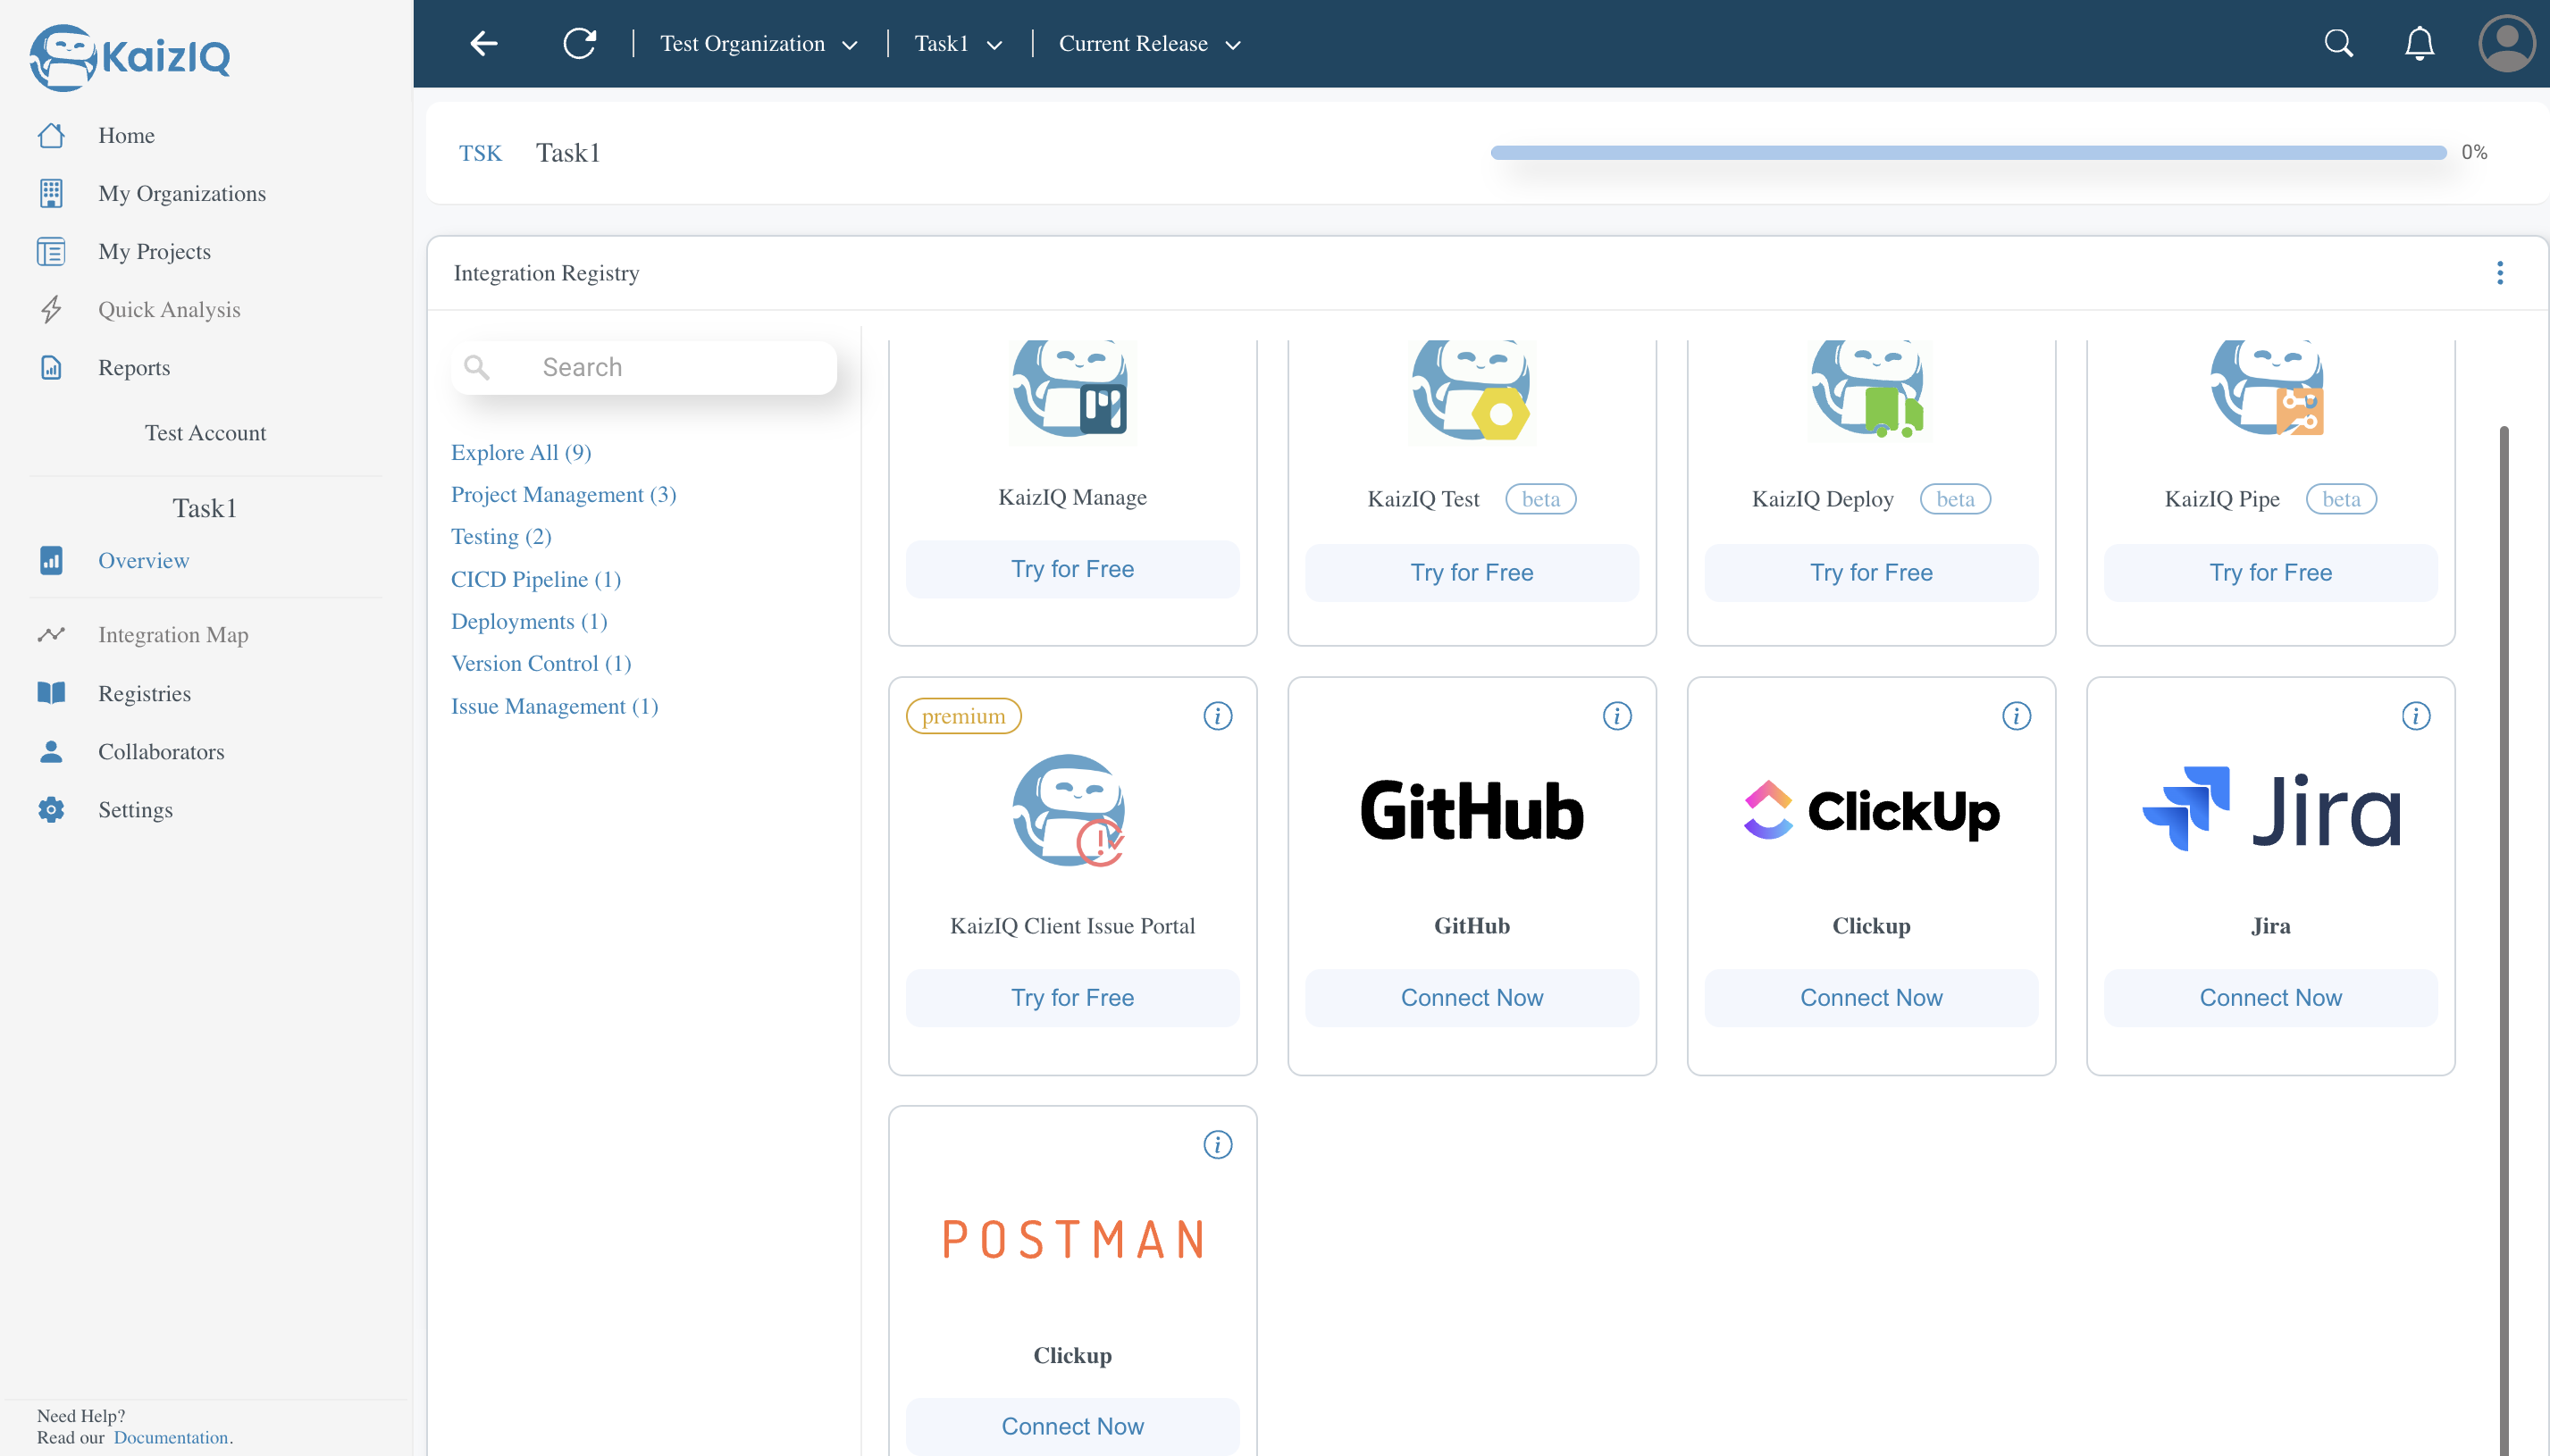
2) Go to the Project you want to integrate and click on the "Explore All button".
We provide following Integration options:
-
KaizIQ ManageSync your KaizIQ Manage account with KaizIQ to import projects. Cloud-based project management tool for businesses of all sizes. Features boards, statuses, alerts, and dashboards, and seamlessly integrates with other KaizIQ tools. -
KaizIQ TestConnect your KaizIQ Test account to KaizIQ to import projects. Cloud-based platform for API building, running, and testing with a no-code testing framework. Developed by KaizIQ and integrates with other KaizIQ tools. -
KaizIQ DeployLink your KaizIQ Deploy account with KaizIQ for project imports. Cloud-based automated application deployment and monitoring tool. Streamline application deployments across multiple environments with custom scripts. -
KaizIQ PipeIntegrate your KaizIQ Pipe account with KaizIQ to import projects. Cloud-based automated CICD framework for tailored Delivery Pipelines. Combines automated build, testing, and deployment with customizable alerts and concurrent services. -
KaizIQ Client Issue PortalConnect your KaizIQ Client Issue Portal account to KaizIQ for project imports. Cloud-based portal for managing client issues with custom alerts and concurrent services. -
KaizIQ Client Issue PortalUse KaizIQ Issue for clients to track development progress, report bugs, and request e nhancements through an online portal. -
Github- Connect your Github account to KaizIQ and import your repositories. Seamlessly link your GitHub account to KaizIQ, streamlining your development workflow by importing and managing your repositories effortlessly. -
ClickUp- Connect your ClickUp account to KaizIQ and import your tasks.Integrate your ClickUp account with KaizIQ to effortlessly consolidate and organize all your tasks, ensuring a streamlined and efficient task management process. -
Jira- Connect your Jira account to KaizIQ and import your tasks. Connect your Jira account to KaizIQ for a comprehensive project management experience, enabling you to effortlessly import and manage your tasks, ensuring project success. -
Postman- Connect your Postman account to KaizIQ and import your collections. Enhance your API development process by connecting your Postman account to KaizIQ, allowing you to effortlessly import and manage your collections, ensuring efficient API testing and development.
Click the Connect now button to connect your account with above mentioned services.
Invite Collaborators
From the top panel, click on the "Projects" dropdown and select the Project you want to go to.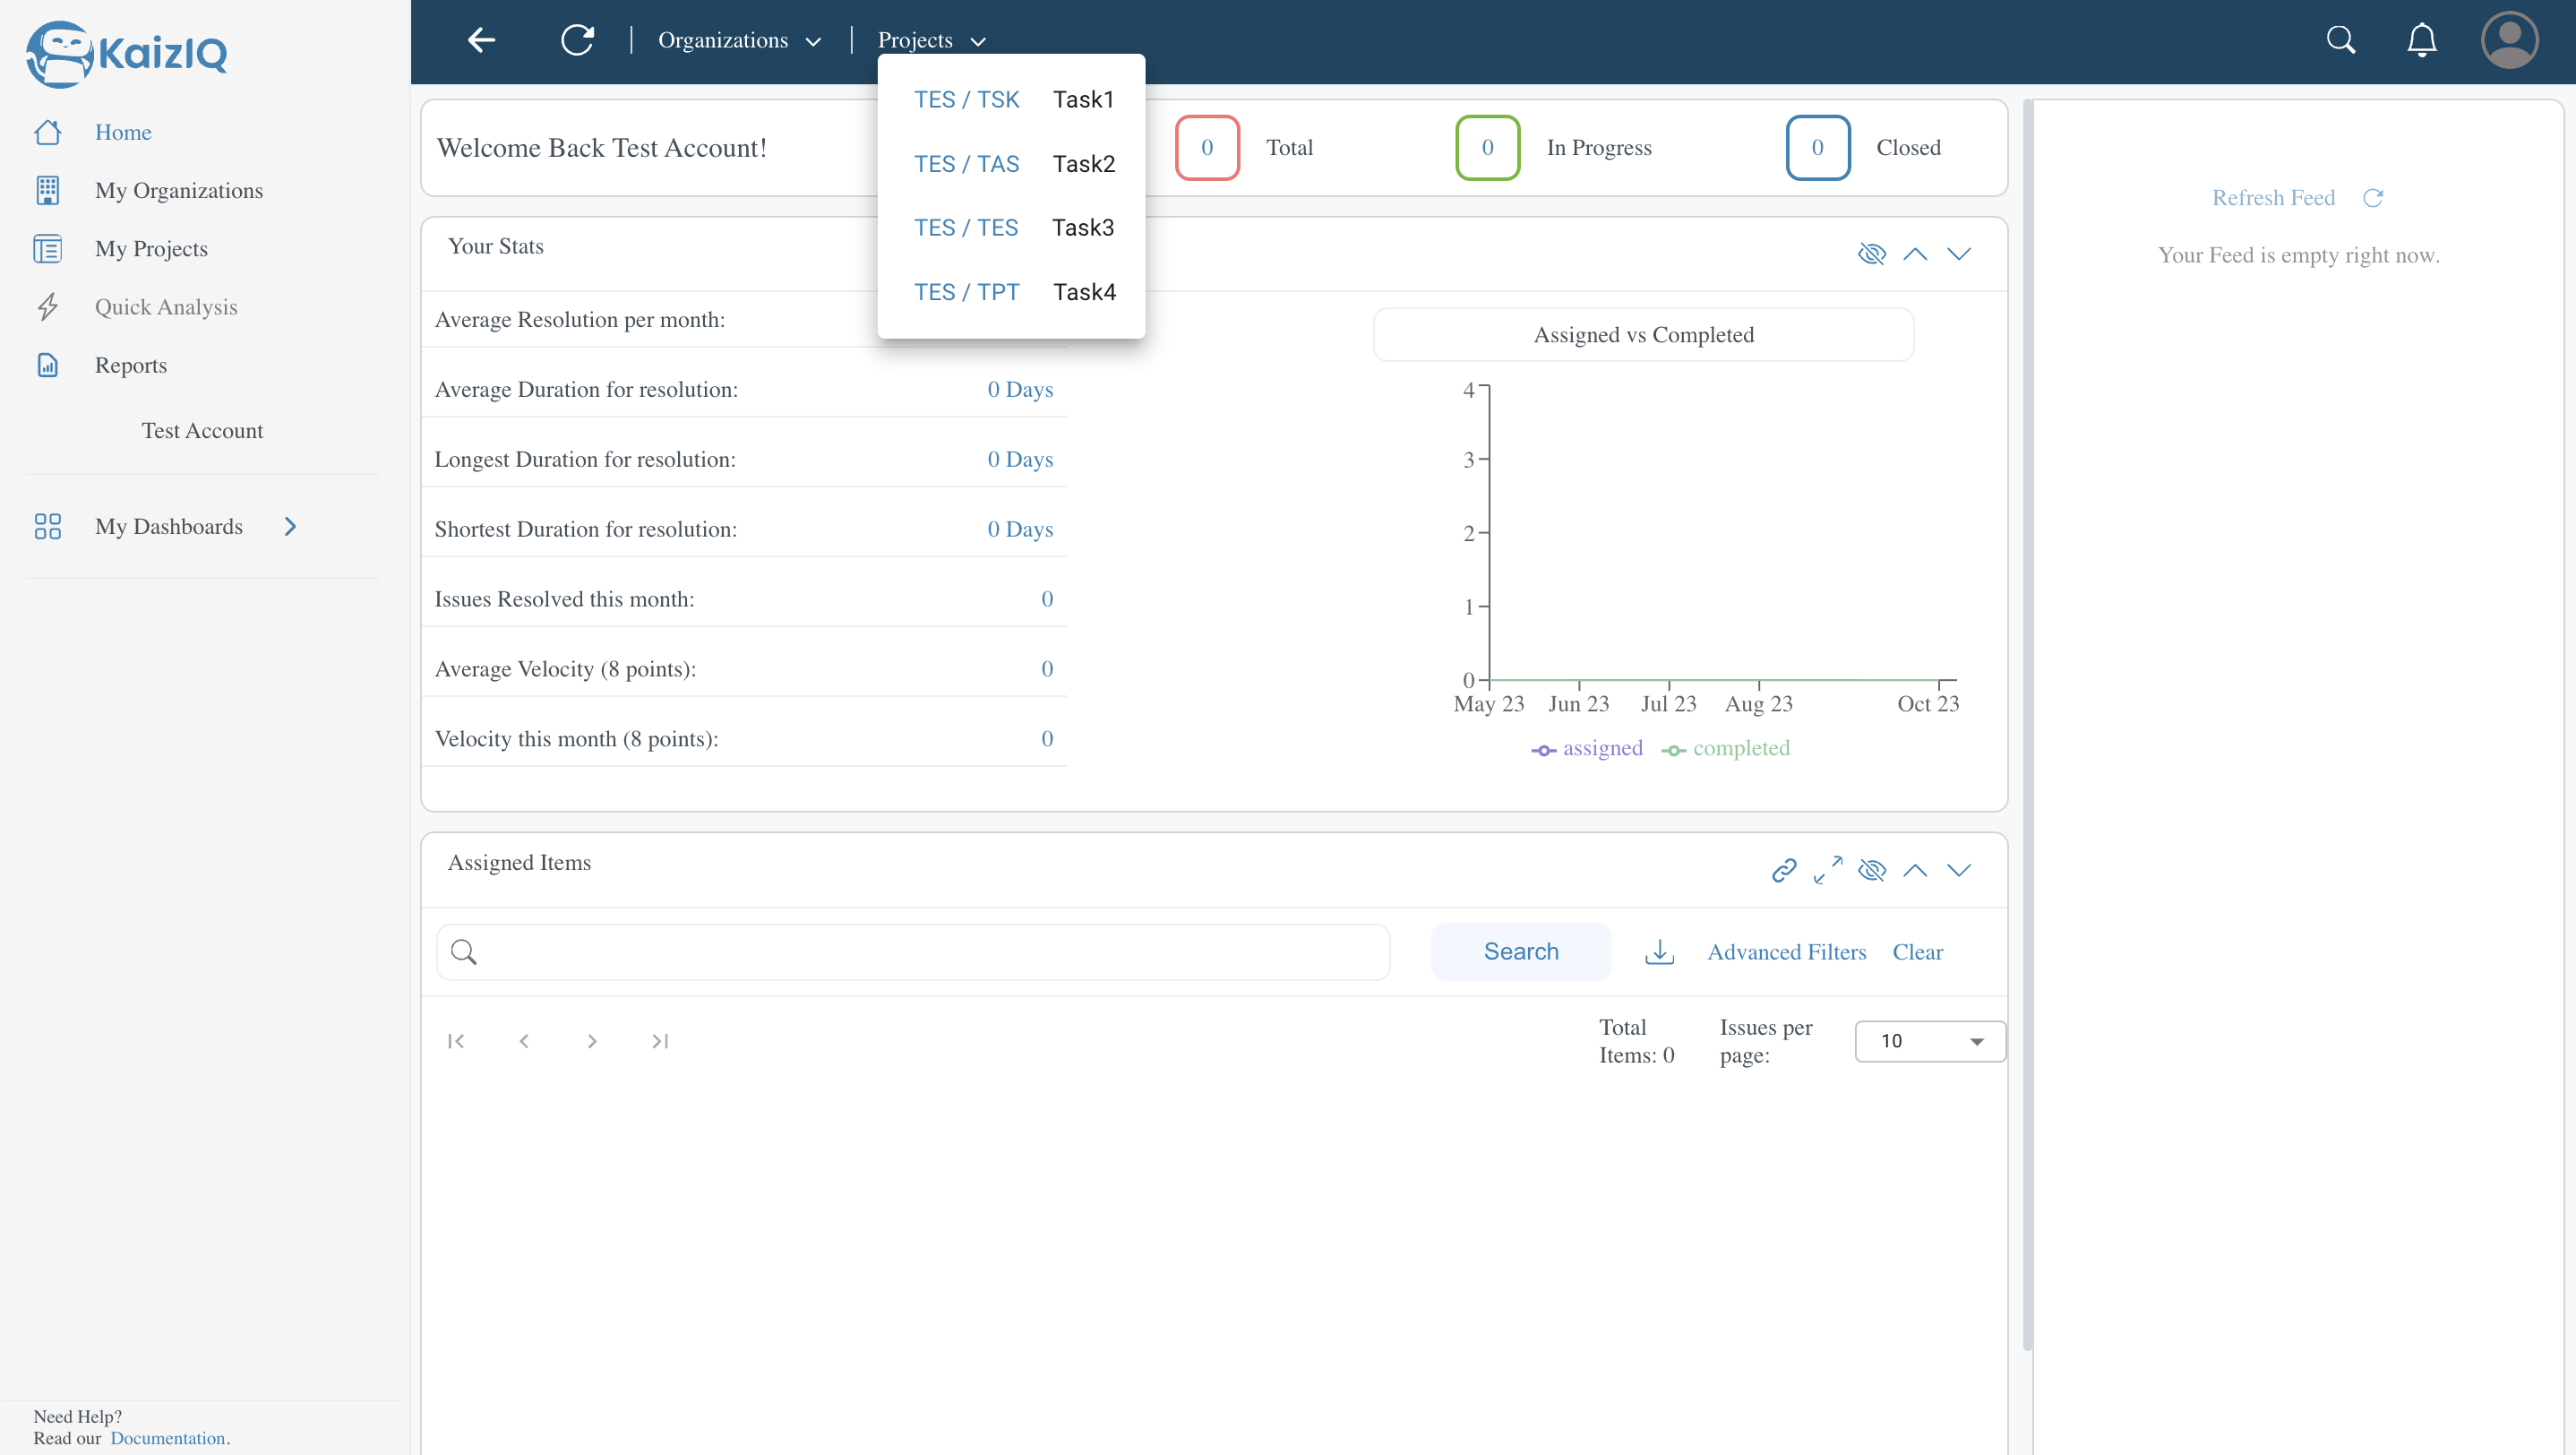
Once your Project Page opens up, on the left side you will see options like Overview, Integration Map, Registries, Collaborators, click on Collaborators, a screen like this will open up.
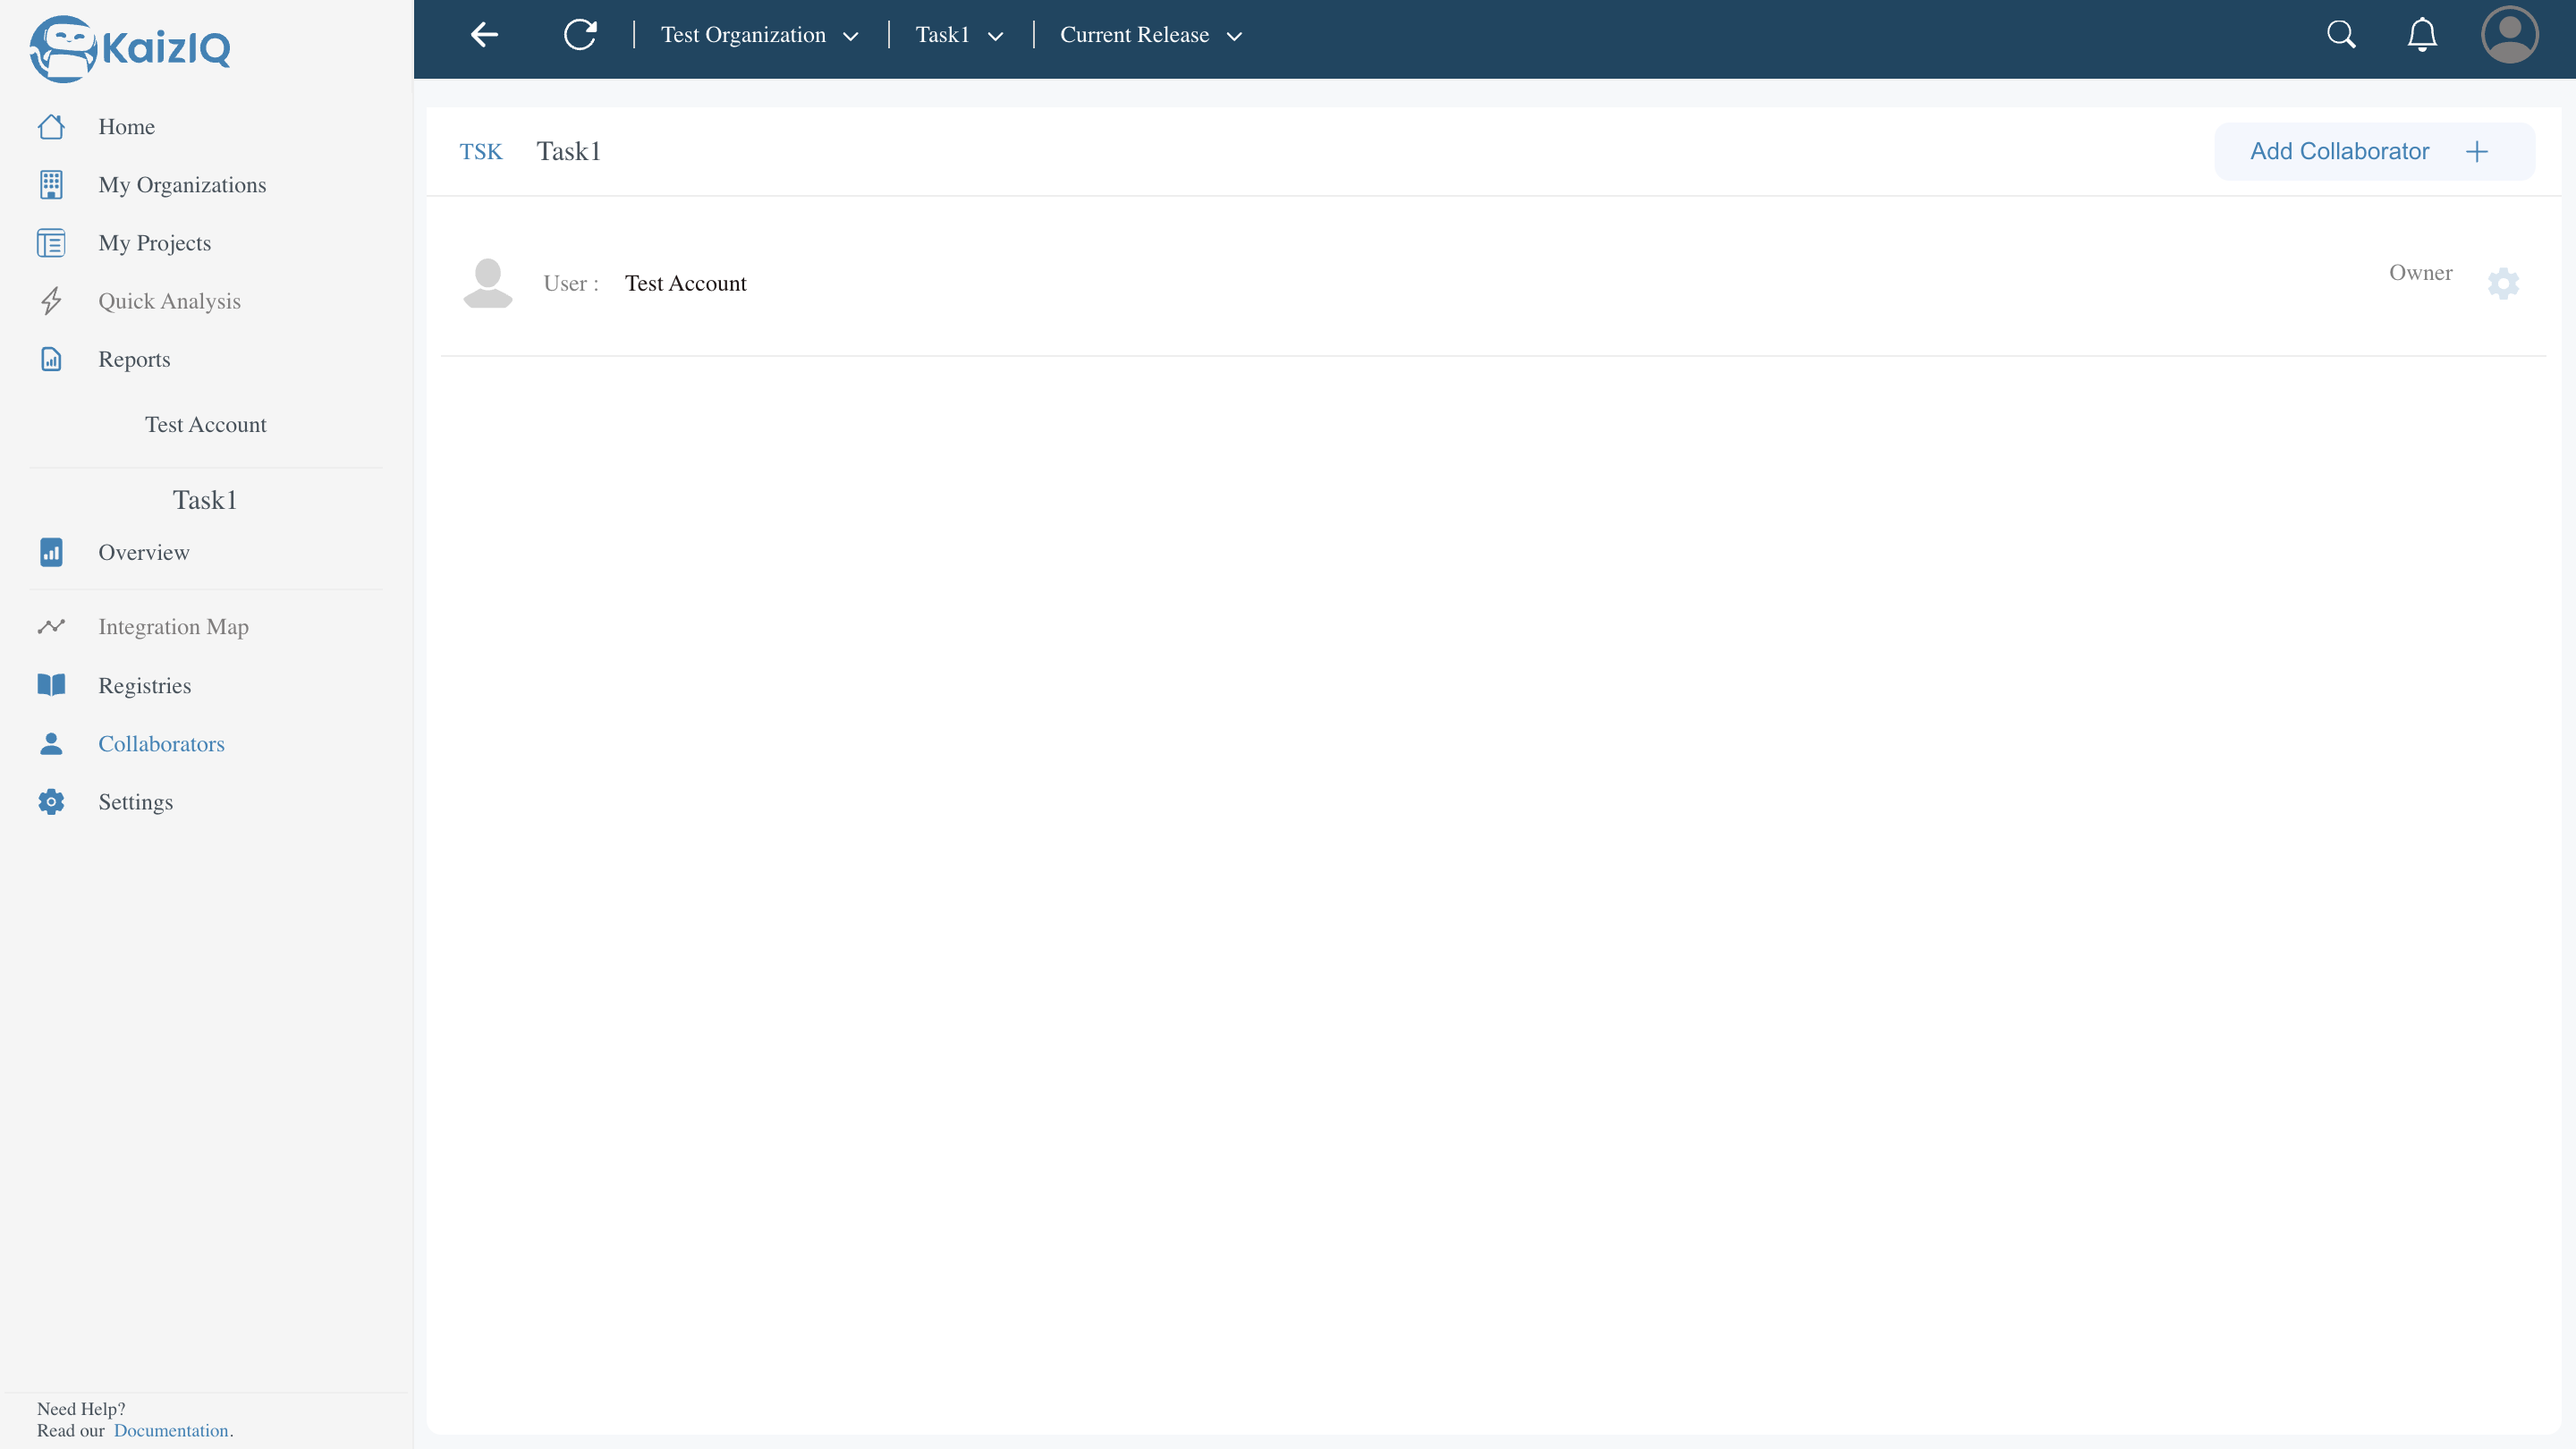
Click on the Add Collaborators button on the top right, a box will appear and you can enter the username to invite the user.
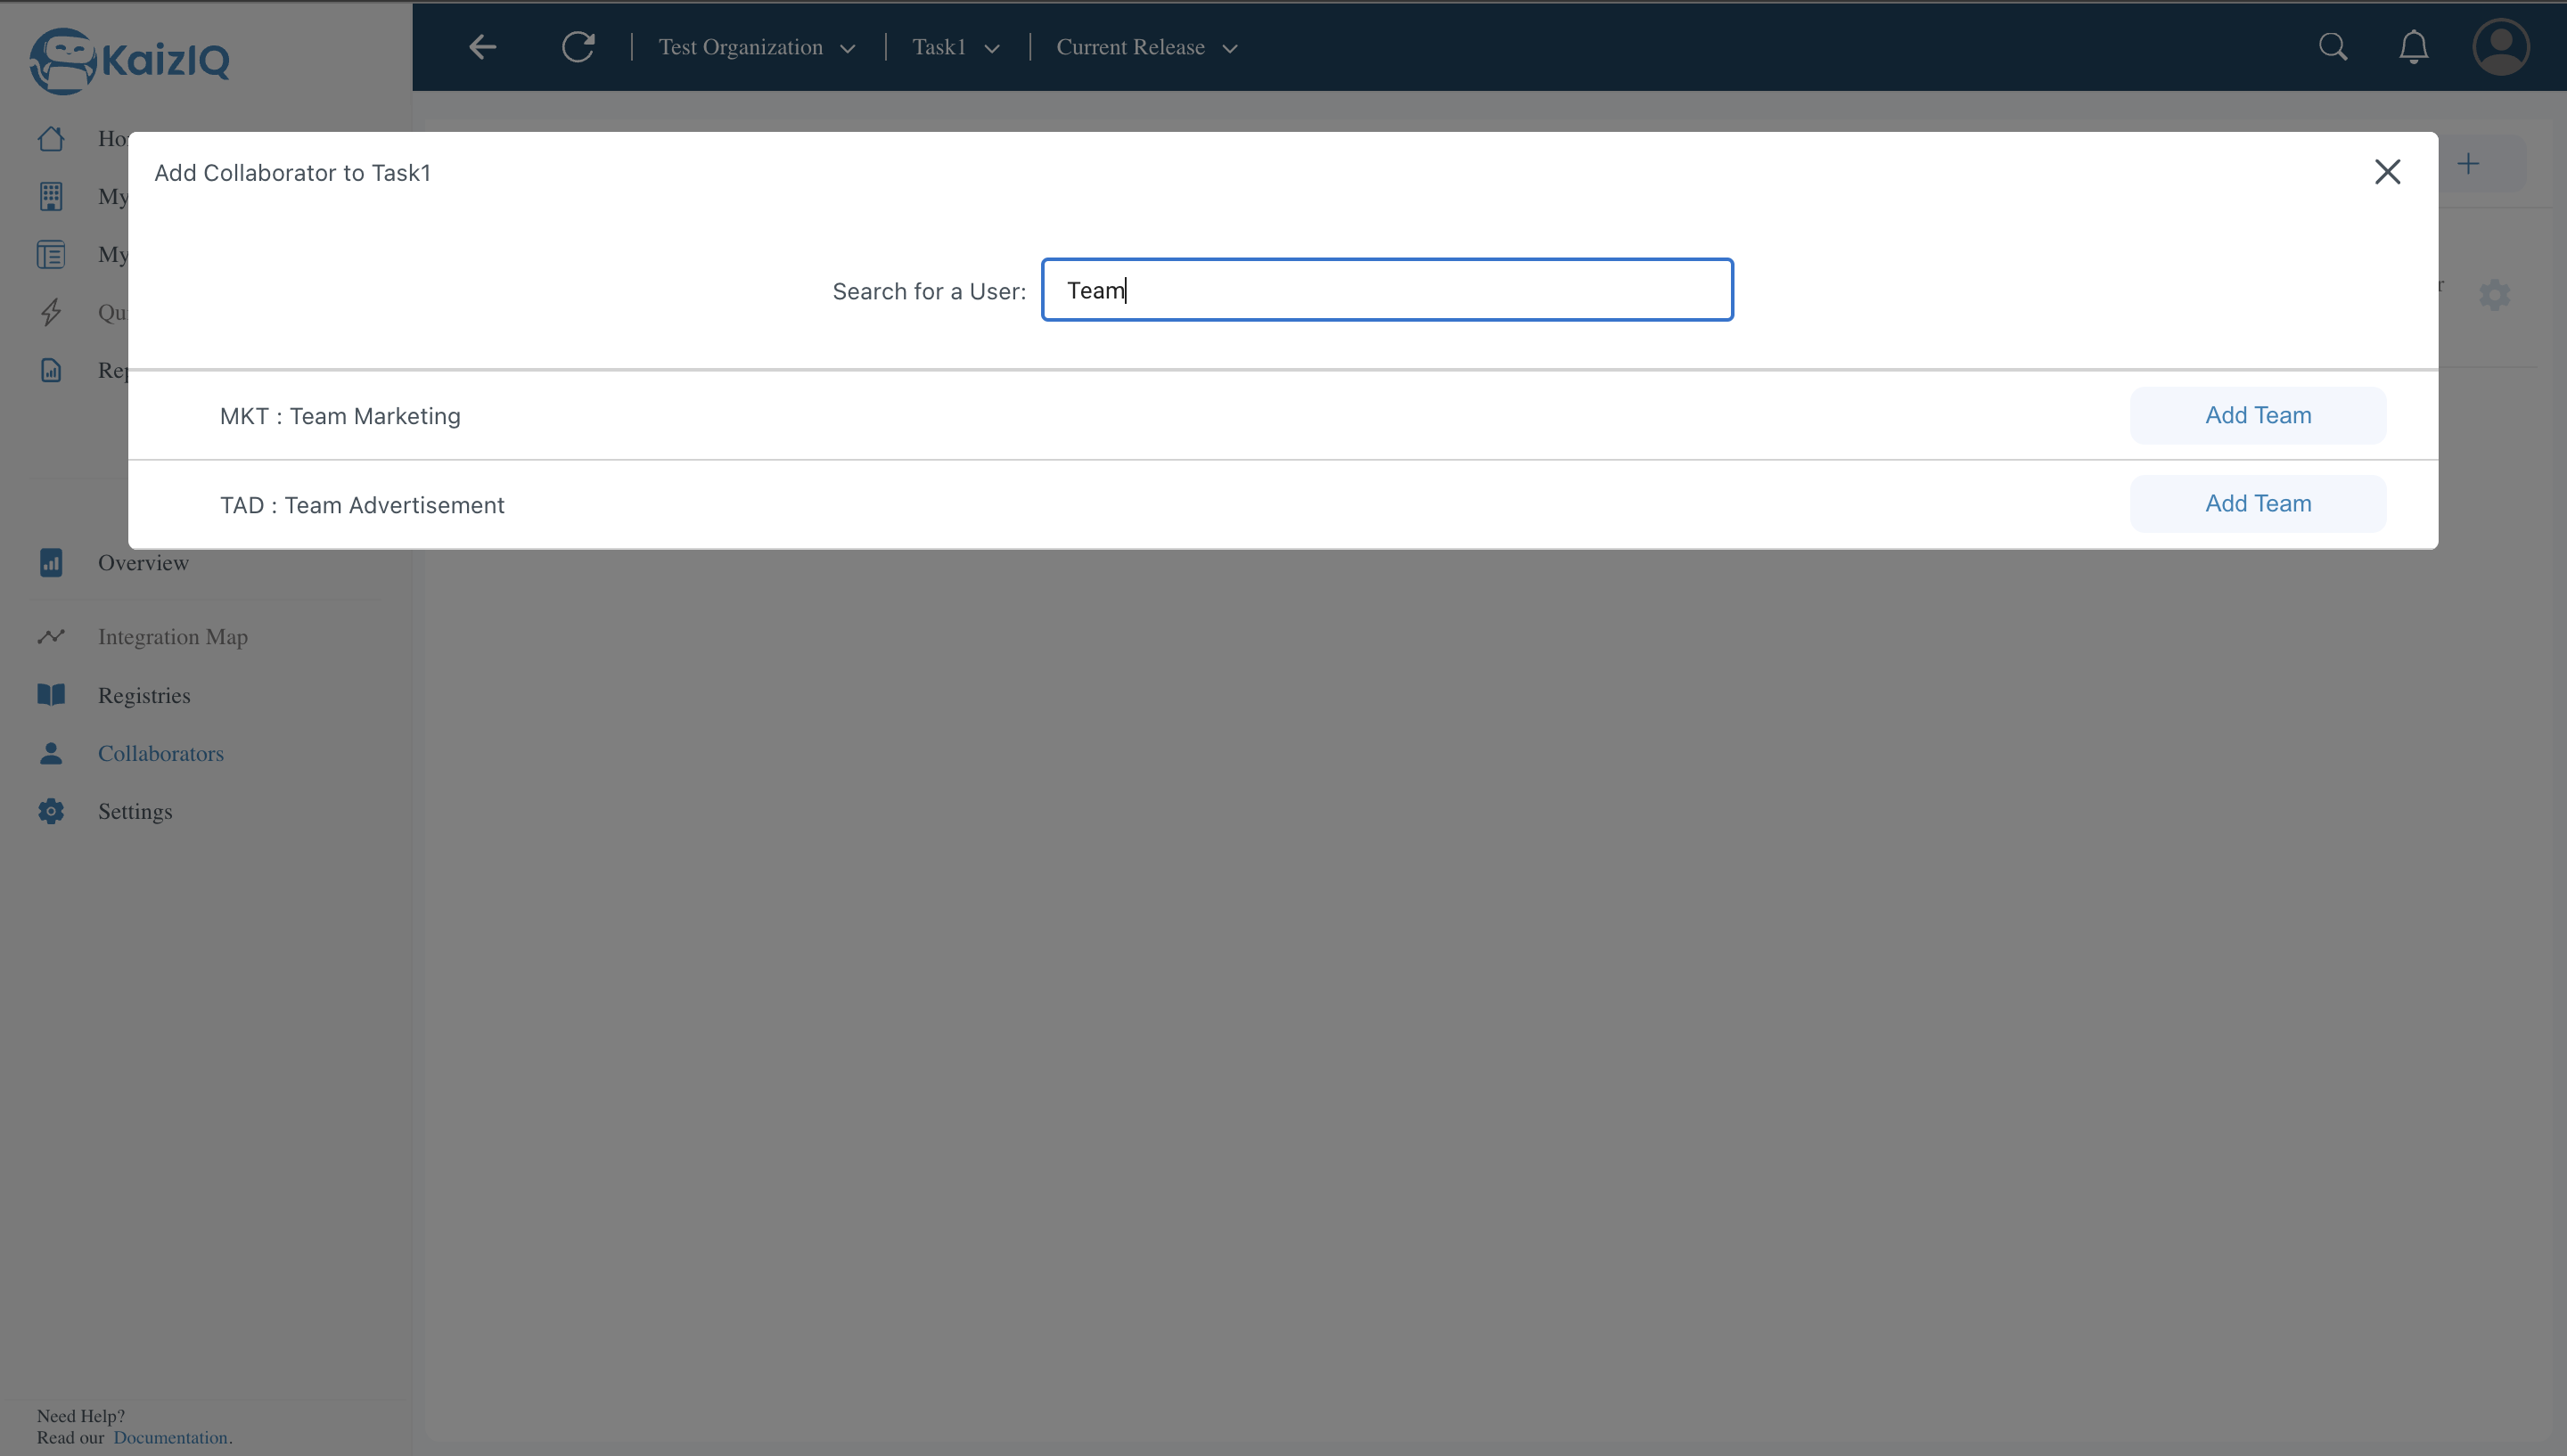
Grant permissions to the user based on their role.